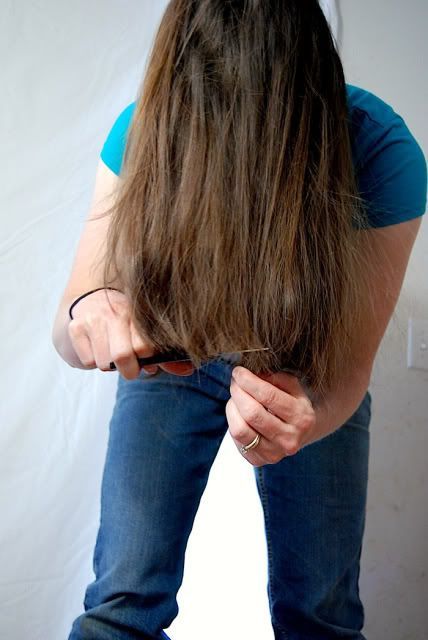
Measure Your Hair
Use however many or few sections as desired; just ensure they are evenly spaced. When cutting your locks symmetrically, run your hands down each length and if they come together at one place at the base, that means your symmetry has been maintained and can proceed with further cuts – you can then move onto another section until all your locks have been cut!
Using Your Scissors
Your tools for successful hair cutting should include sharp scissors, a comb to smooth disobedient strands before cutting, a mirror for checking what you are doing and possibly hair spray to keep the scalp damp during this process.
At most drugstores and beauty supply stores, you can purchase hair-cutting shears for approximately $10-15. These special shears have sharp blades designed specifically to cut hair without ripping out or pulling out hair like regular scissors could do, giving a much more polished and professional-looking haircut than using scissors alone could.
At first, make sure your hair is clean and free from tangles by washing and towel drying it properly. Next, take a section of your locks and cut vertically upward with scissors until all sections have been cut off; repeat this process until all trimming is completed; if adding length is a priority you can use your initial section as a guideline and cut parallel with it.
Once you have finished with the front of your head, move onto trimming the side. Since both sides are symmetrical, this should be easier. Simply lift sections of hair directly up from their ends and cut vertical lines using scissors; this will remove excess hair while creating a more layered effect.
Point cutting your hair to create a more natural and textured appearance will thicken up its thickness. Simply hold scissors perpendicular with the end of your hair and slowly clip upward into it with scissors; take care not to overdo this as an unnatural finish may result.
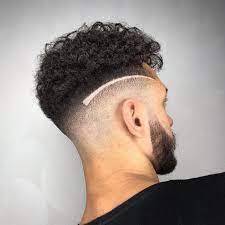
Trim the Sides
Before beginning to cut your hair, ensure you are in an area with sufficient lighting and no distractions. Set up a chair, clear away objects from the floor that could obstruct, wet your hair to ensure it is ready to be cut, and once this step has been accomplished you can start trimming sides.
Continue this process until your side length reaches your desired goal. Be wary not to trim too much; trimming can always be done later.
Trim the Back
Before moving on to trimming the back, it is crucial that all layers are even and have equal length. A hand-held mirror and hair clasp or bobble may come in handy here for keeping any wispy bits under control; in addition, water spraying may keep your locks damp as you trim.
Begin by clipping away the top zone of your hair, beginning at the nape of the neck, and working through to the bottom third, starting from that area. Dampen that section and comb through, taking care not to cut too much off. Snip away small sections at desired length without cutting into the guide section (we’ll refer to this as your “length guide”).
Repeat this process on all remaining lower sections to create a beautifully layered look! Plus, this method should help prevent any bald spots.