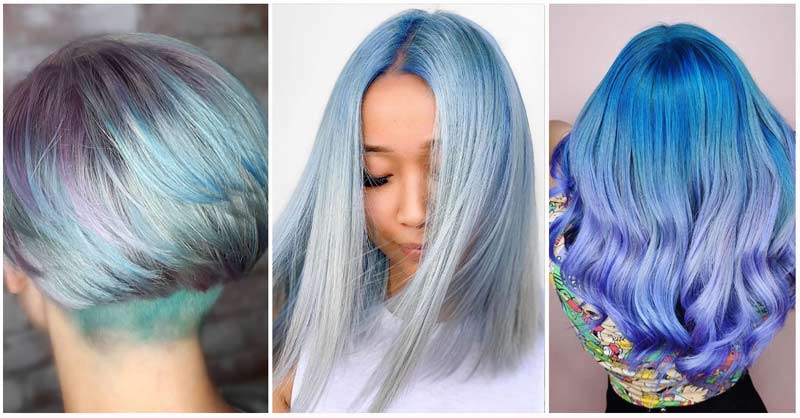
Sometimes, life and budget constraints make professional haircuts unfeasible, but that doesn’t mean cutting your hair won’t work! Know what you want and how to go about getting it. This guide will cover everything you need to know before beginning a DIY trim!
Life can be hectic, making it challenging to schedule an appointment with your hair expert. But there are still ways you can keep your locks in top shape without going to a salon visit. Before picking up scissors, you must understand exactly your desired results. Do you prefer a blunt cut, bob cut, or something more layered? Taking a look at photos may also help visualize what the impact could look like.
Once you have an idea, the easiest way to cut is to start with small sections near your face and work downward. This allows you to see the end result and ensure you take enough hair off to achieve your desired length. Once satisfied with one section, take another small area and cut vertically up or down until your new size is satisfactory.
Next, carefully assess your work in good lighting and make any necessary adjustments. It is wise to do this while your hair is still wet; otherwise, it may change shape and texture as it dries. Err on the side of caution; taking away too little is better than too much!
Invest in professional shears explicitly designed for cutting hair—they will be sturdy and less likely to lead to split ends than ordinary household scissors. You can find such shears online, at beauty supply stores, or at major department stores. If you’re concerned about the quality of your shears, consult a stylist at a nearby salon who can teach you how to use them properly and select an ideal pair for your specific needs. They’ll know which kinds of shears work best with which styles and provide tips on caring for and protecting them once in your possession.
Prepare your hair before having it cut! For long locks, this may involve washing it (if it has yet to be cleaned lately), blow-drying, or straightening to straighten wavy or curly locks. With shorter styles, wet hair may look faster than dry, so be wary not to overcut! A clear understanding of what you want from the haircutting session is also crucial to preventing miscommunication between yourself and the person cutting your locks and disappointment if it does not turn out that way.
As soon as you’re ready to start, ensure your hair is in an area with adequate lighting and distraction-free. In addition, sharp scissors (or shears) and any necessary combs or clips may help guide the blades through your locks as you cut. Securealso be beneficial so your work goes more smoothly.
Use your comb to divide your hair into small sections and begin on the left side of your head, cutting each small section evenly trimmed until finished. Evaluate results and make any needed passes to even out results before trimming the back section—starting from the nape section right up until the top-back right team, ensuring each of these smaller sections is cut equally.
Once your back hairstyle is completed, use a comb to run through and eliminate any loose, long hairs. If you have bangs, use the comb to help lift their lines around your face before taking down and removing ponytail holders to complete it all.
If you intend on employing the blending technique, which involves cutting your hair longer at the bottom and gradually shortening it as it moves up the head, be mindful of the transition zone. Avoid cutting too much from your lower portion before reaching this zone, as too-short cuts won’t blend as seamlessly.
As with any new skill, starting small is vital when cutting hair. Take your time cutting small sections at a time; remember that more can always be taken off later! For maximum effectiveness, it’s also recommended that cutting is performed when your locks are dry so you can see what the final result will look like.
Start by washing and towel-drying your hair (but without blow-drying yet). Divide into eight sections—bangs, top-front, top-back, left/right sides, as well as one at the nape of your neck—twirling each around a finger before clipping them up out of the way.
Take a clean half-inch section of hair between your index and middle fingers and hold it with one hand while trimming with scissors into a thin vertical line of hair—this first cut will set the length for all subsequent ones.
Continue to trim until your front hair reaches the length you desire, then decorate the middle section and both the left and right sides of your head. It is generally best practice for this method to perform all cuts above the crown of your head but experiment with various positioning and mirrors until you find what looks best for you.
Once it comes time to the back, tie both middle sections into separate ponytails; one on top and one at the nape of your neck— to help avoid cutting too much off at the bottom of your hair. Use the same technique from before; start in front, work backward, remove ponytail holders, and shake out your locks— then you should have an attractive, healthy haircut that perfectly represents who you are! Don’t be discouraged if it doesn’t look quite what you had anticipated; even professional haircuts don’t always turn out flawlessly!

