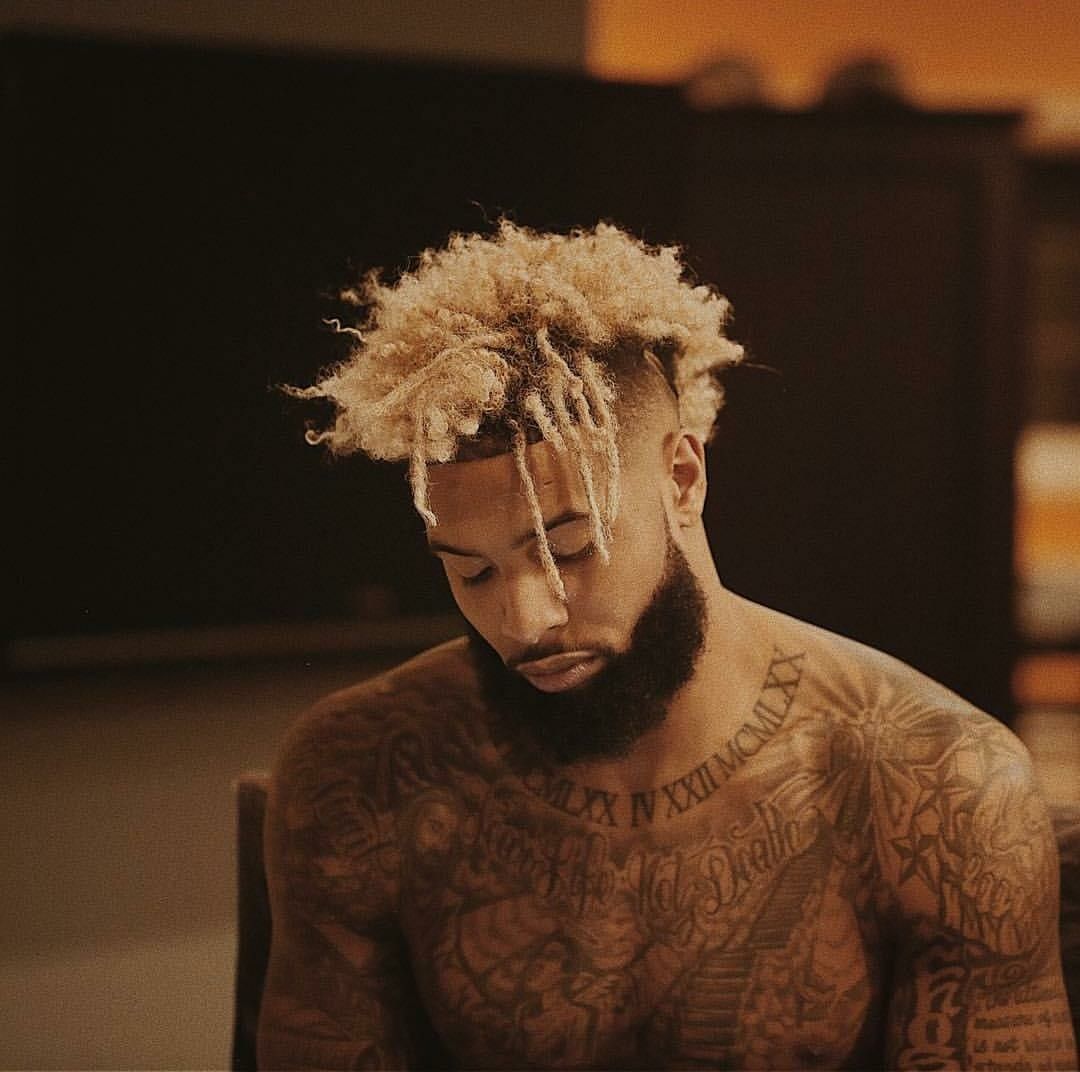
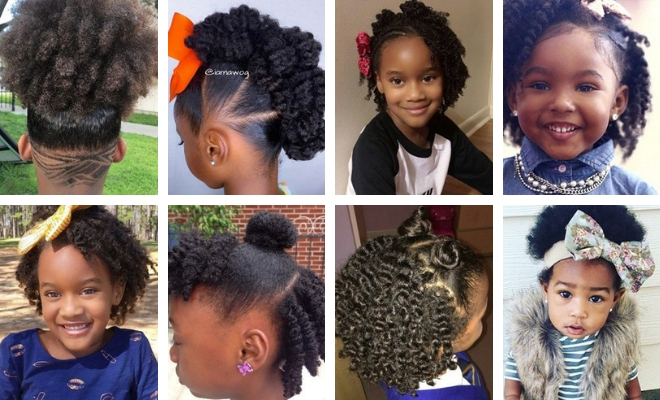
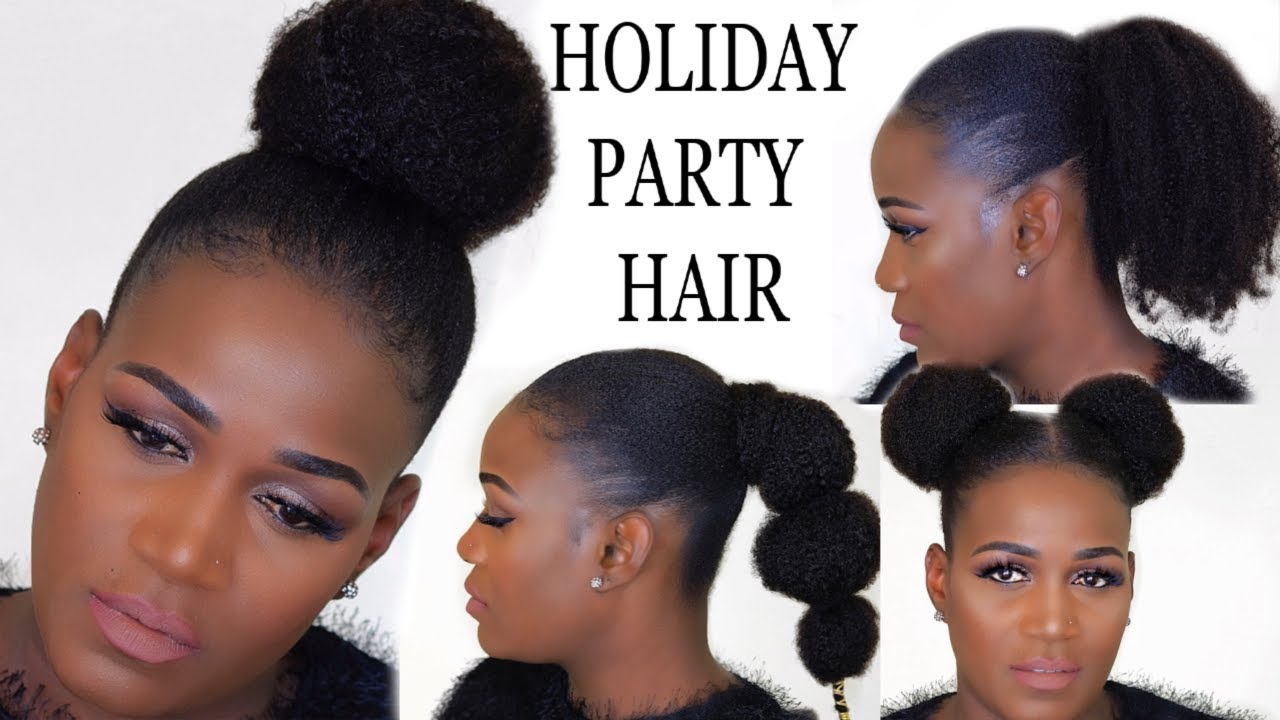
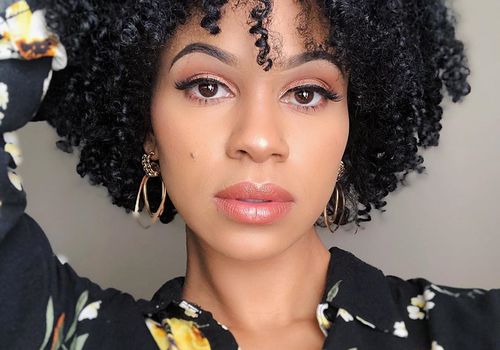
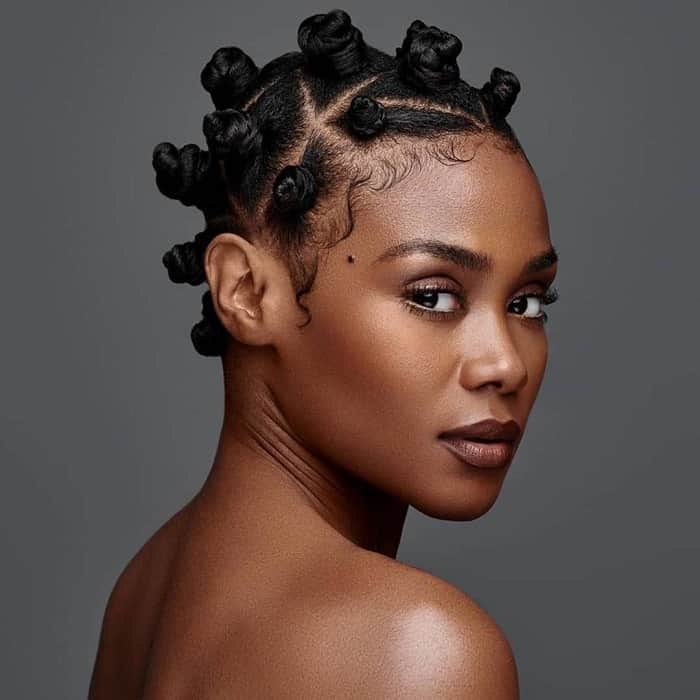
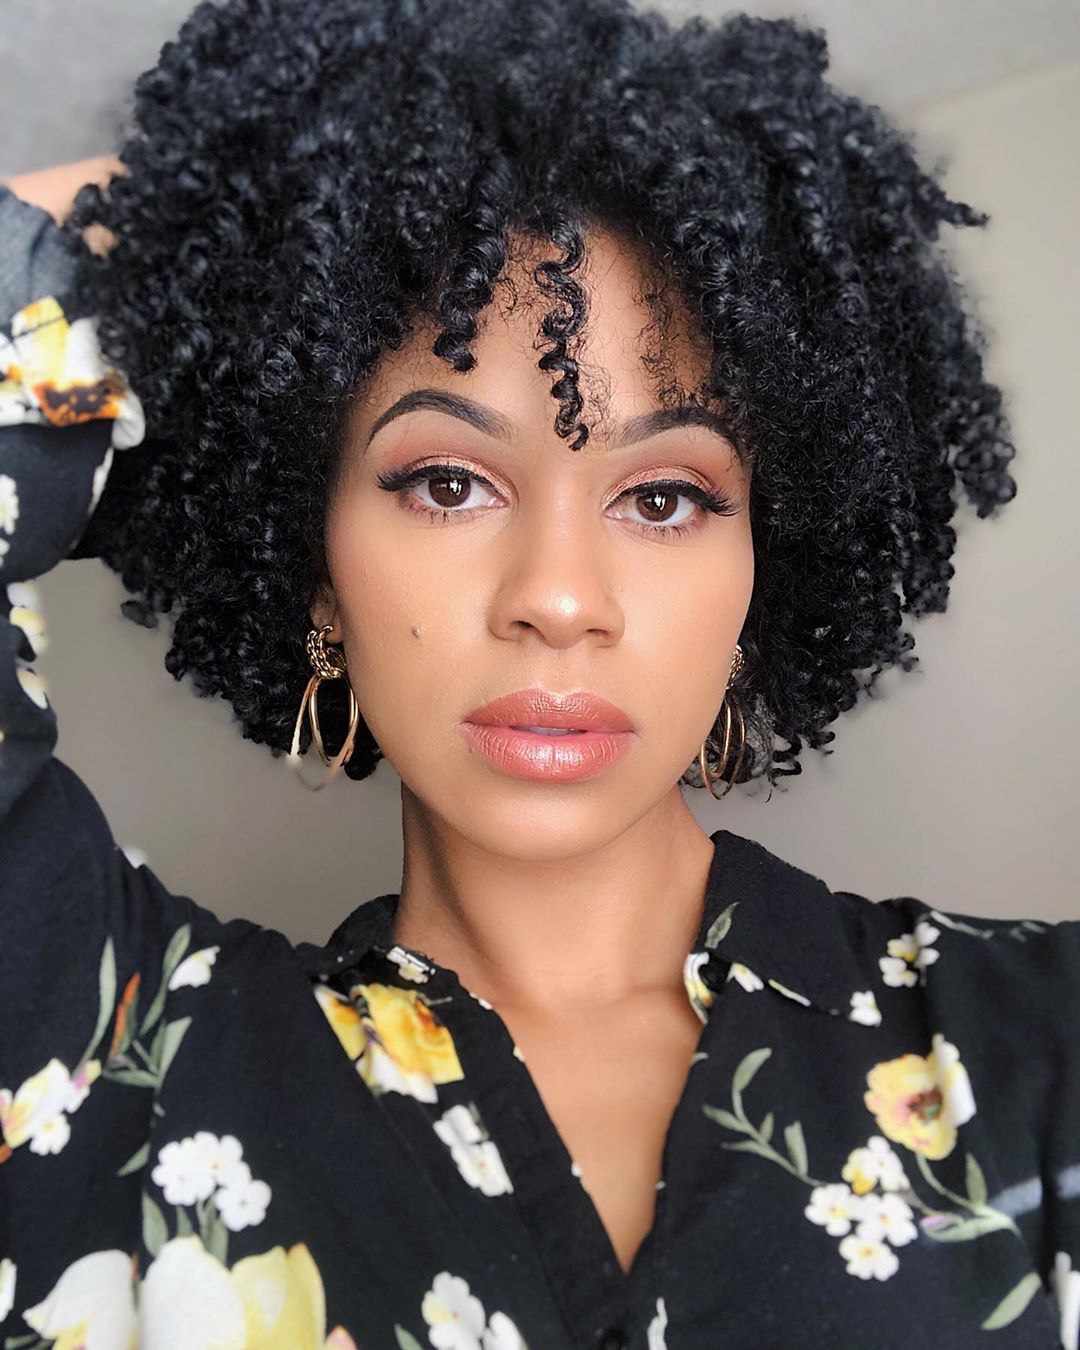
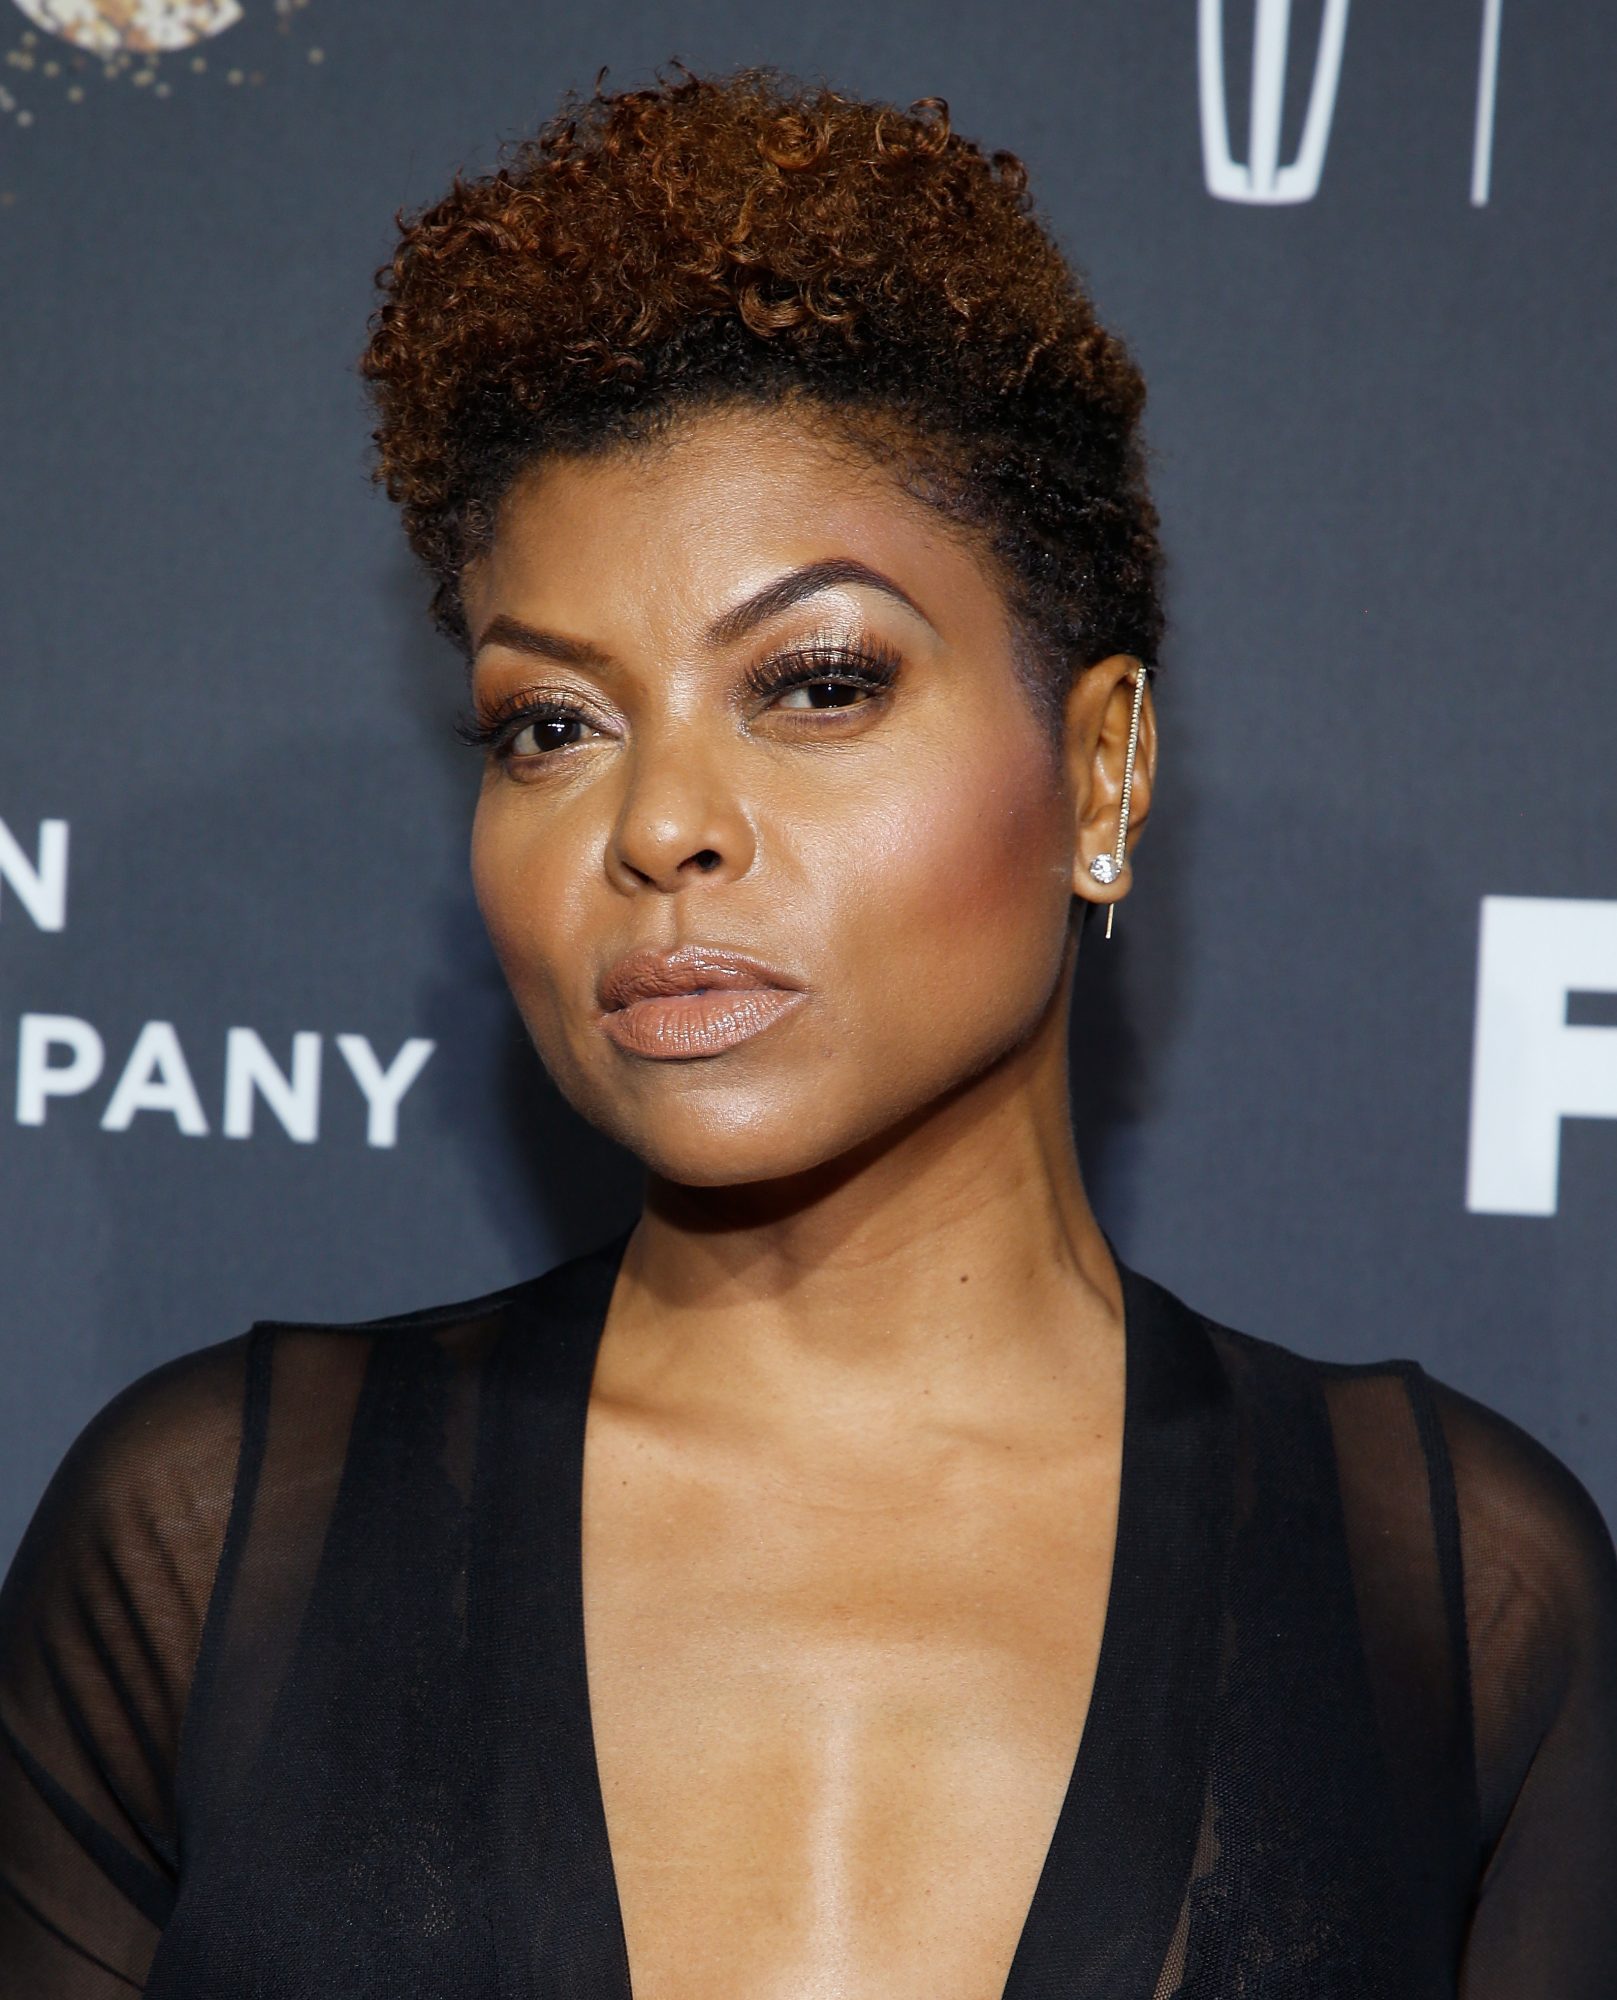
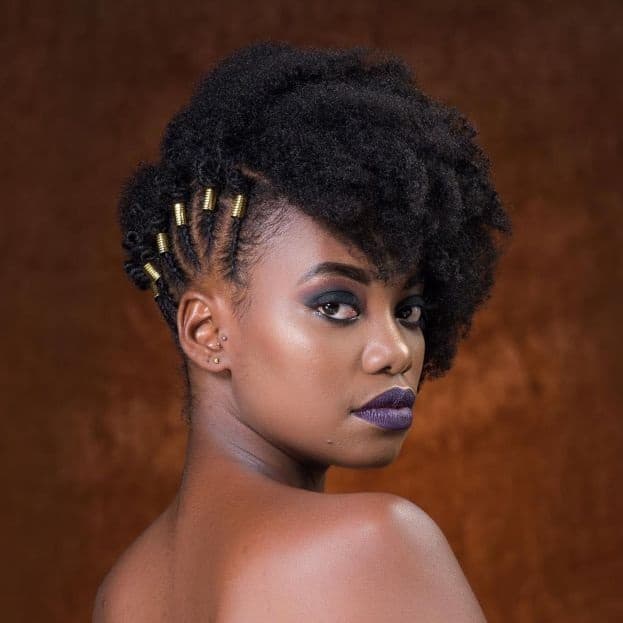
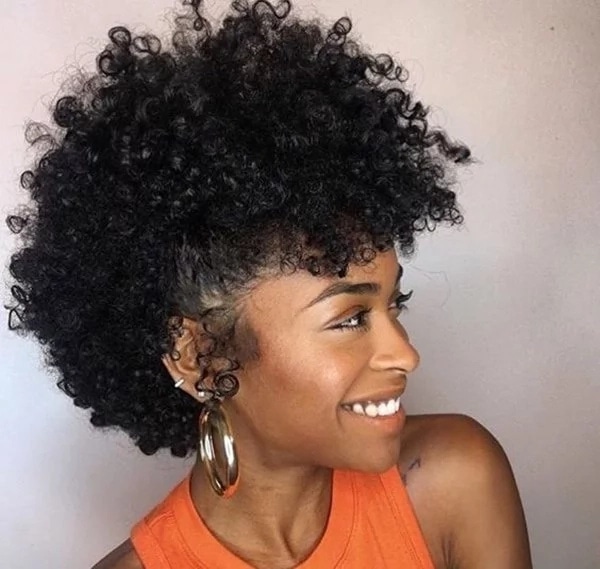
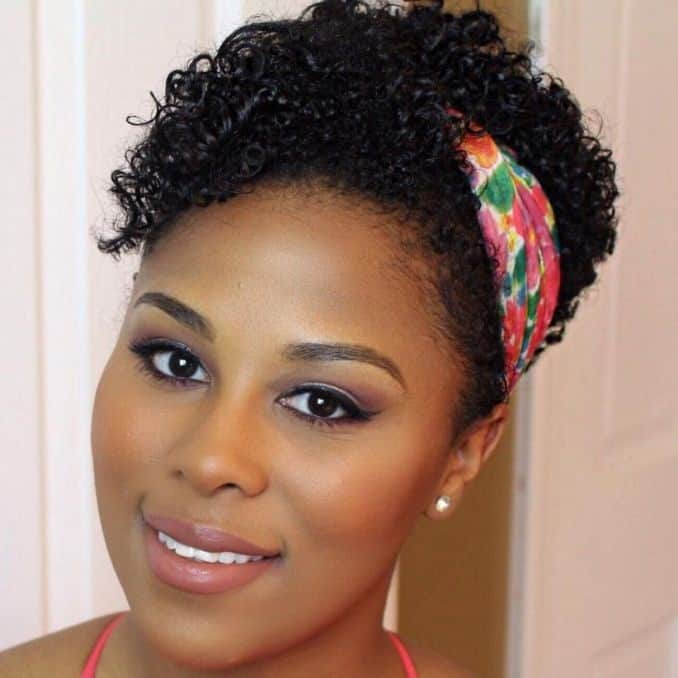
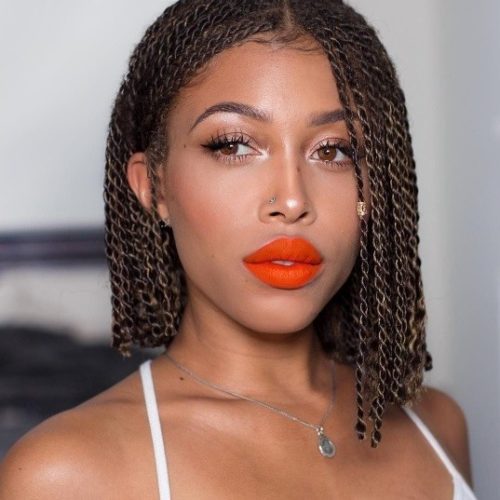
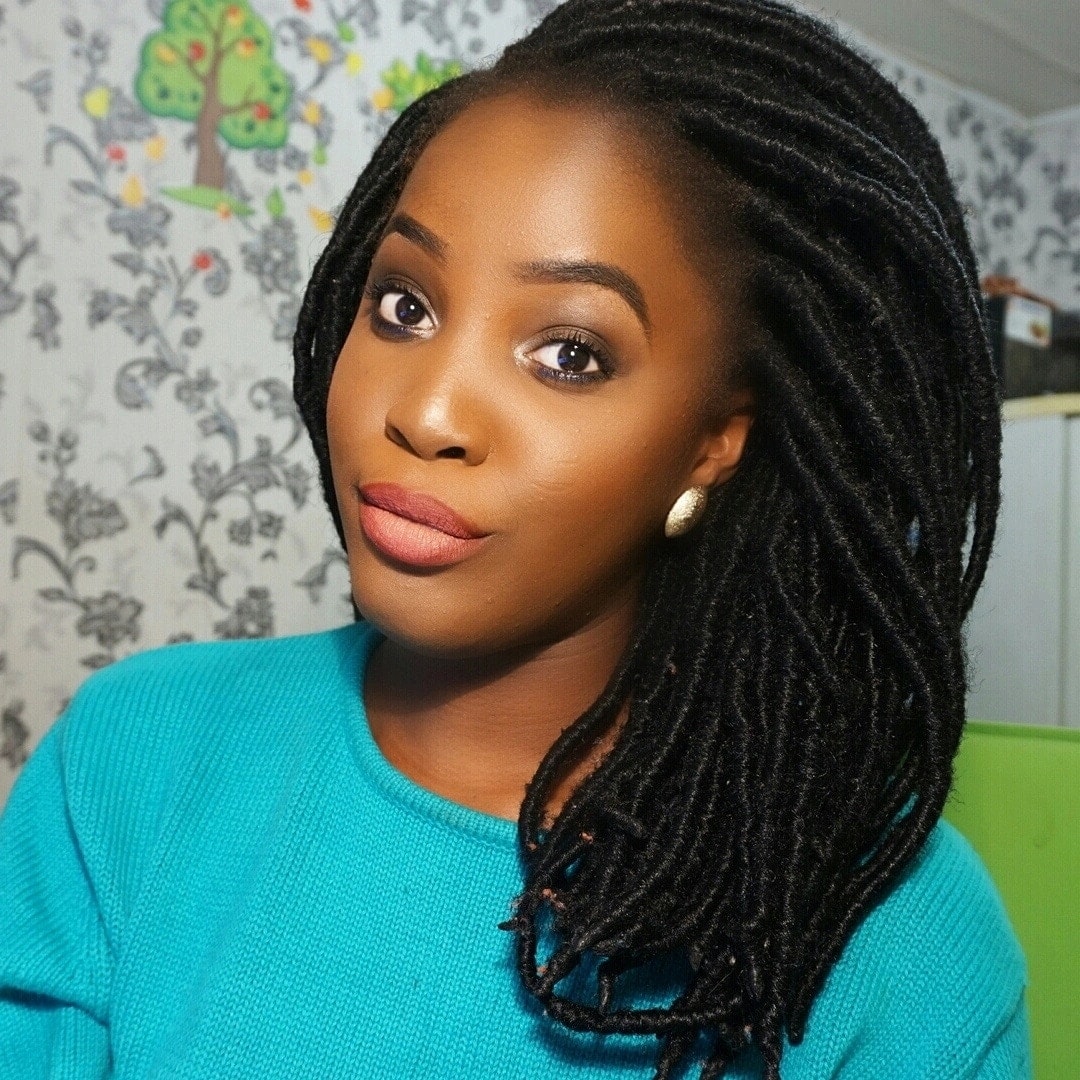
Protective Hairstyles are a versatile way to add length and style to your natural hair. Whether you’re trying to look elegant or protect yourself from harmful UV rays, there are a variety of styles you can try. From chin-length bobs to chunky twist braids, there’s an easy protective style for you.
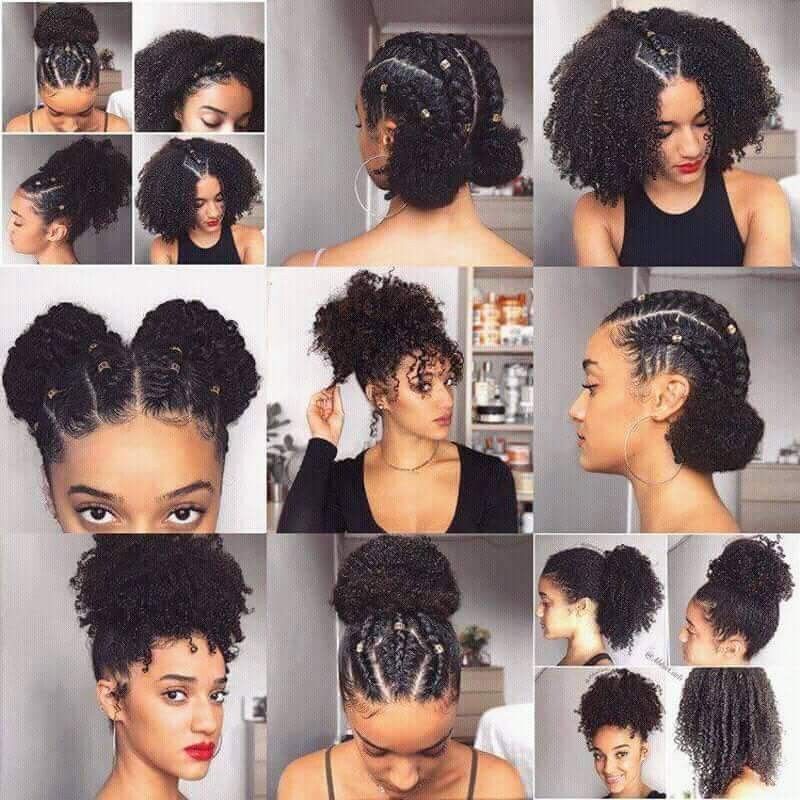
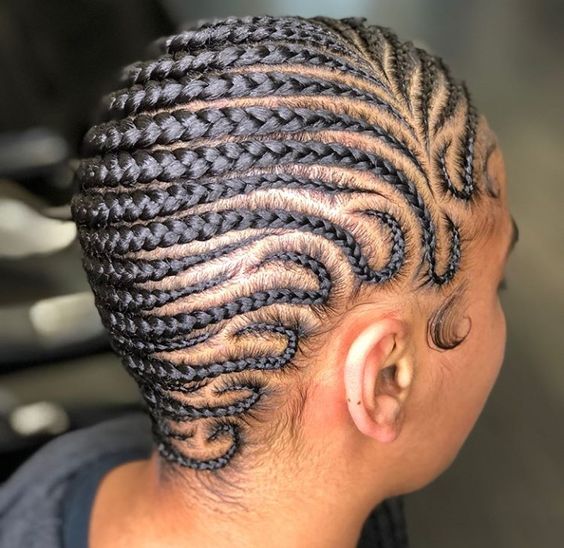
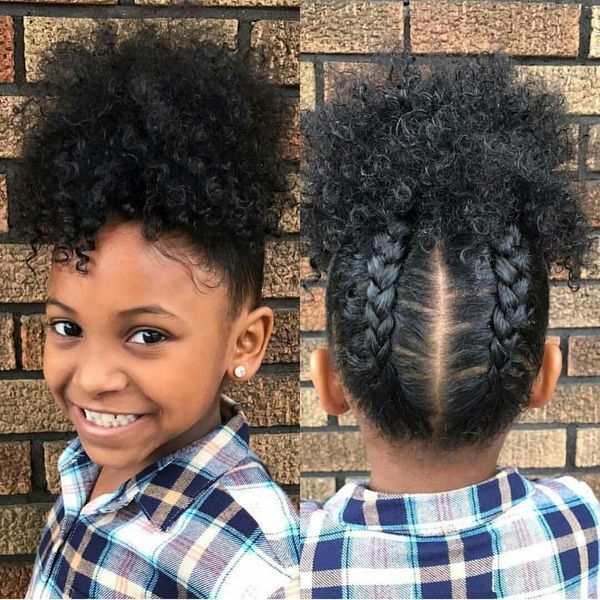
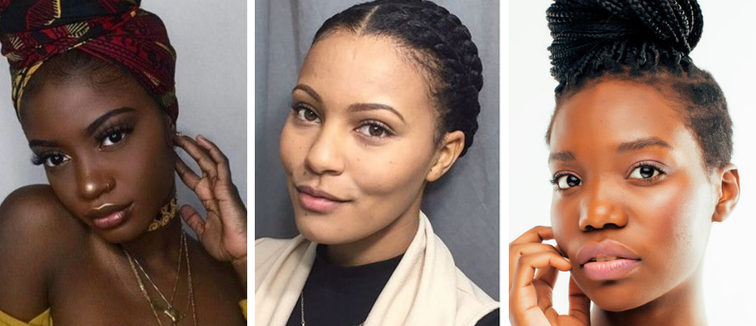
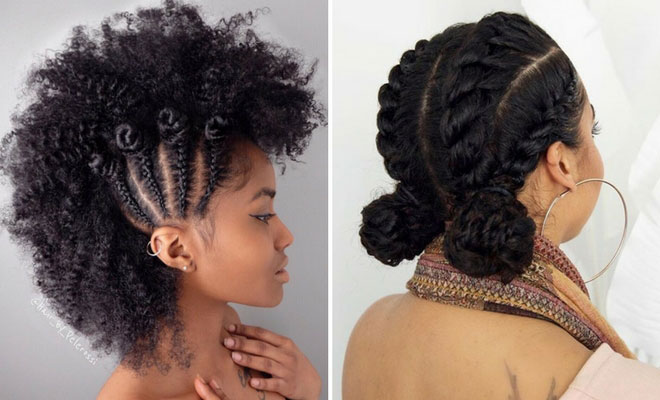
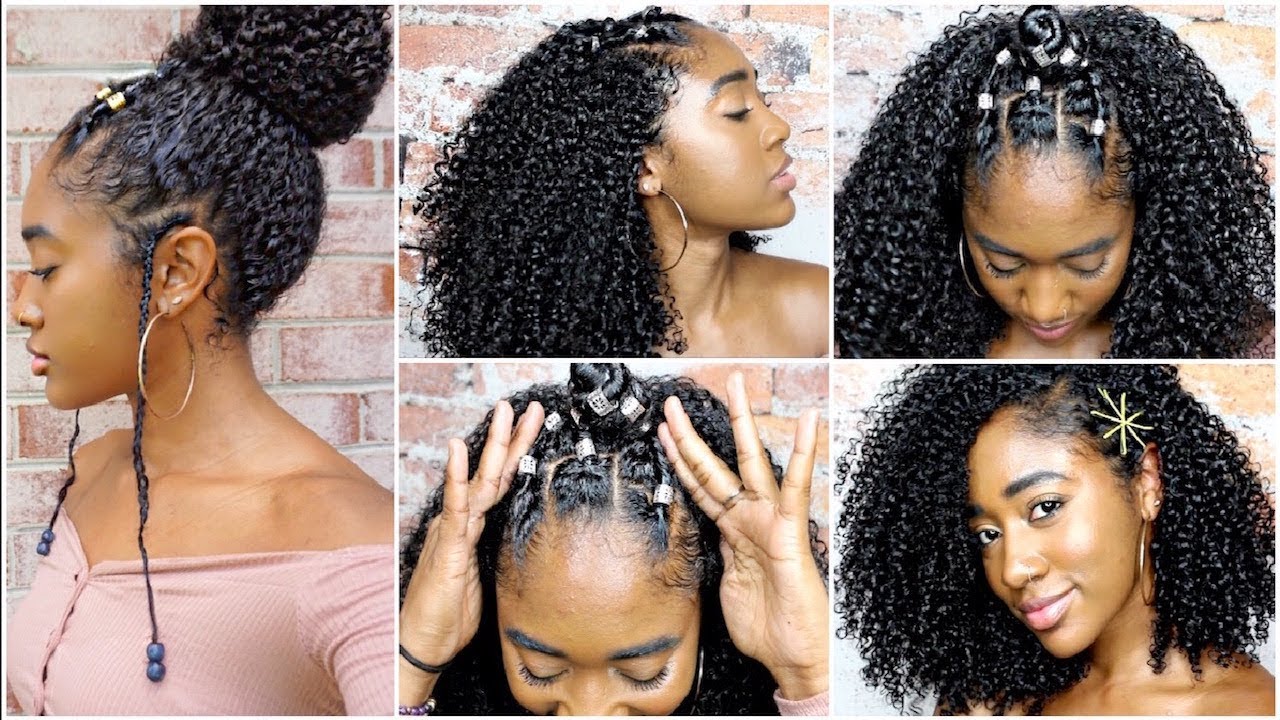
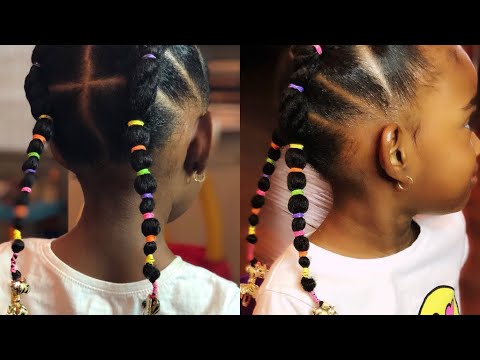
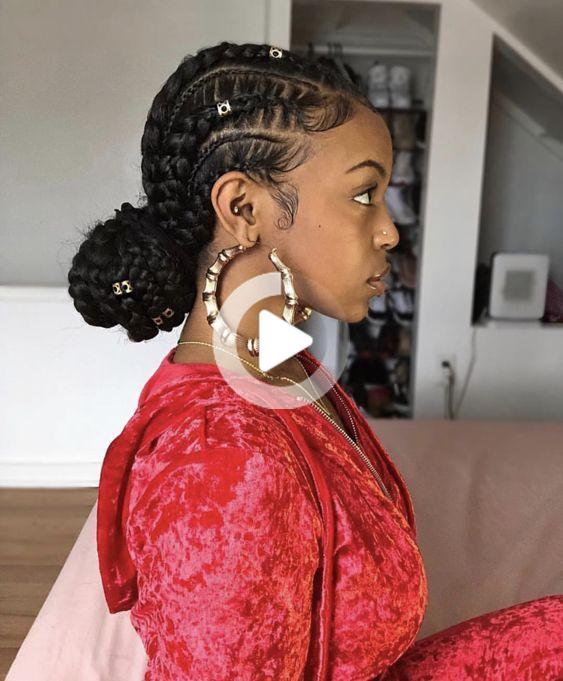
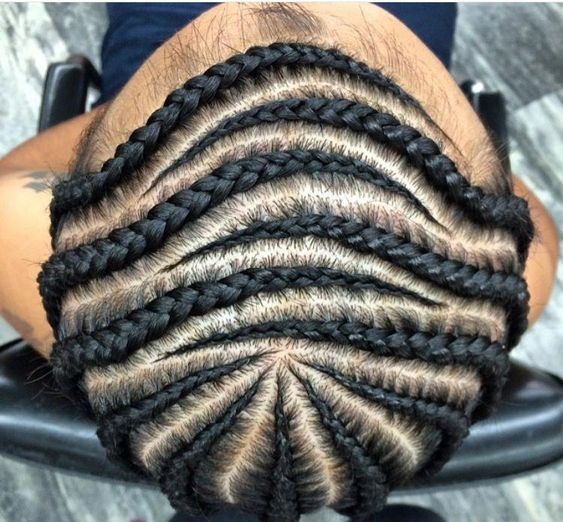
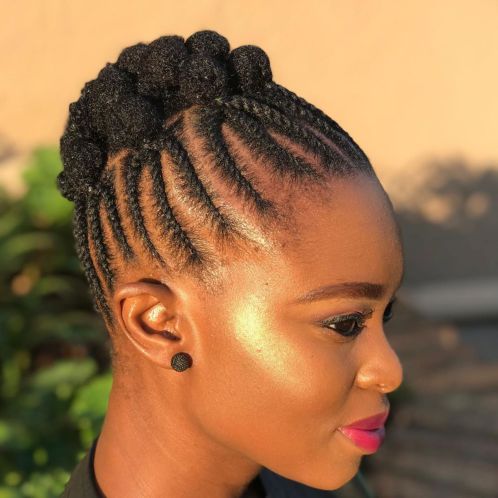
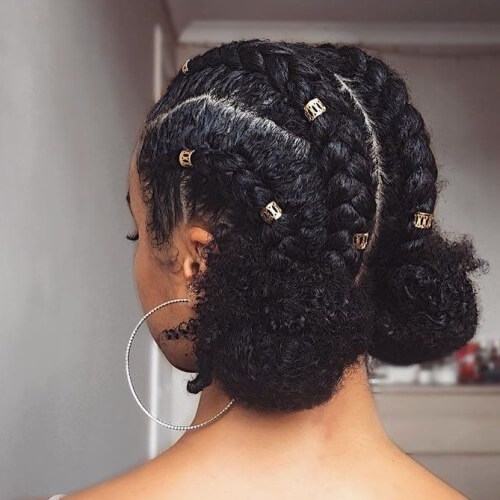
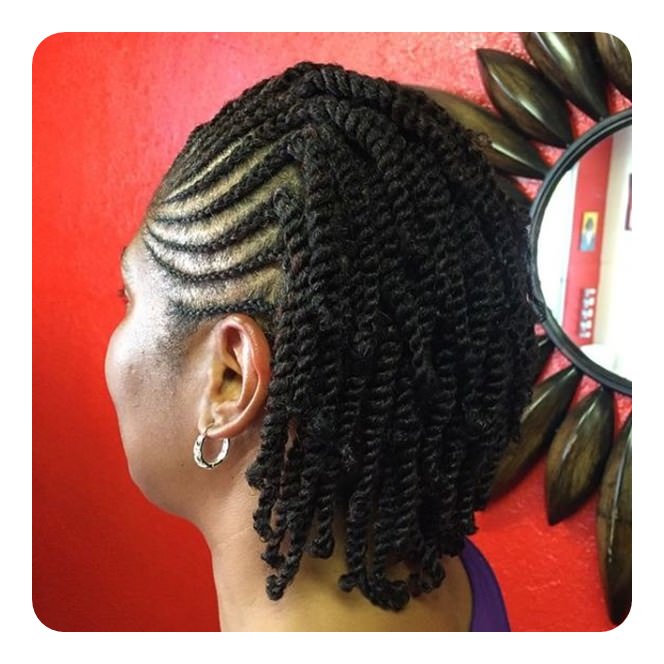
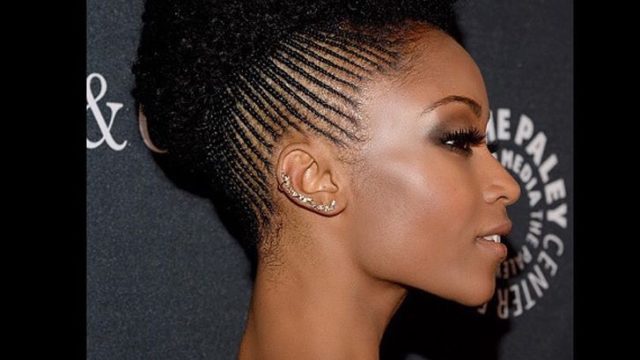
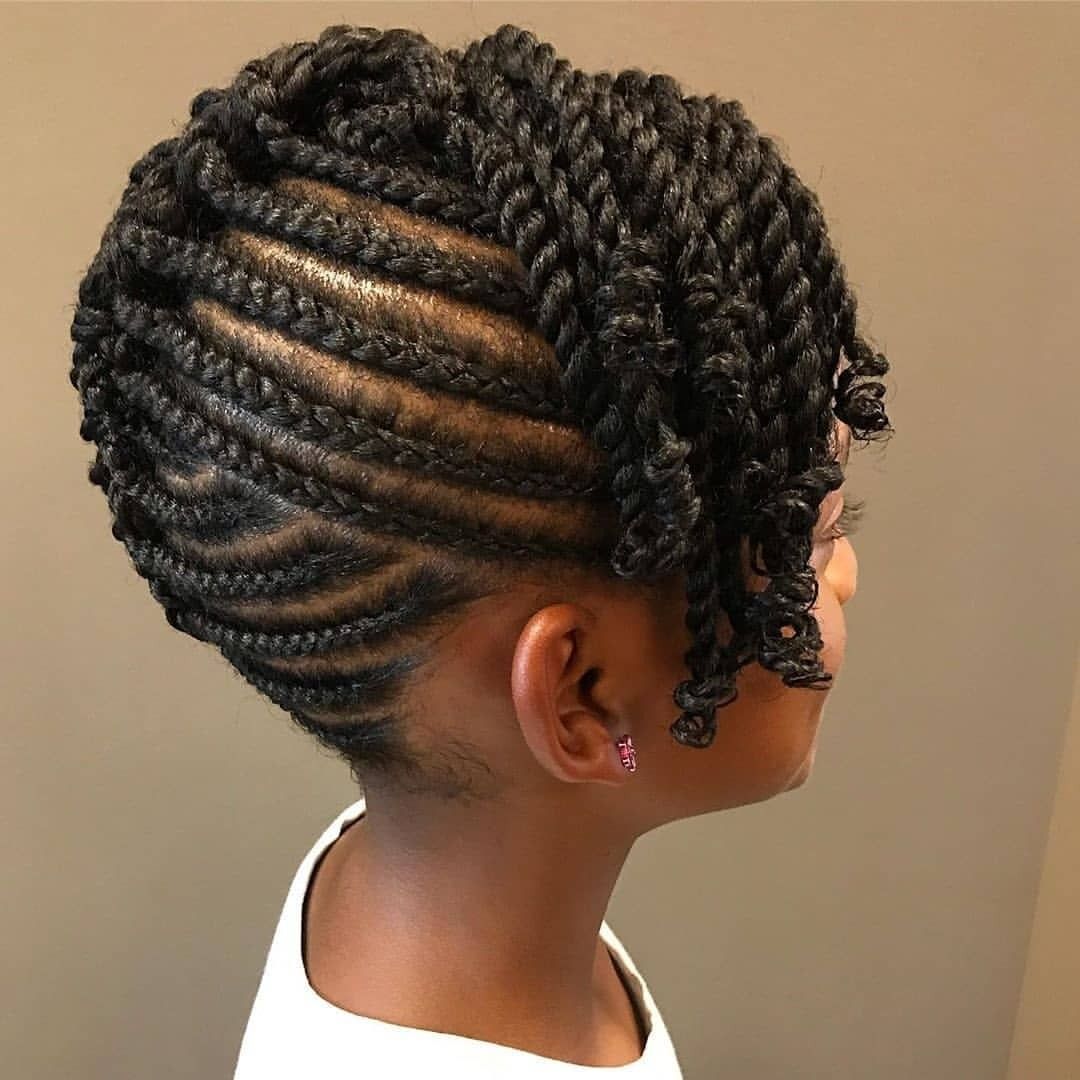
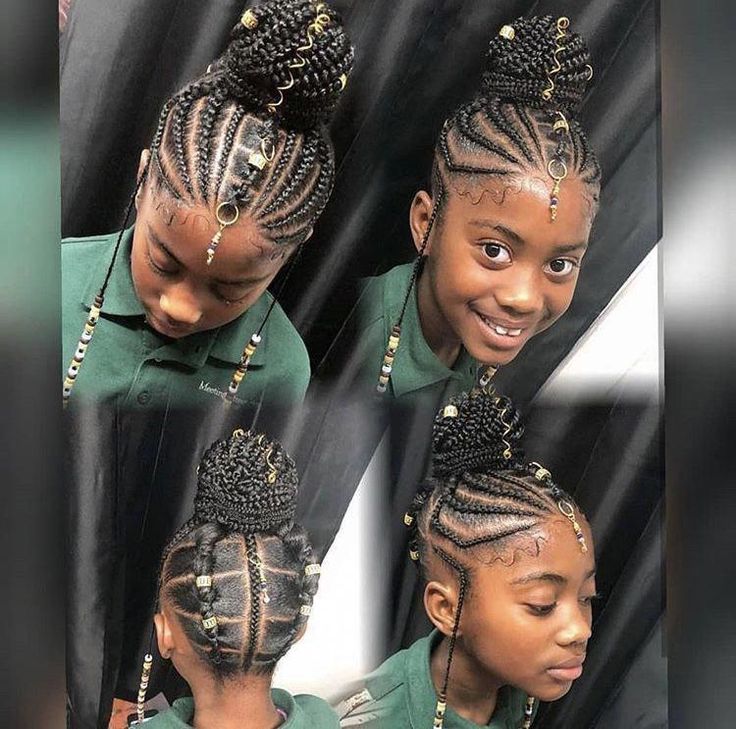
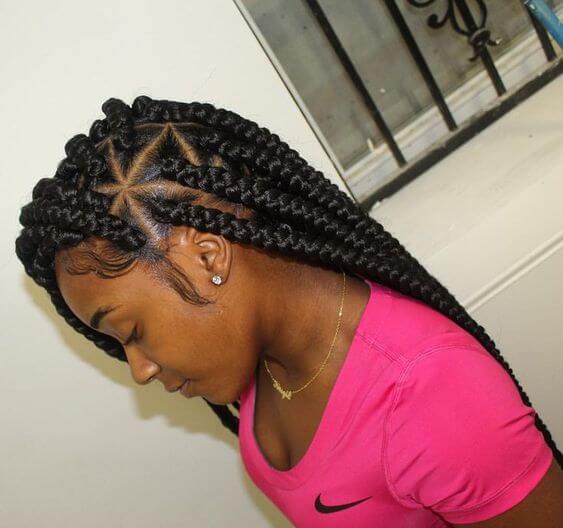
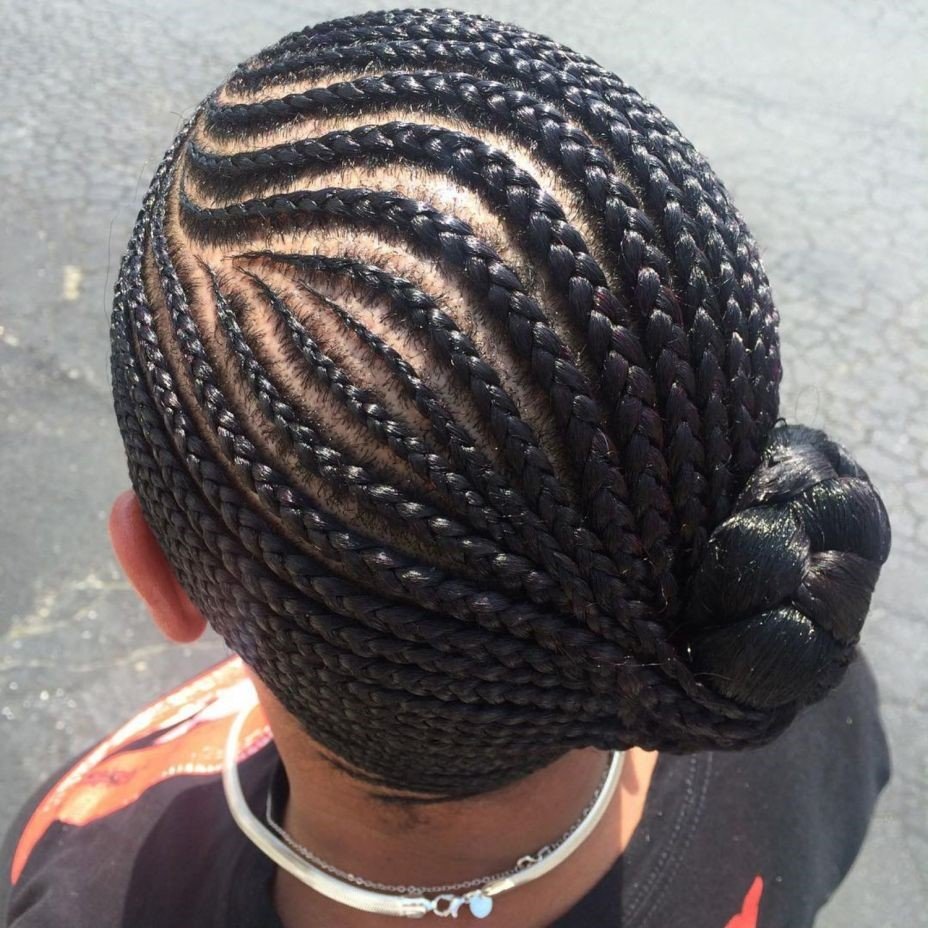
Inverted cornrows
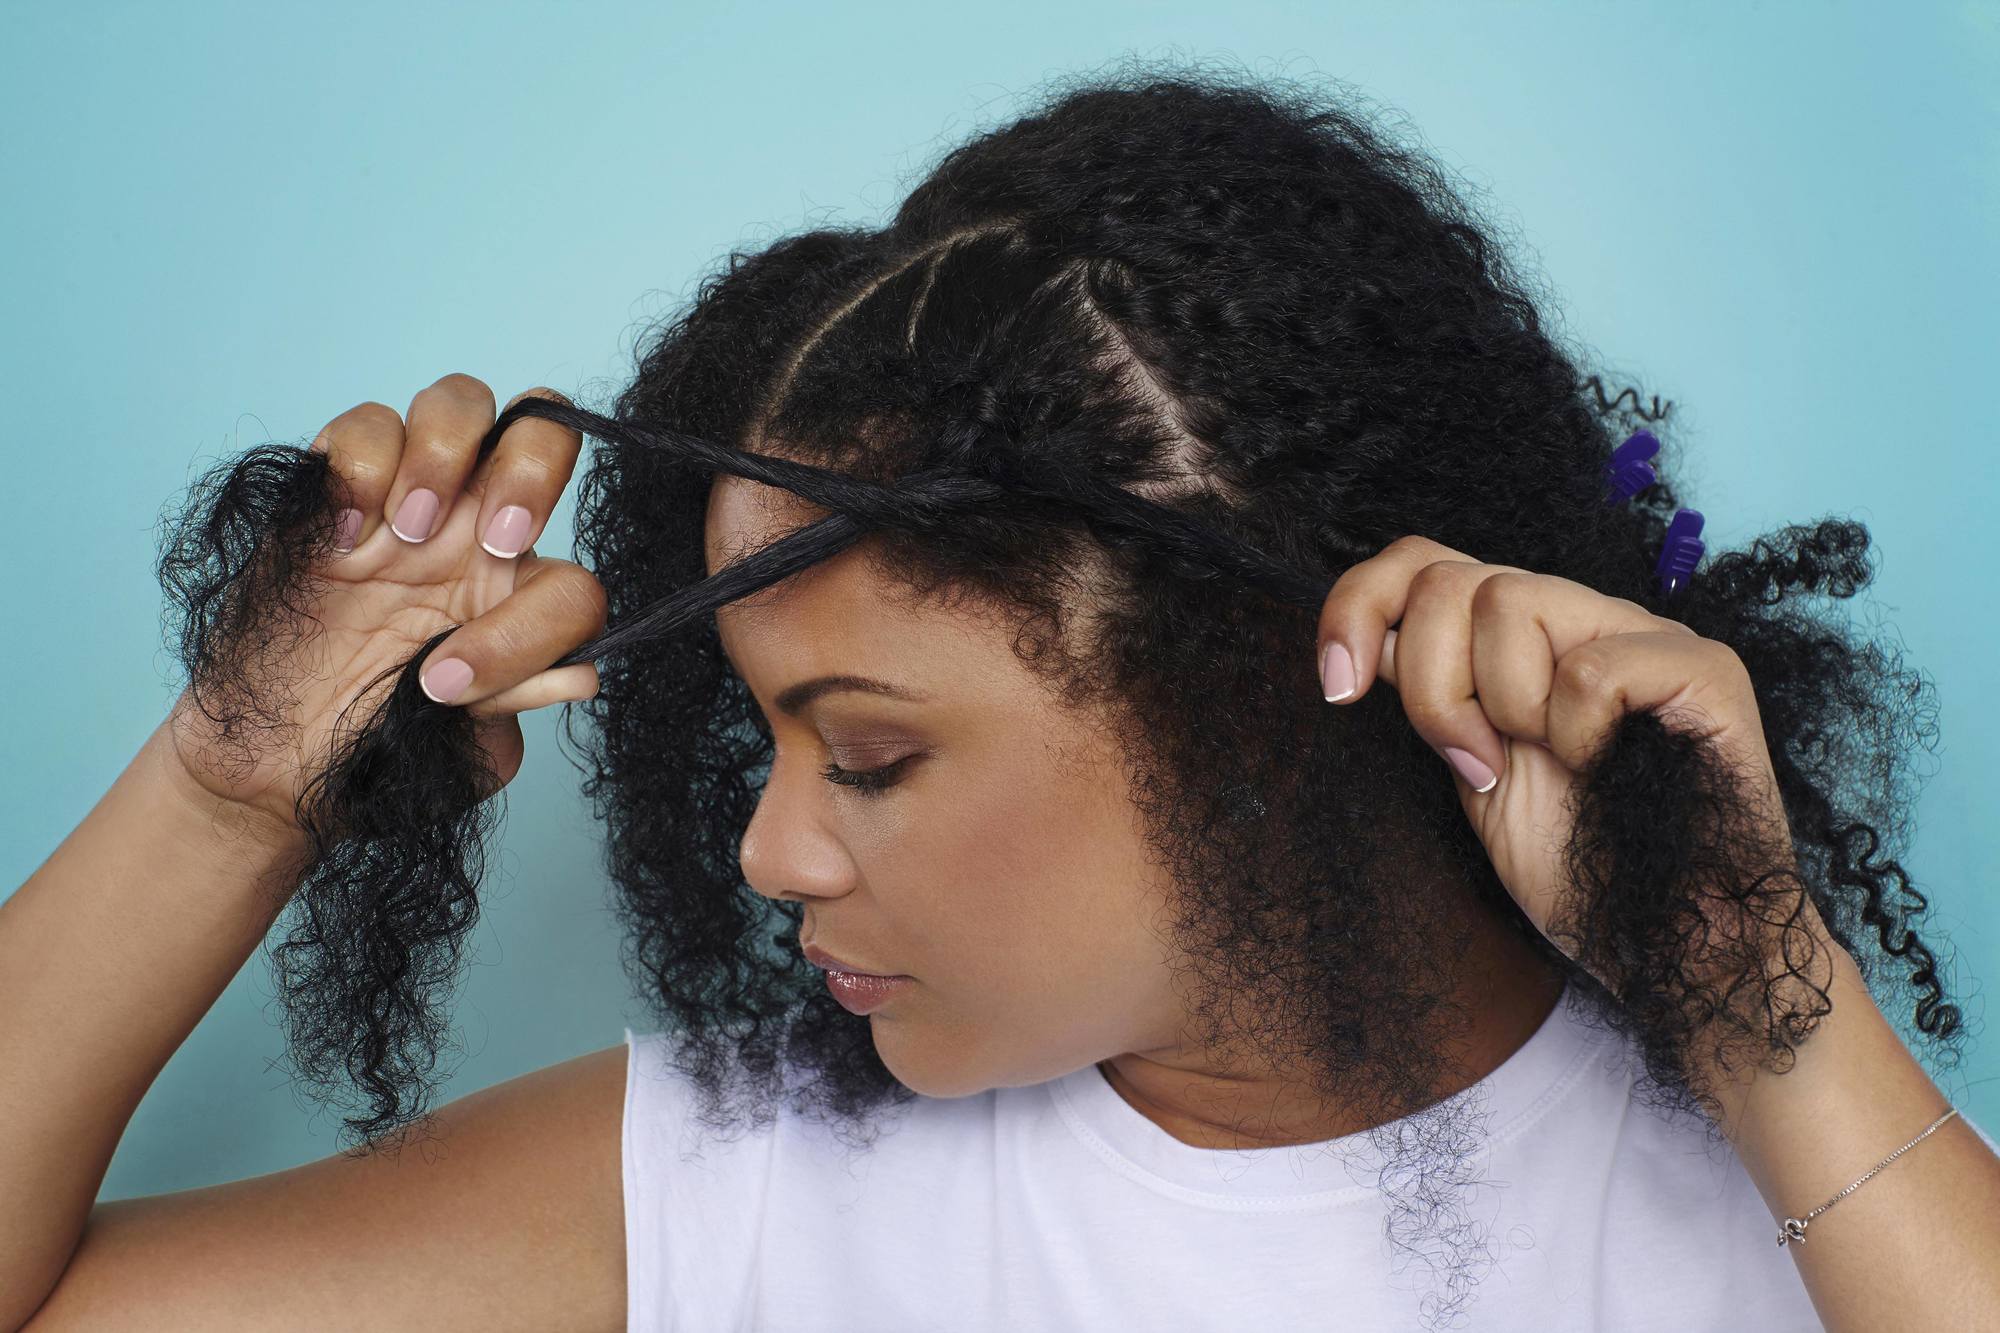
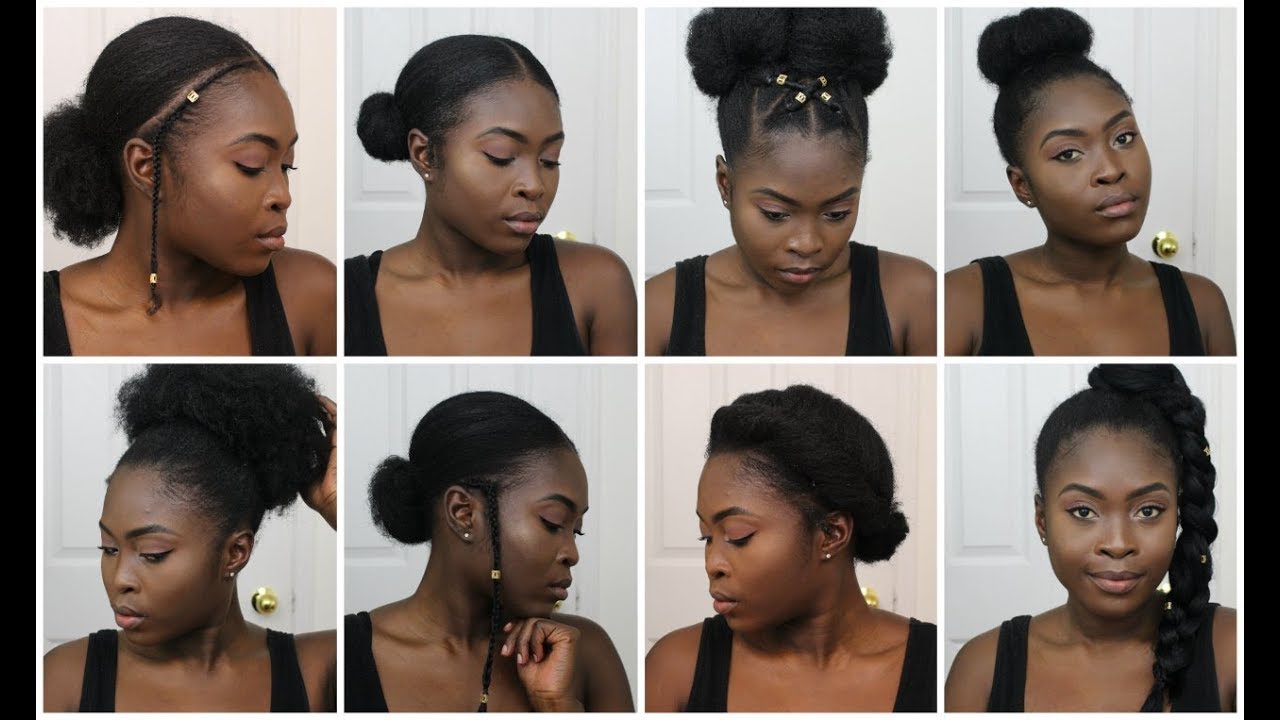
Before you attempt to braid your natural hair, you must decide the pattern that you want to achieve. For beginners, simple rows from front to back are the best choice, but as you learn more you can become more creative. Before braiding, be sure that your hair is thoroughly washed and properly moisturized. The first row should be the middle row, with even width. This will make your cornrows look neater when you’re done. Once you’ve completed all the rows, you can put the remaining Hair into butterfly clips or ponytails.
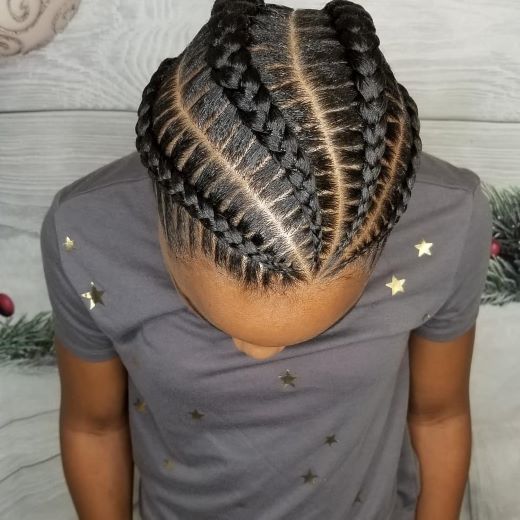
Another option is the French braid. This is a great style for those with shorter hair. You can also use jumbo cornrows to make a slick back. Depending on the size of your hair, you can even connect several large cornrows to a single braid in the back.
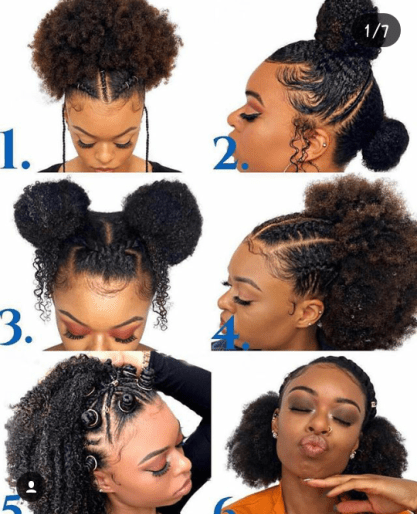
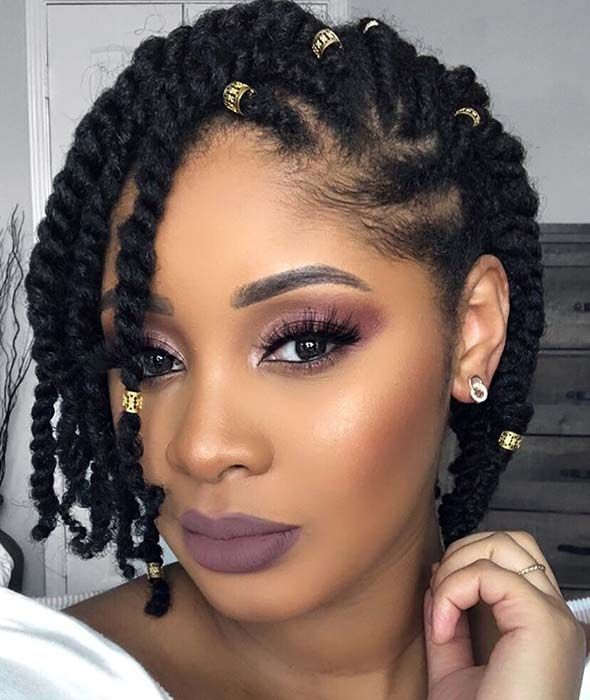
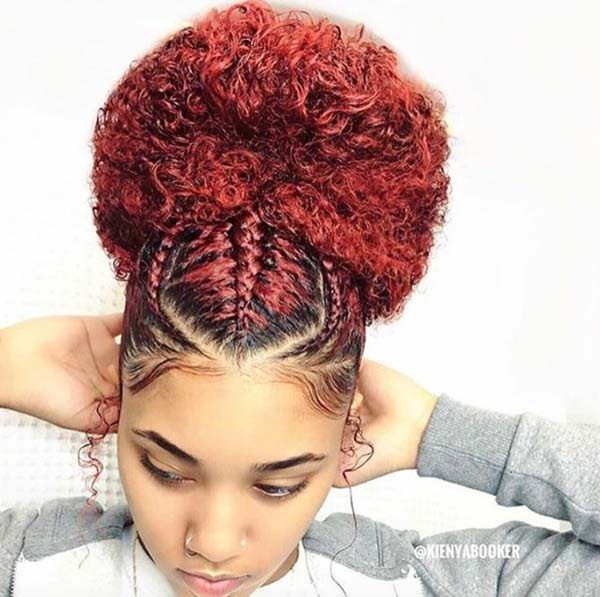
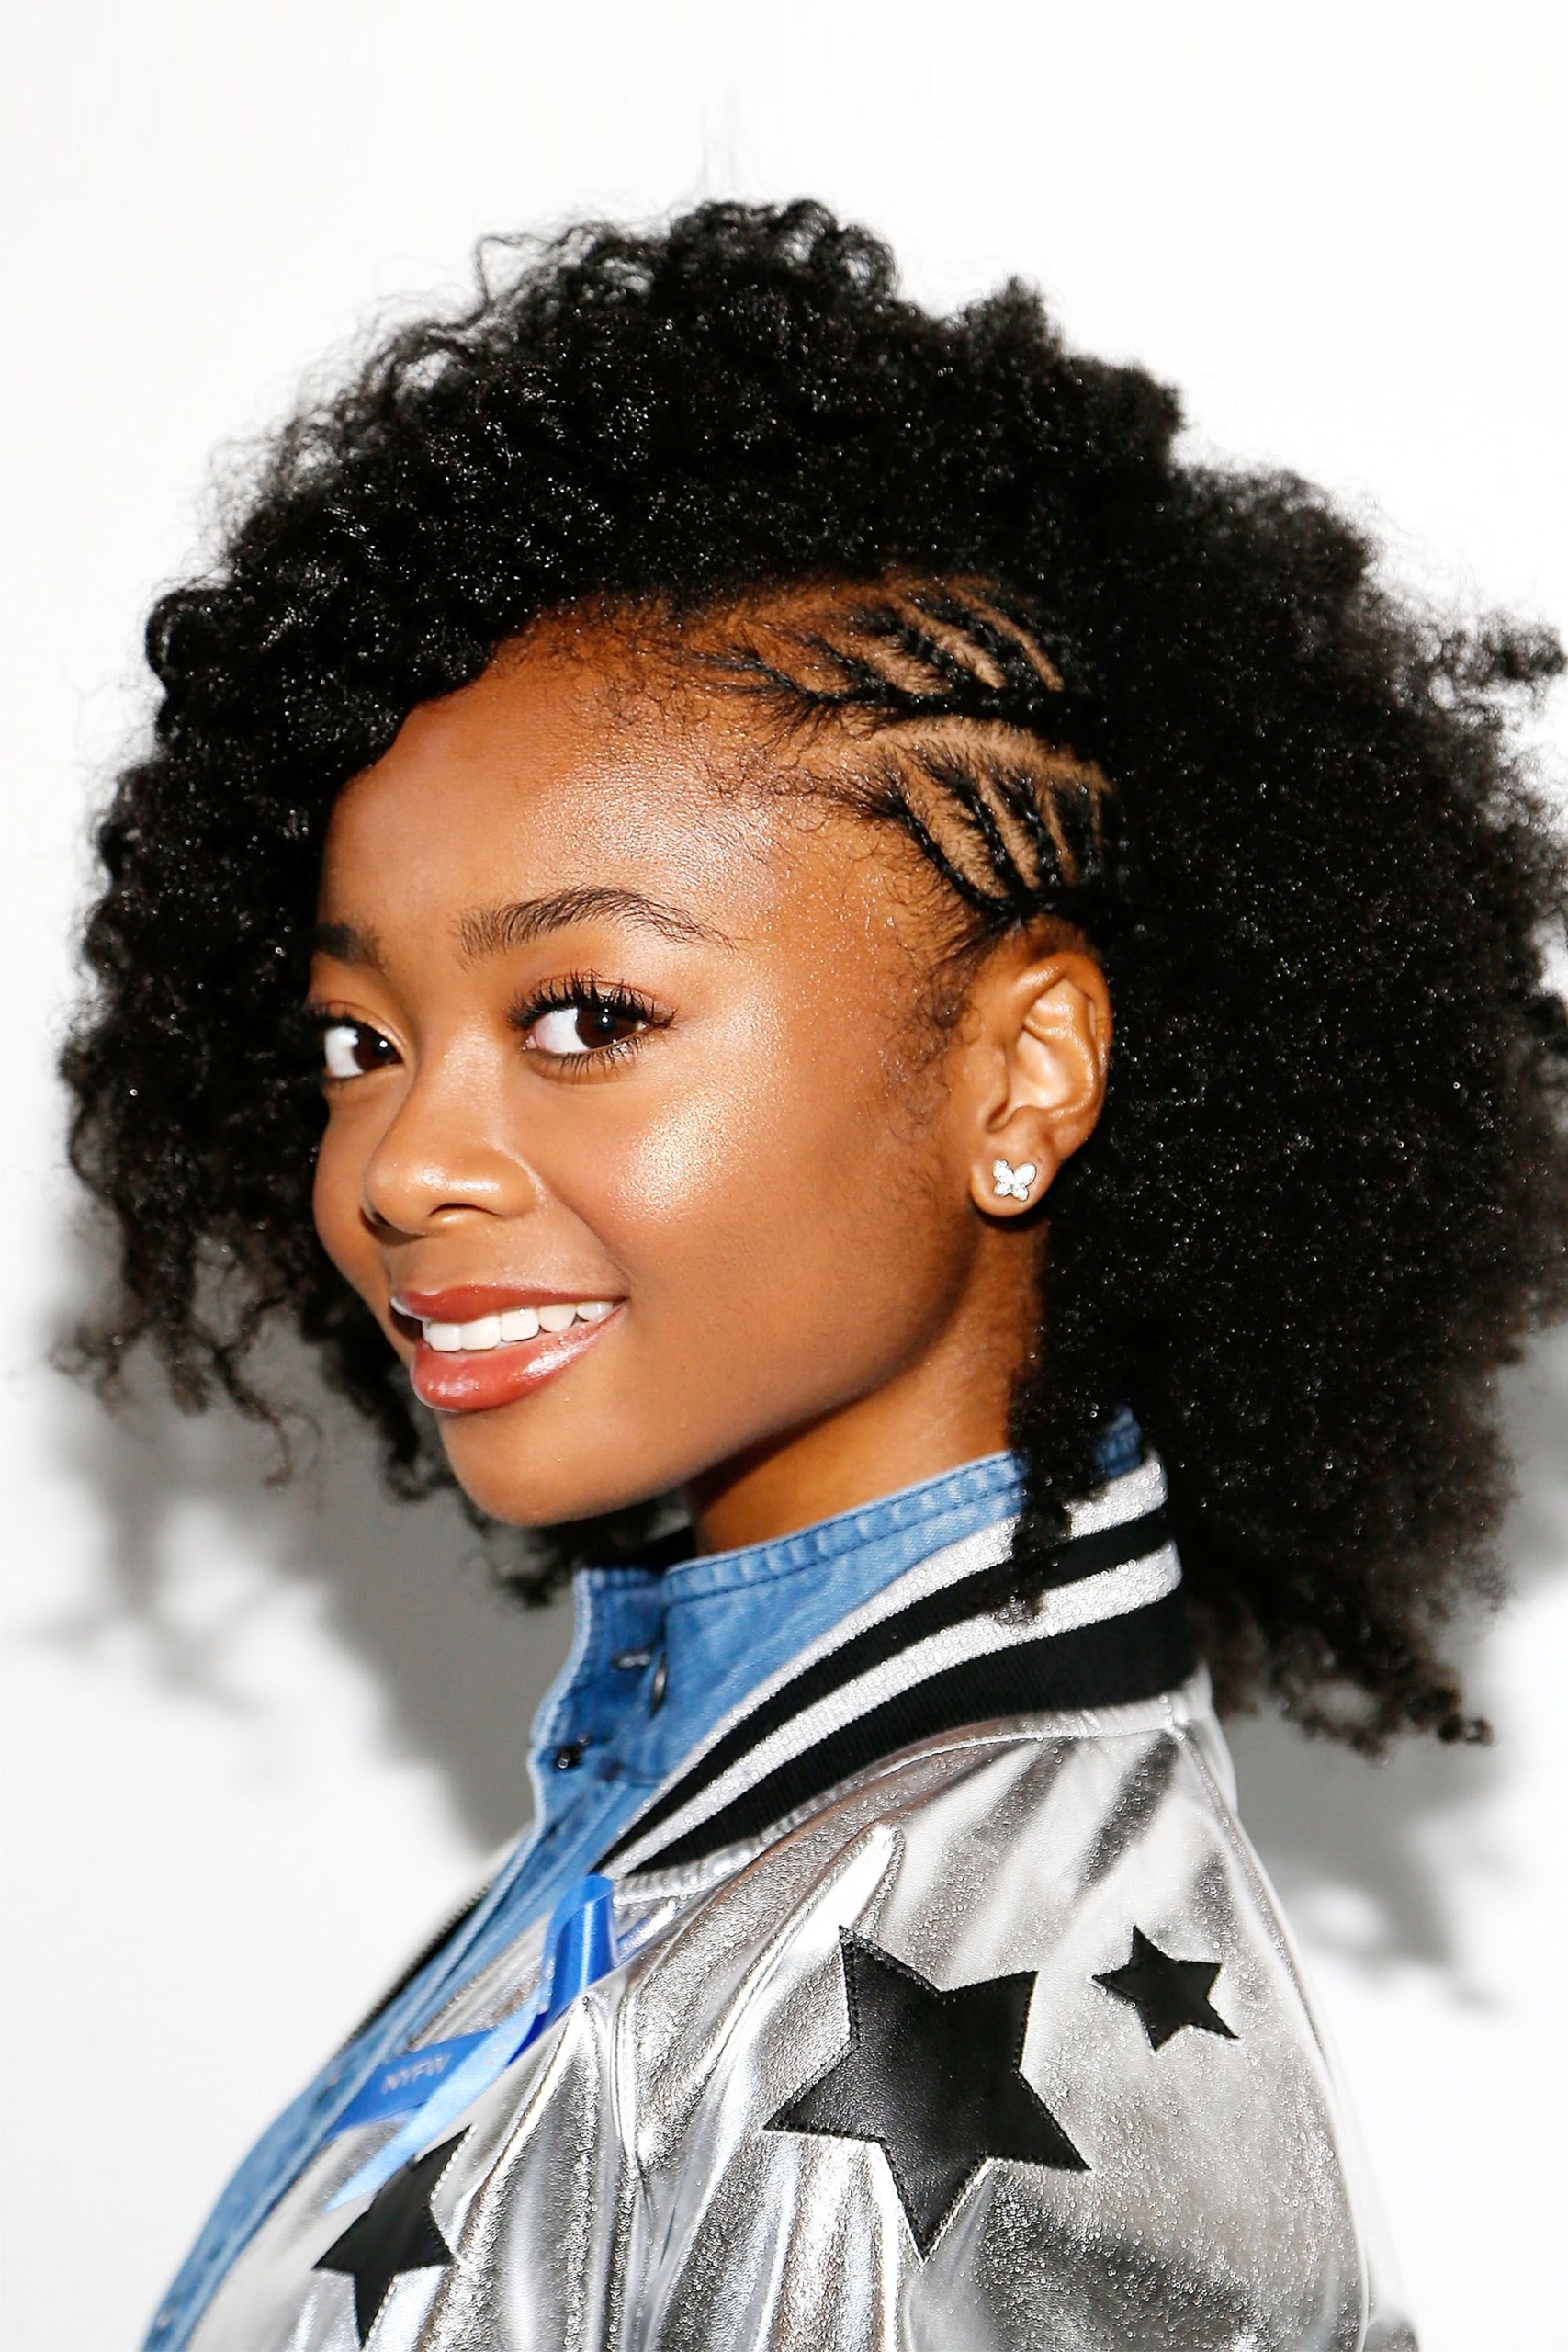
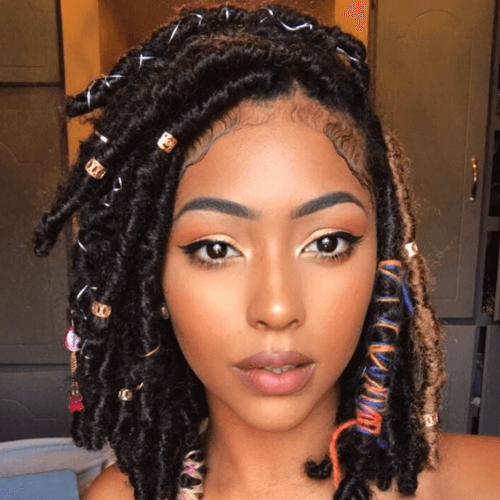
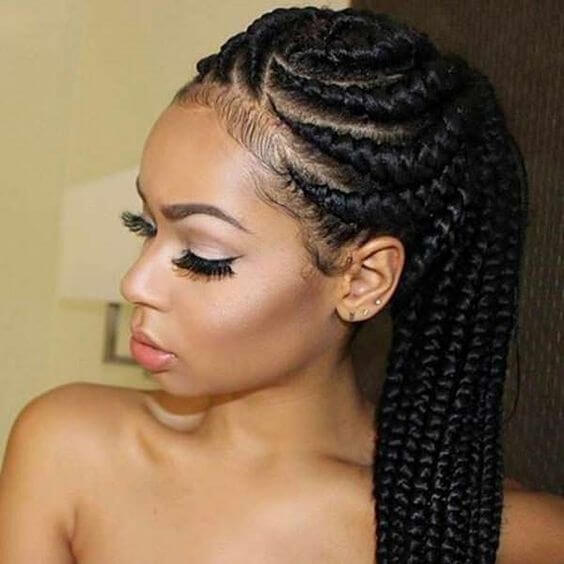
Inverted cornrows are similar to straight cornrows, but they are more feminine. The braids are wider and thicker than traditional cornrows. You can create a high ponytail or low bun using these braids. The thick braids will crown your head and frame your face, and can even be adorned with beads or jewels.
You can also try the half-and-half braid. This design is more intricate than cornrows. It is made up of perpendicular braids that are woven together. This design also looks sexier than cornrows because it allows you to add Hair extensions to your tresses without looking like an amateur.
If you want to add a bit of visual interest to your bob, you can braid it into a bun. You can also add a few loose twists to the top for height and femininity. These braids will also create playful bangs if you decide to go for it. This style is also a protective style that will make you feel like a princess.
The asymmetrical braided updo is another great protective Hairstyle. These braids will shield your Hair from the elements and still look fresh and fun. If you have thick natural hair, consider trying this style for a more unique look. You can combine two braids for a hippie-inspired look.

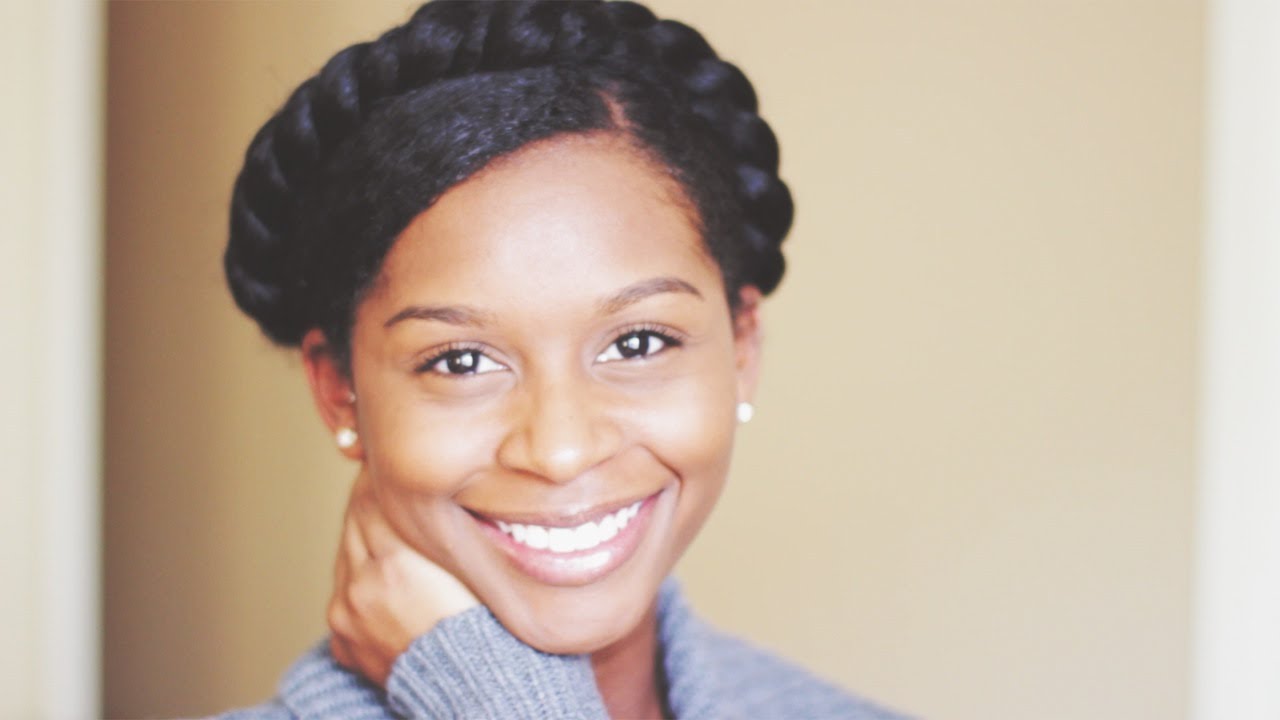
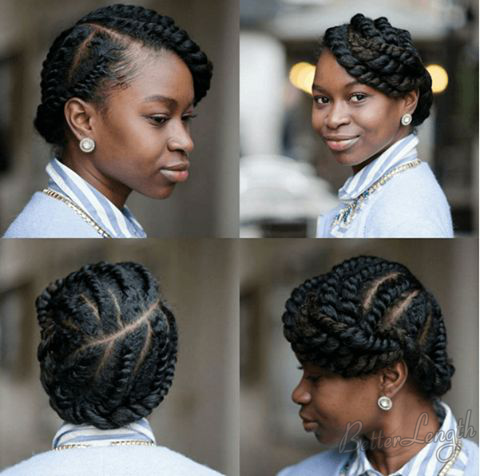
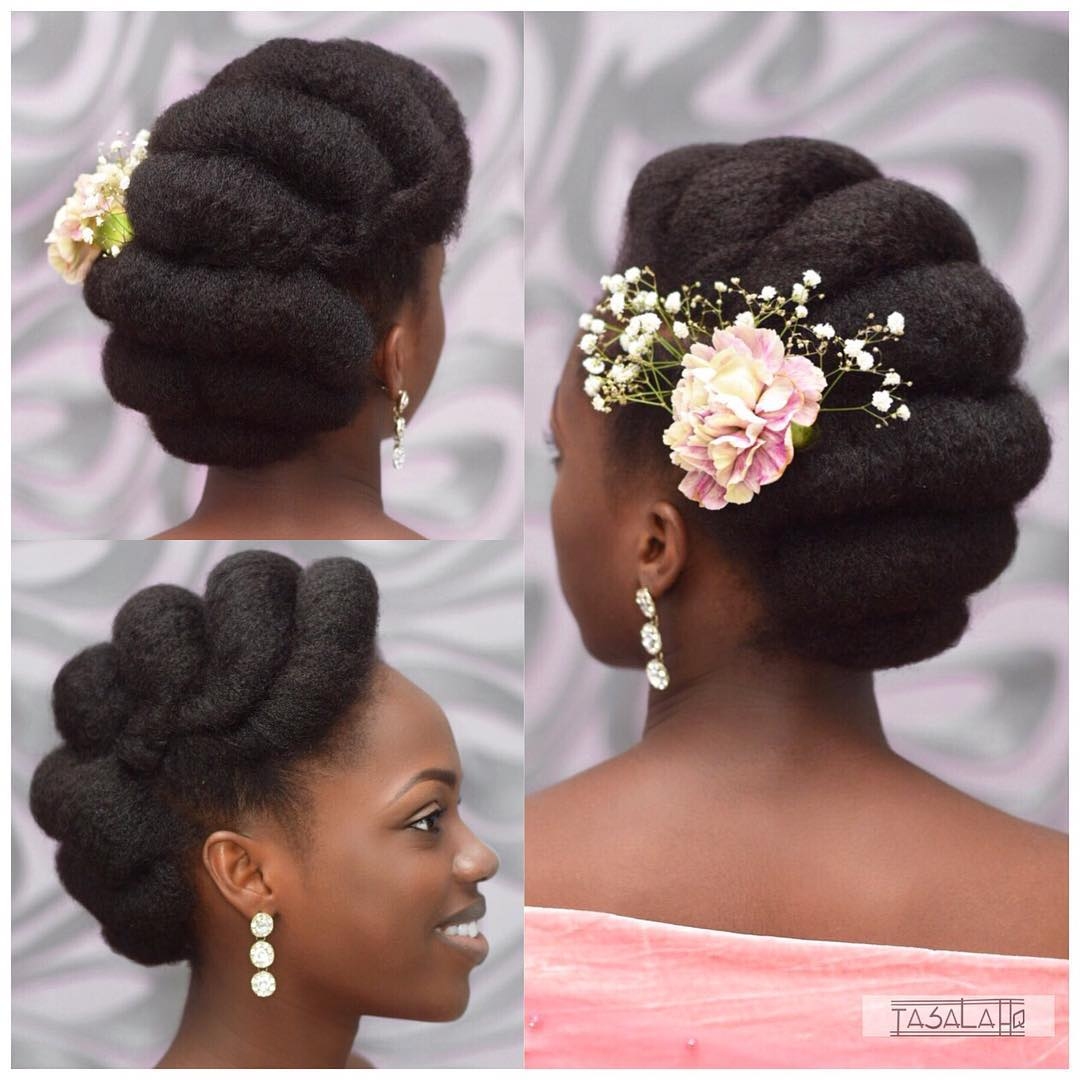
Halo braids
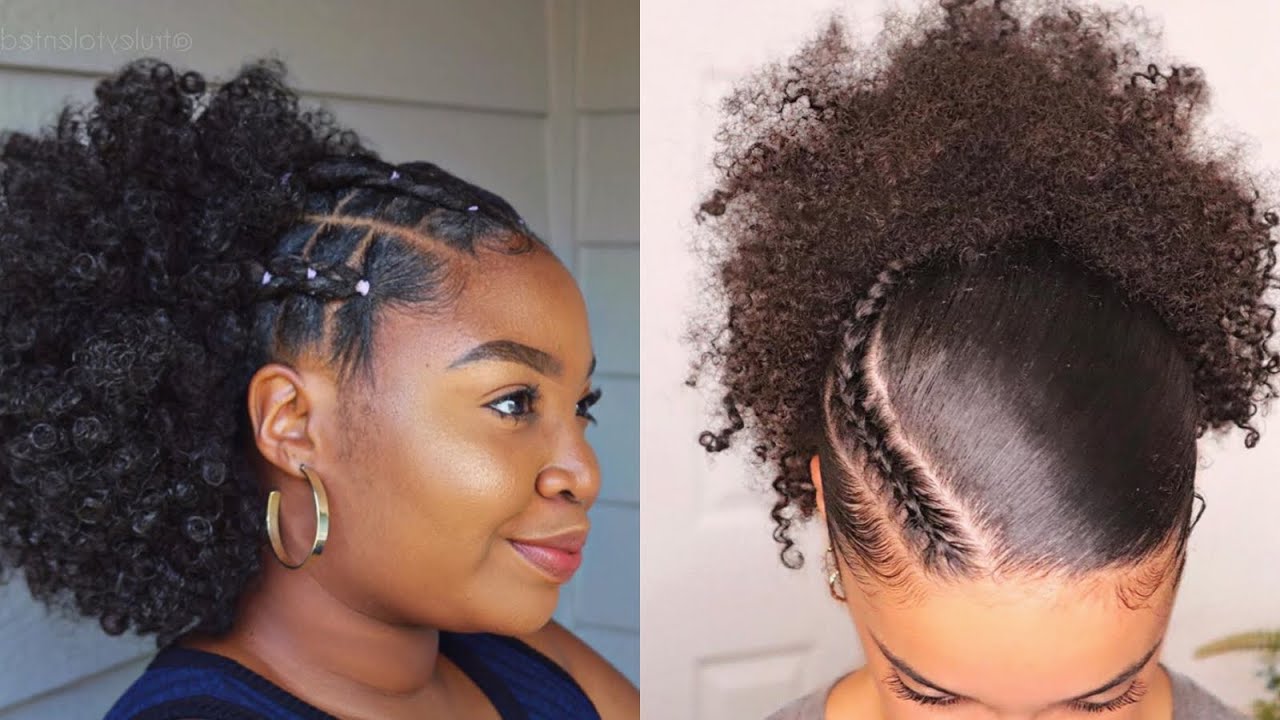
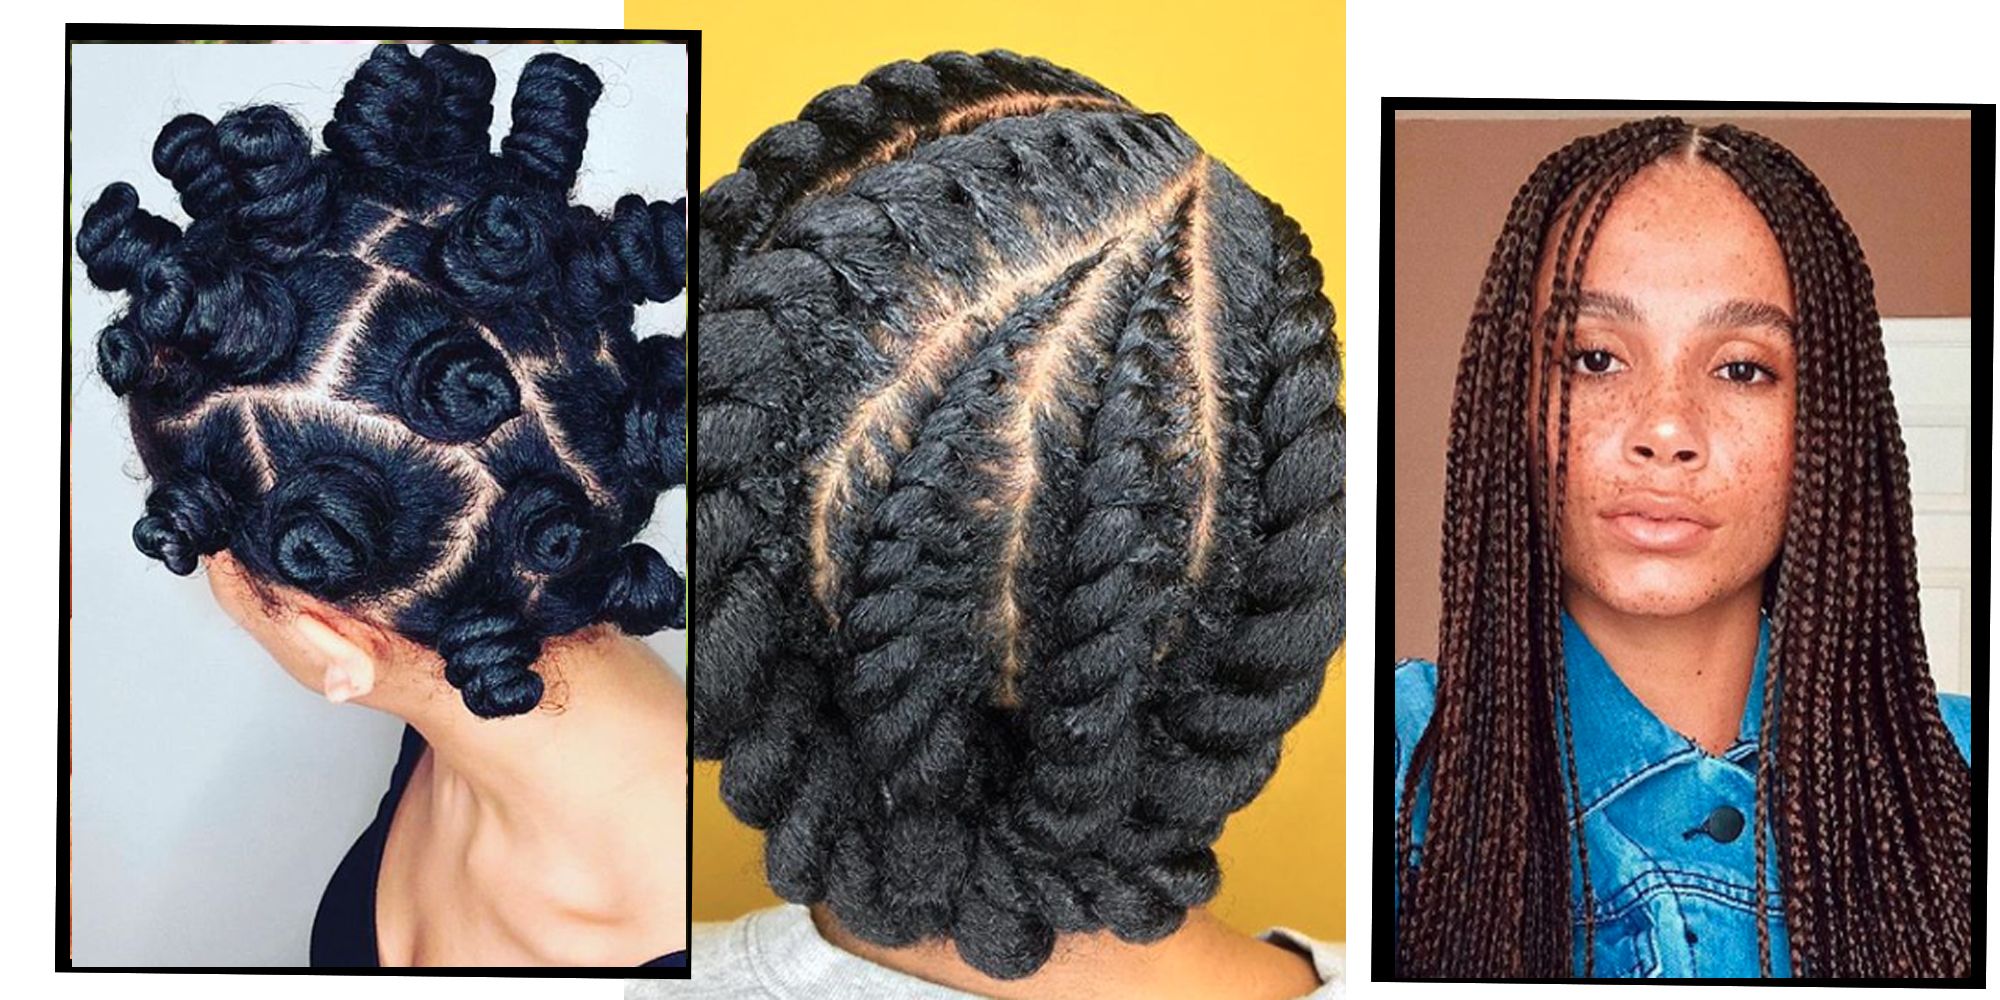
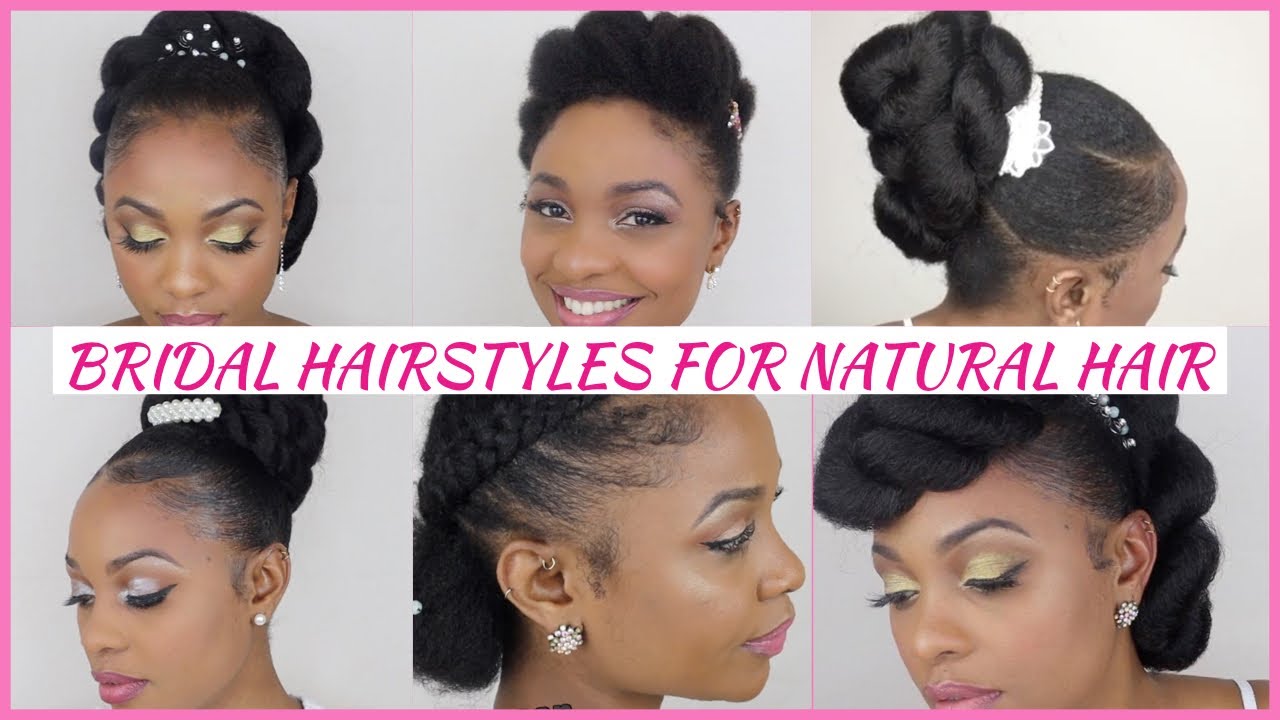
Halo braids for natural hair can be a statement style with a timeless quality. This look is a classic, and the method for creating this look is easy. To get the look, start by braiding the hair behind the right ear in a circle to the left. Make sure you pick up all of the Hair and keep it attached to the scalp. Once the braid is complete, tuck the ends under the braid and secure it with a hair pin. If desired, you can add a finishing product to your hair to give it a polished look.
Halo braids for natural hair can be applied to any style, including afro hair. Before you start braiding your hair, part your hair neatly in the front. Divide the hair into two sections. If your hair is longer than shoulder-length, you can use the Afrocenchix Essential Accessories Pack, which includes a hairband and clips to hold your hair in place while you braid.
Halo braids are easier to do if your hair is medium to long. This will allow you to wrap the braid around your head easily. Shorter hair, however, may make it difficult to achieve a continuous braid. For shorter hair, consider making the braid looser or using half-up-half-down variation.
The halo braid is a versatile style that can be worn for many occasions, including evening events. It also looks good with feminine accessories. For example, a hair clip can be used to create side bangs on the side of the braid. If you’re going to a wedding or a special event, a halo braid will give you a more feminine look and make your hair look gorgeous.

A halo braid is an easy and beautiful way to add volume and shine to your hair. It resembles a crown braid, except that instead of wrapping French braids around the head, you alternate individual long Dutch braids along the hairline. These can be fixed with a hair tie, or you can attach the braided hair to a bun.
Halo braids for natural hair are a protective style that can reduce the amount of daily hair manipulation. They’re an easy way to keep your hair looking healthy and stylish without the use of harsh chemicals or harsh heat tools. If you’re not sure how to make a halo braid, just watch a video on YouTube to learn how.
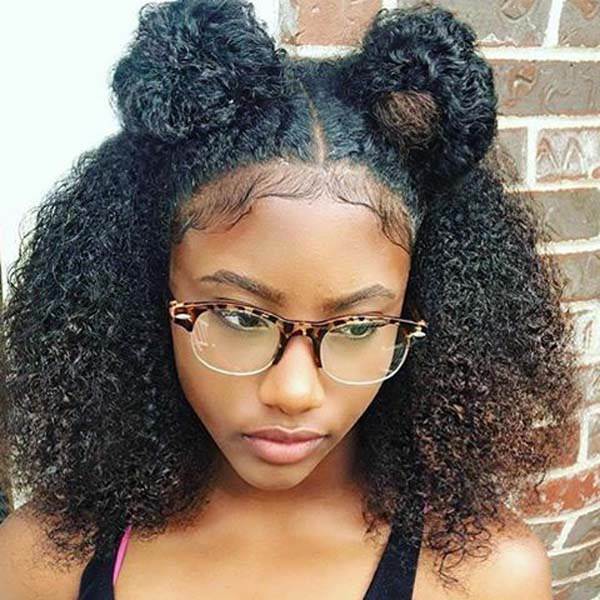
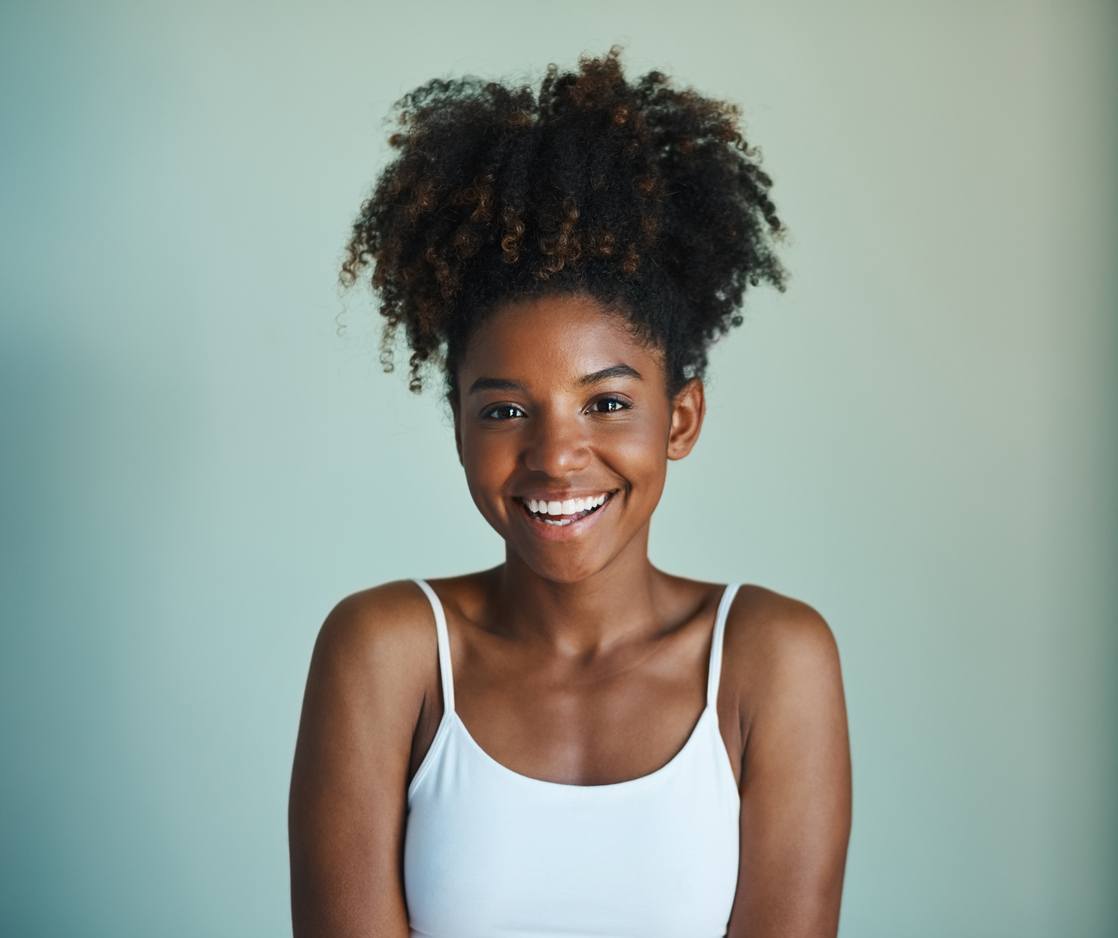
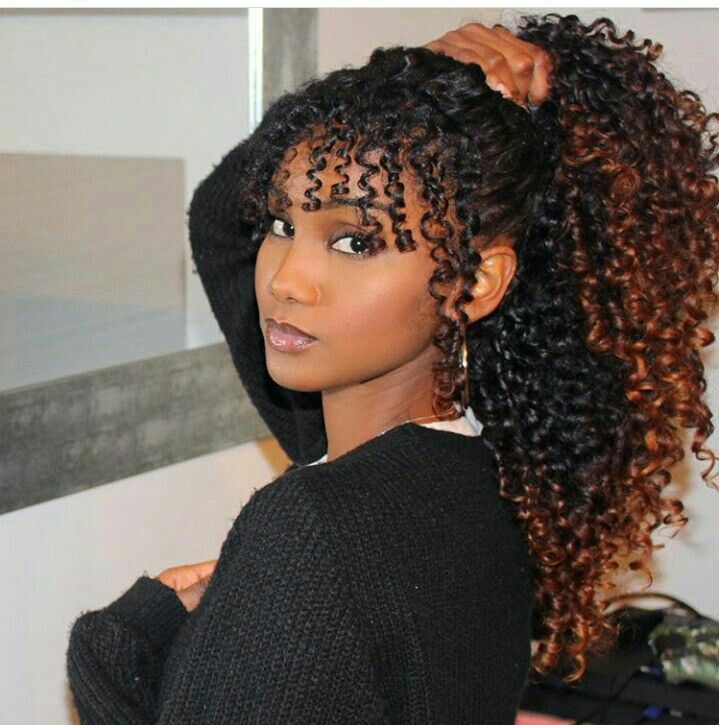
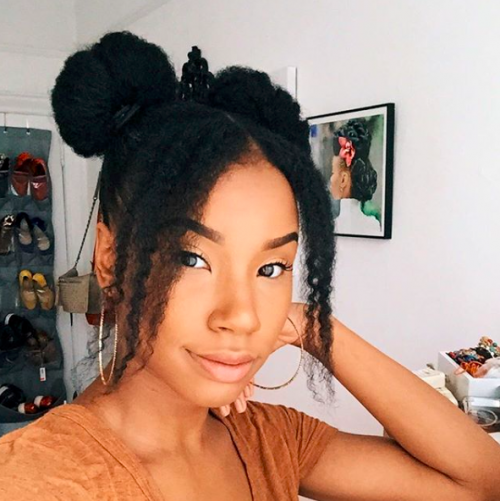
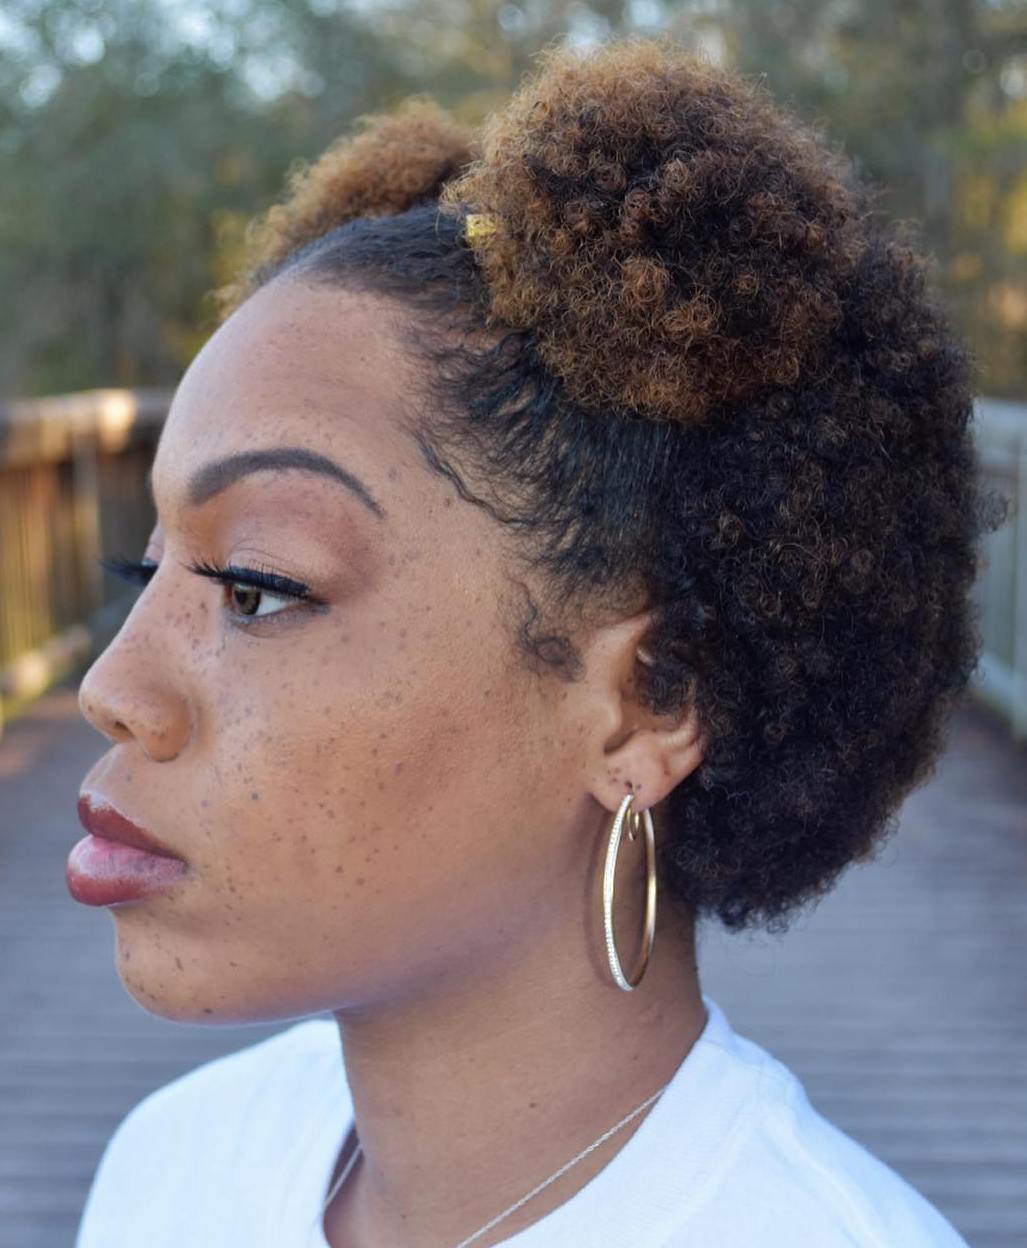
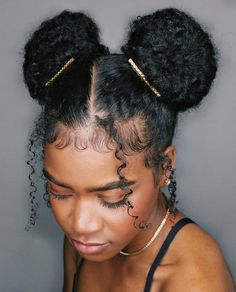
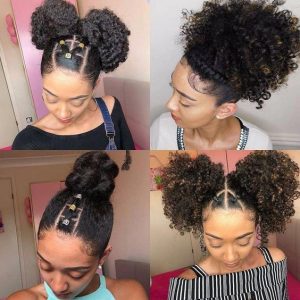
Double half-up buns
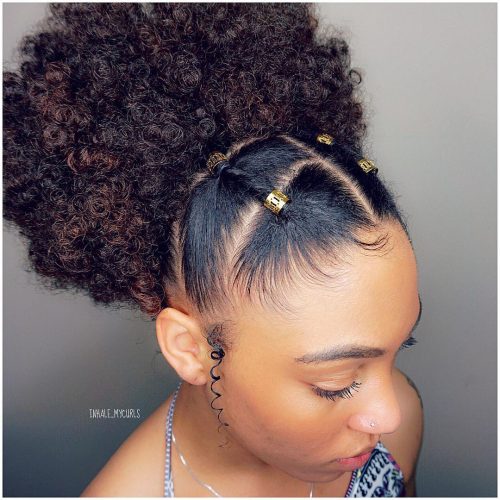
Double half-up buns for natural hair are a cute hairstyle for those with natural curls and wavy hair. Simply twist your natural half-up hair into a bun and secure with hairspray or gel. You can also wear your hair down with this style.
There are a variety of different ways to create a half-up bun for natural hair. You can use braiding or three-strand braiding to add fullness. Another option is to use bungee rubber bands with hooks at the ends to make the base easier to manage. Adding clip-in bangs can also be helpful, and you can pull out short pieces to make the bun look more natural.
Double half-up buns for natural hair are also versatile enough to be worn during the day. First, you should split your hair into two sections. Gather the lower section into a mini bun, and then gather the top section into a high ponytail. You can secure the top section with bobby pins. Repeat the procedure on the other side.
Double half-up buns are ideal for women with medium length hair. They are quick and easy to do, and show off your texture. This style requires only a few minutes to achieve, and requires slicking back the edges. You can use elastics or bobby pins to secure your buns.
Another fun style for short hair is a space bun, which is similar to a traditional two-bun style, but is created with short hair. To create a space bun, use a 1-inch curling iron to create a textured look. To hold this style, you’ll need a rattail comb and bobby pins.
A classic style for girls, double up buns are the perfect summer hairstyle. Featuring a flirty finish, this style is perfect for a day at the beach, school, or a night out. It’s quick and easy to create and is a classic look.
For a more glamorous look, you can twist the bun and use a pin to secure it. These buns also look great when you choose to add a few accessories. You can also try a hair tie to keep the style in place.
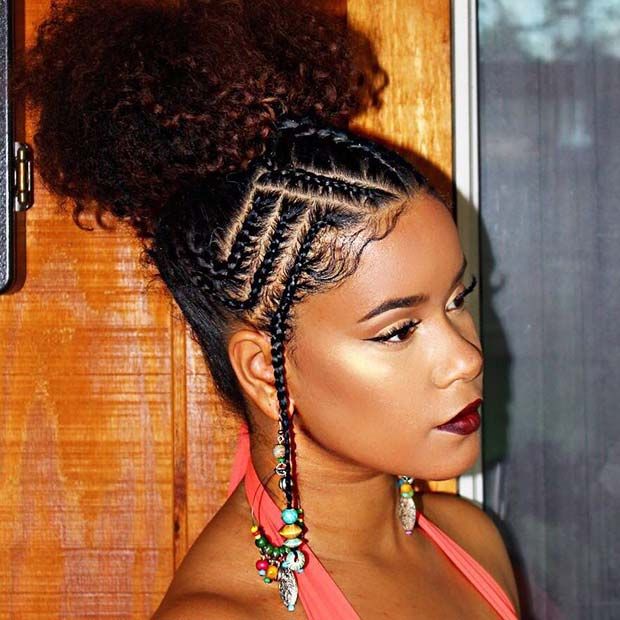
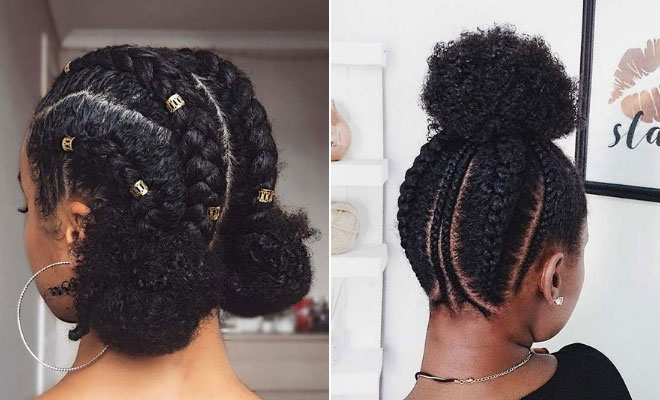
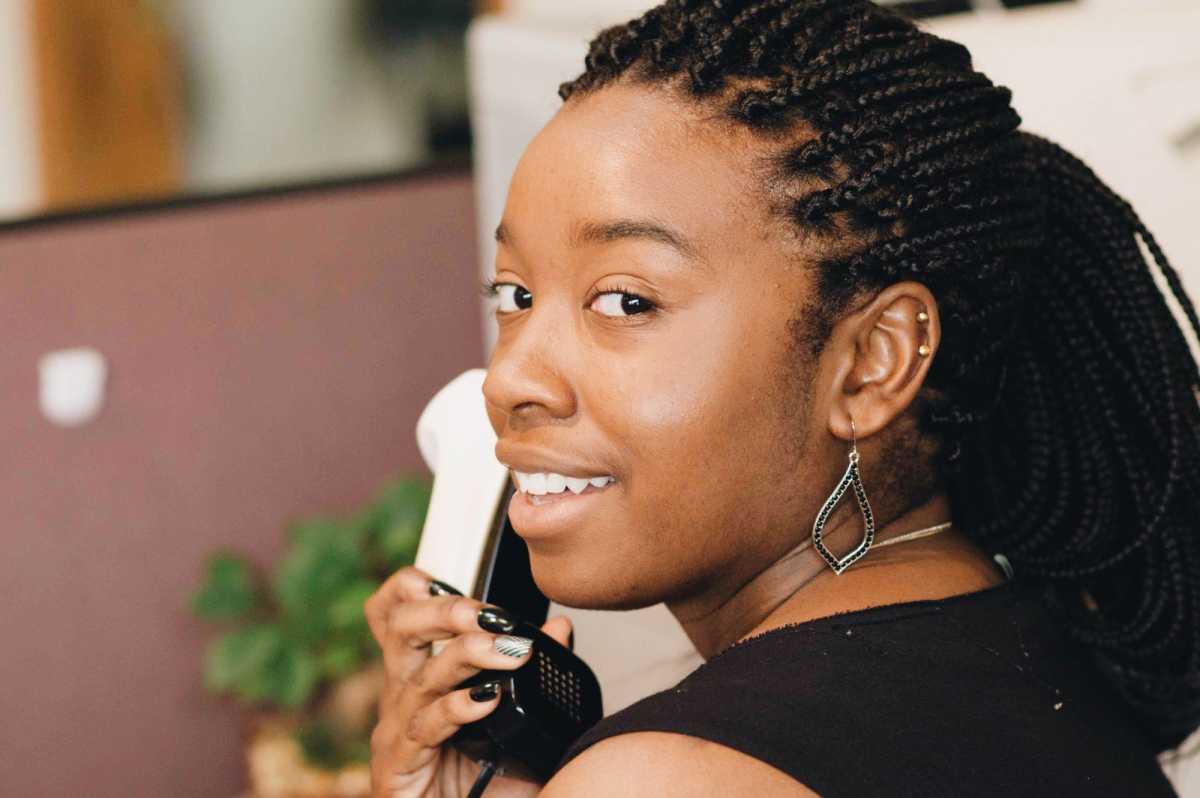
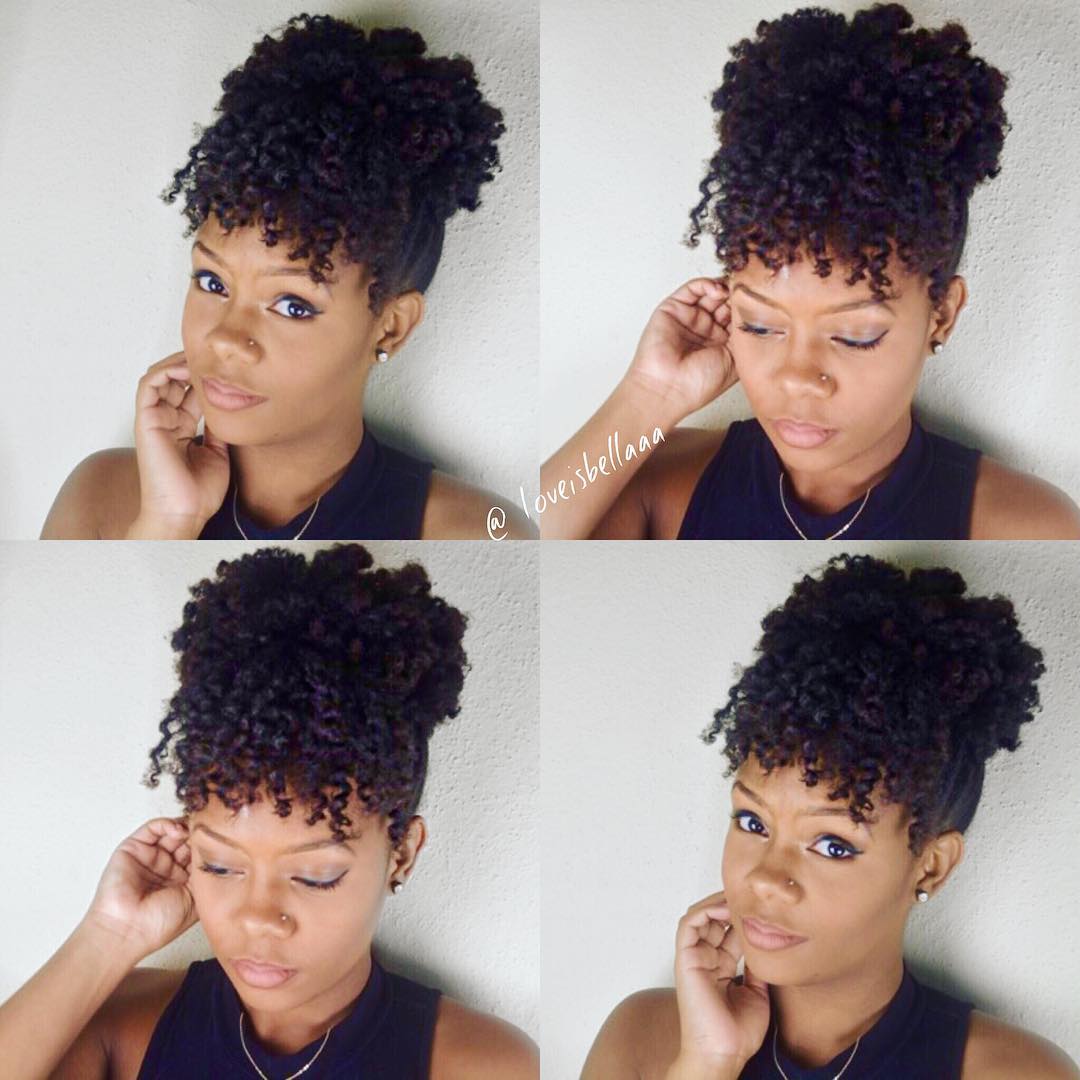
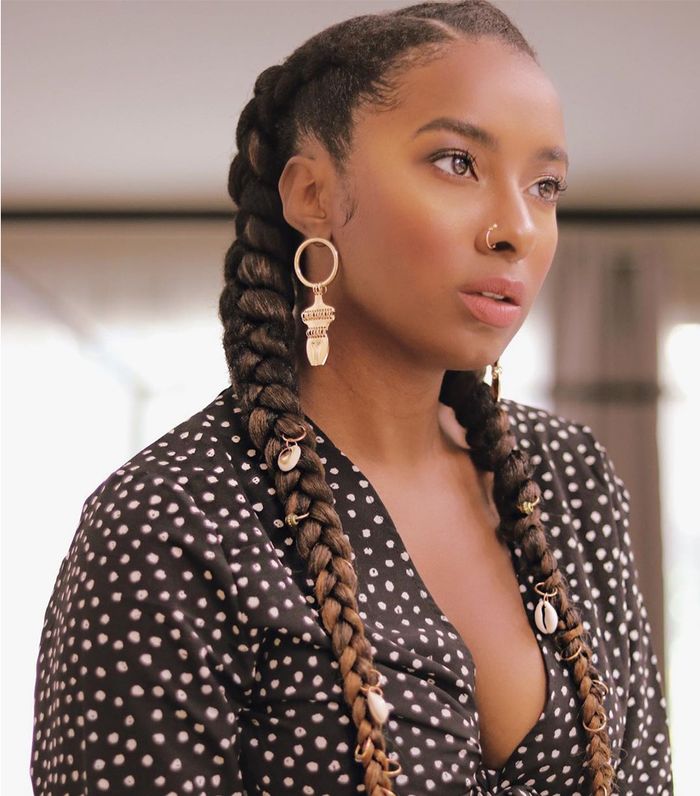
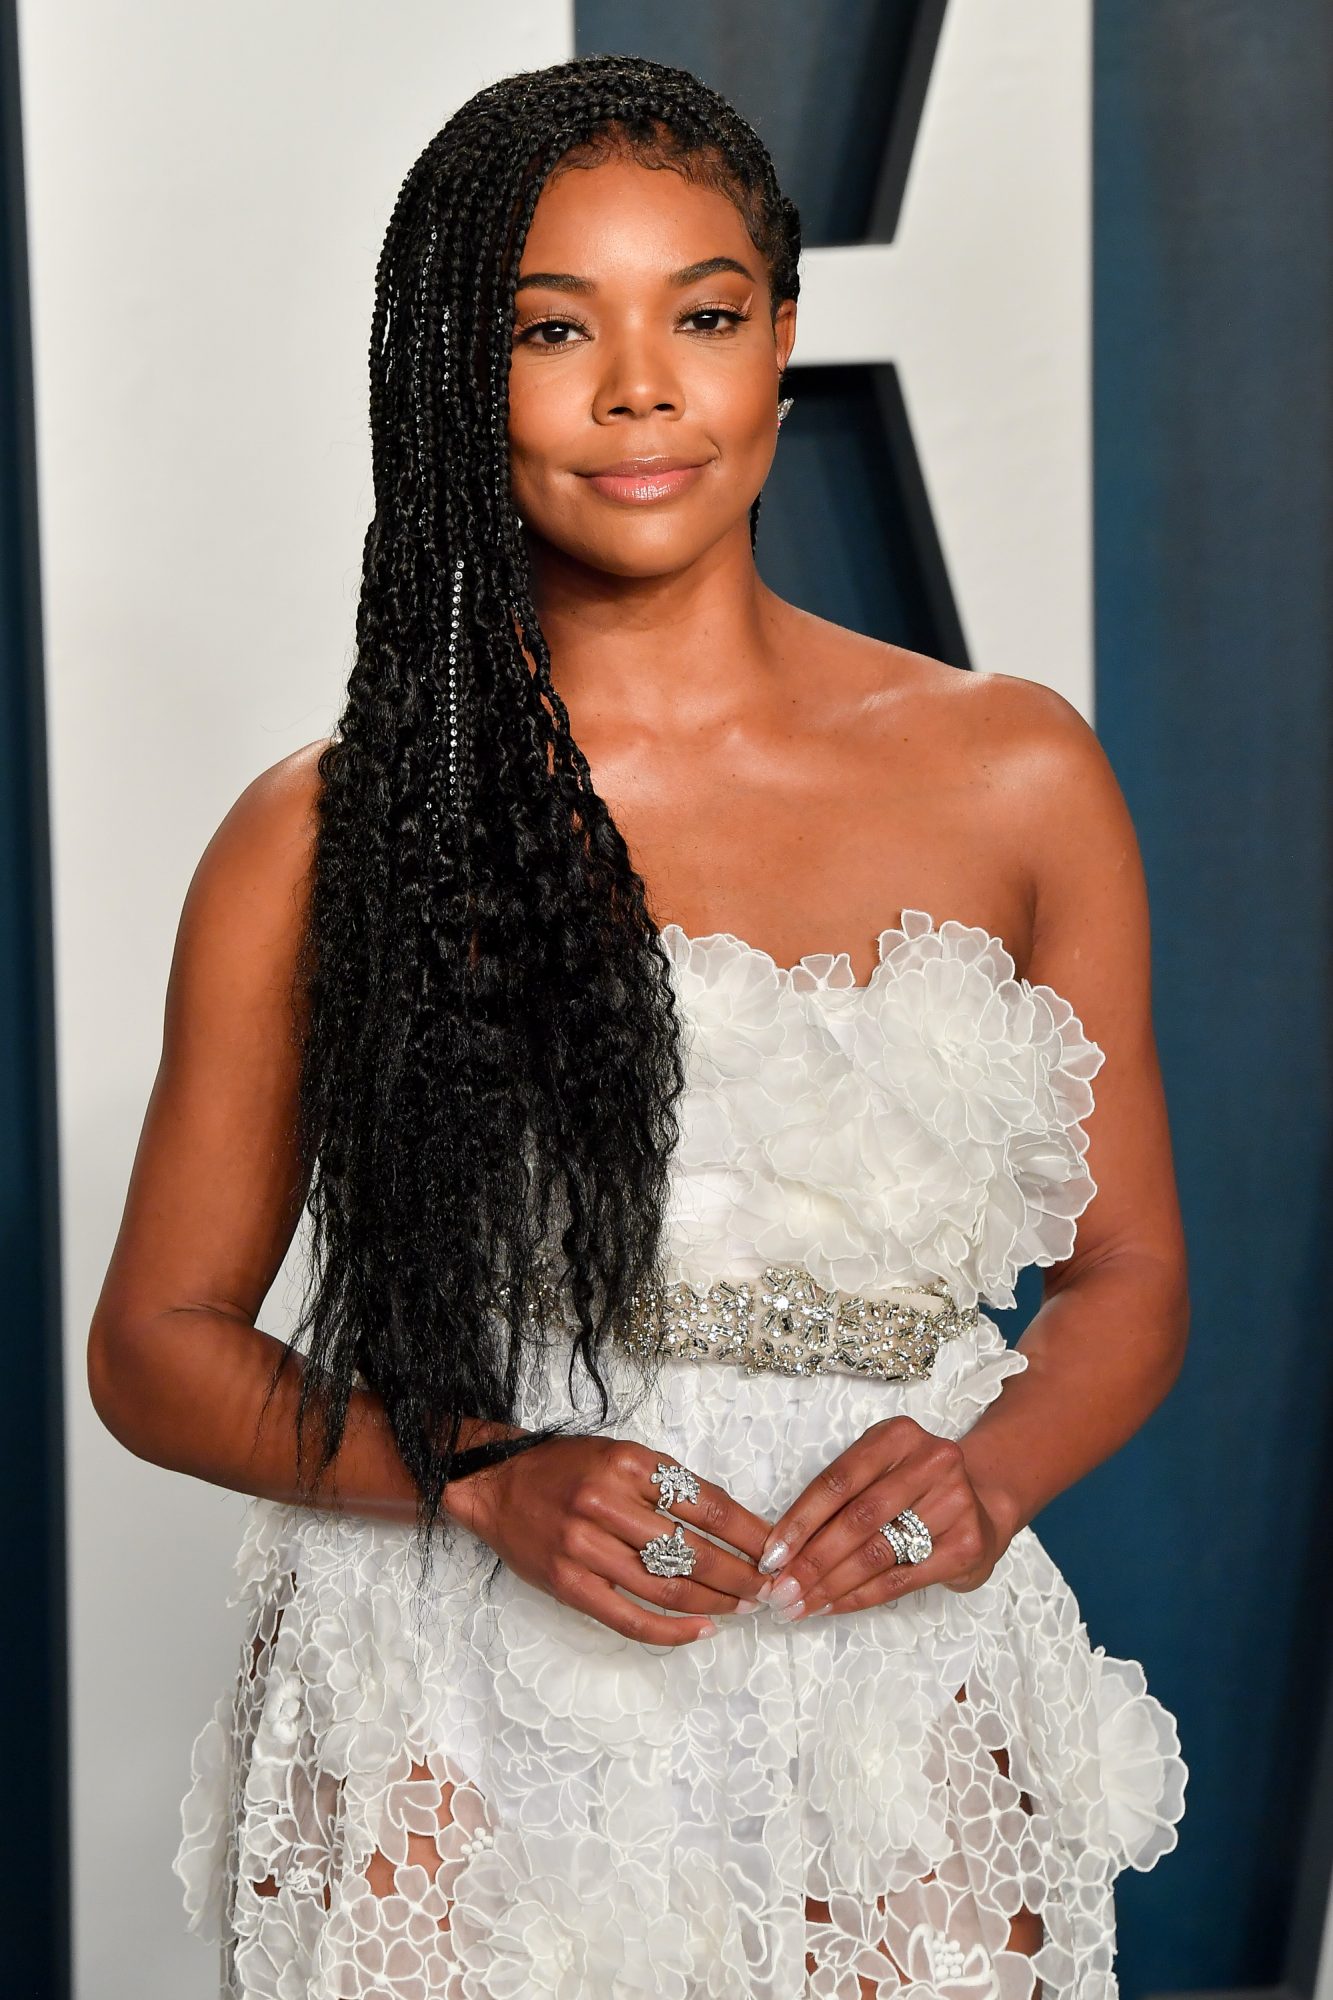
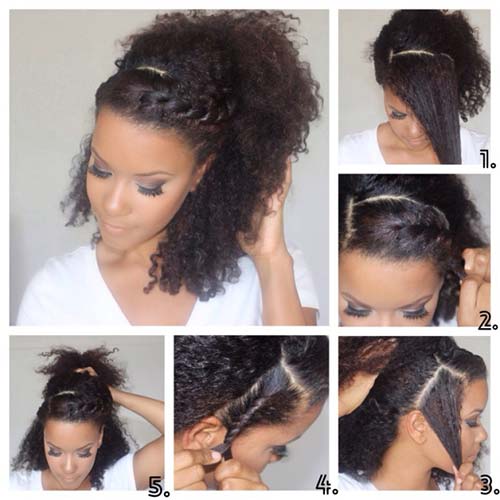
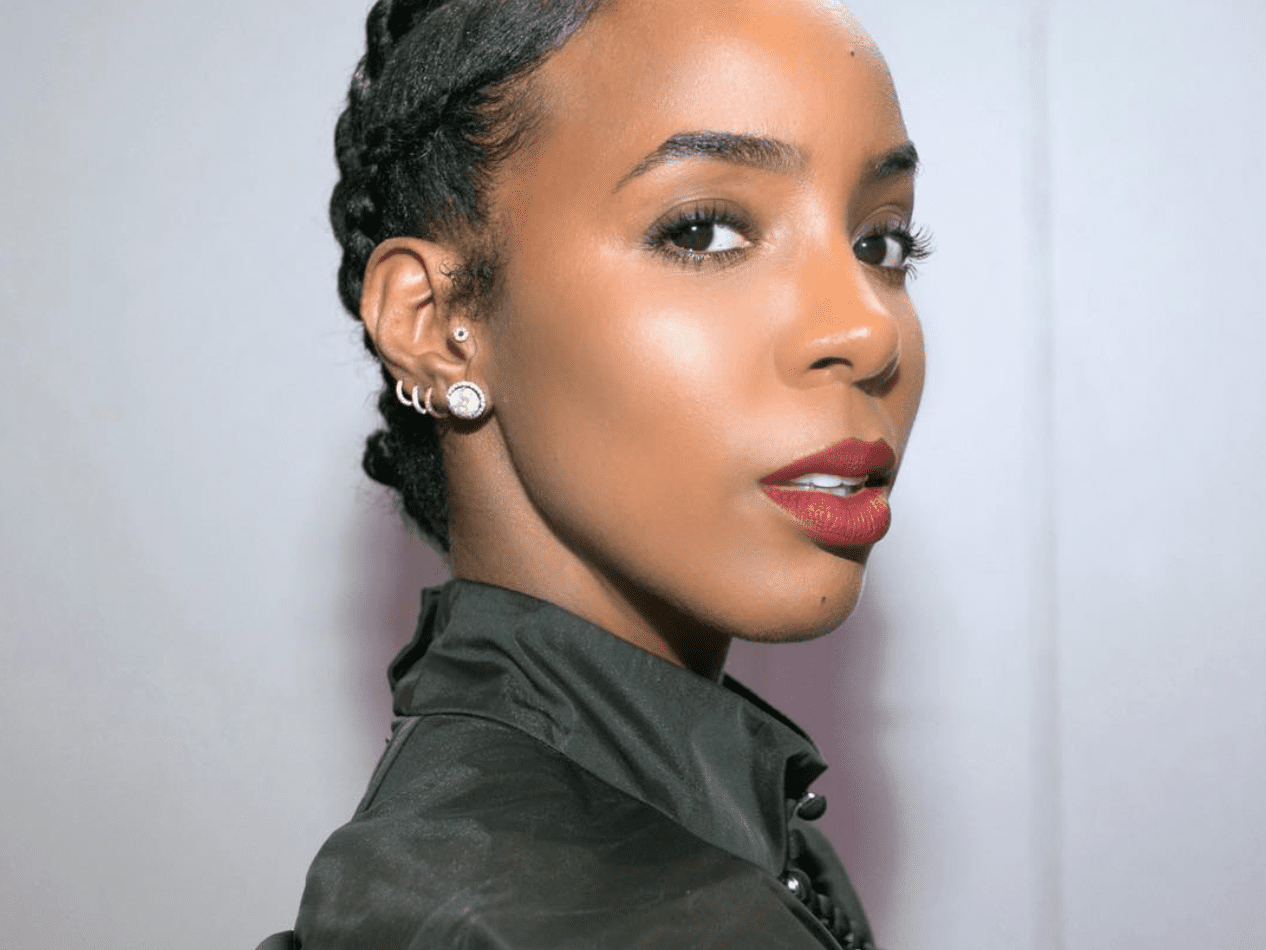
French braids
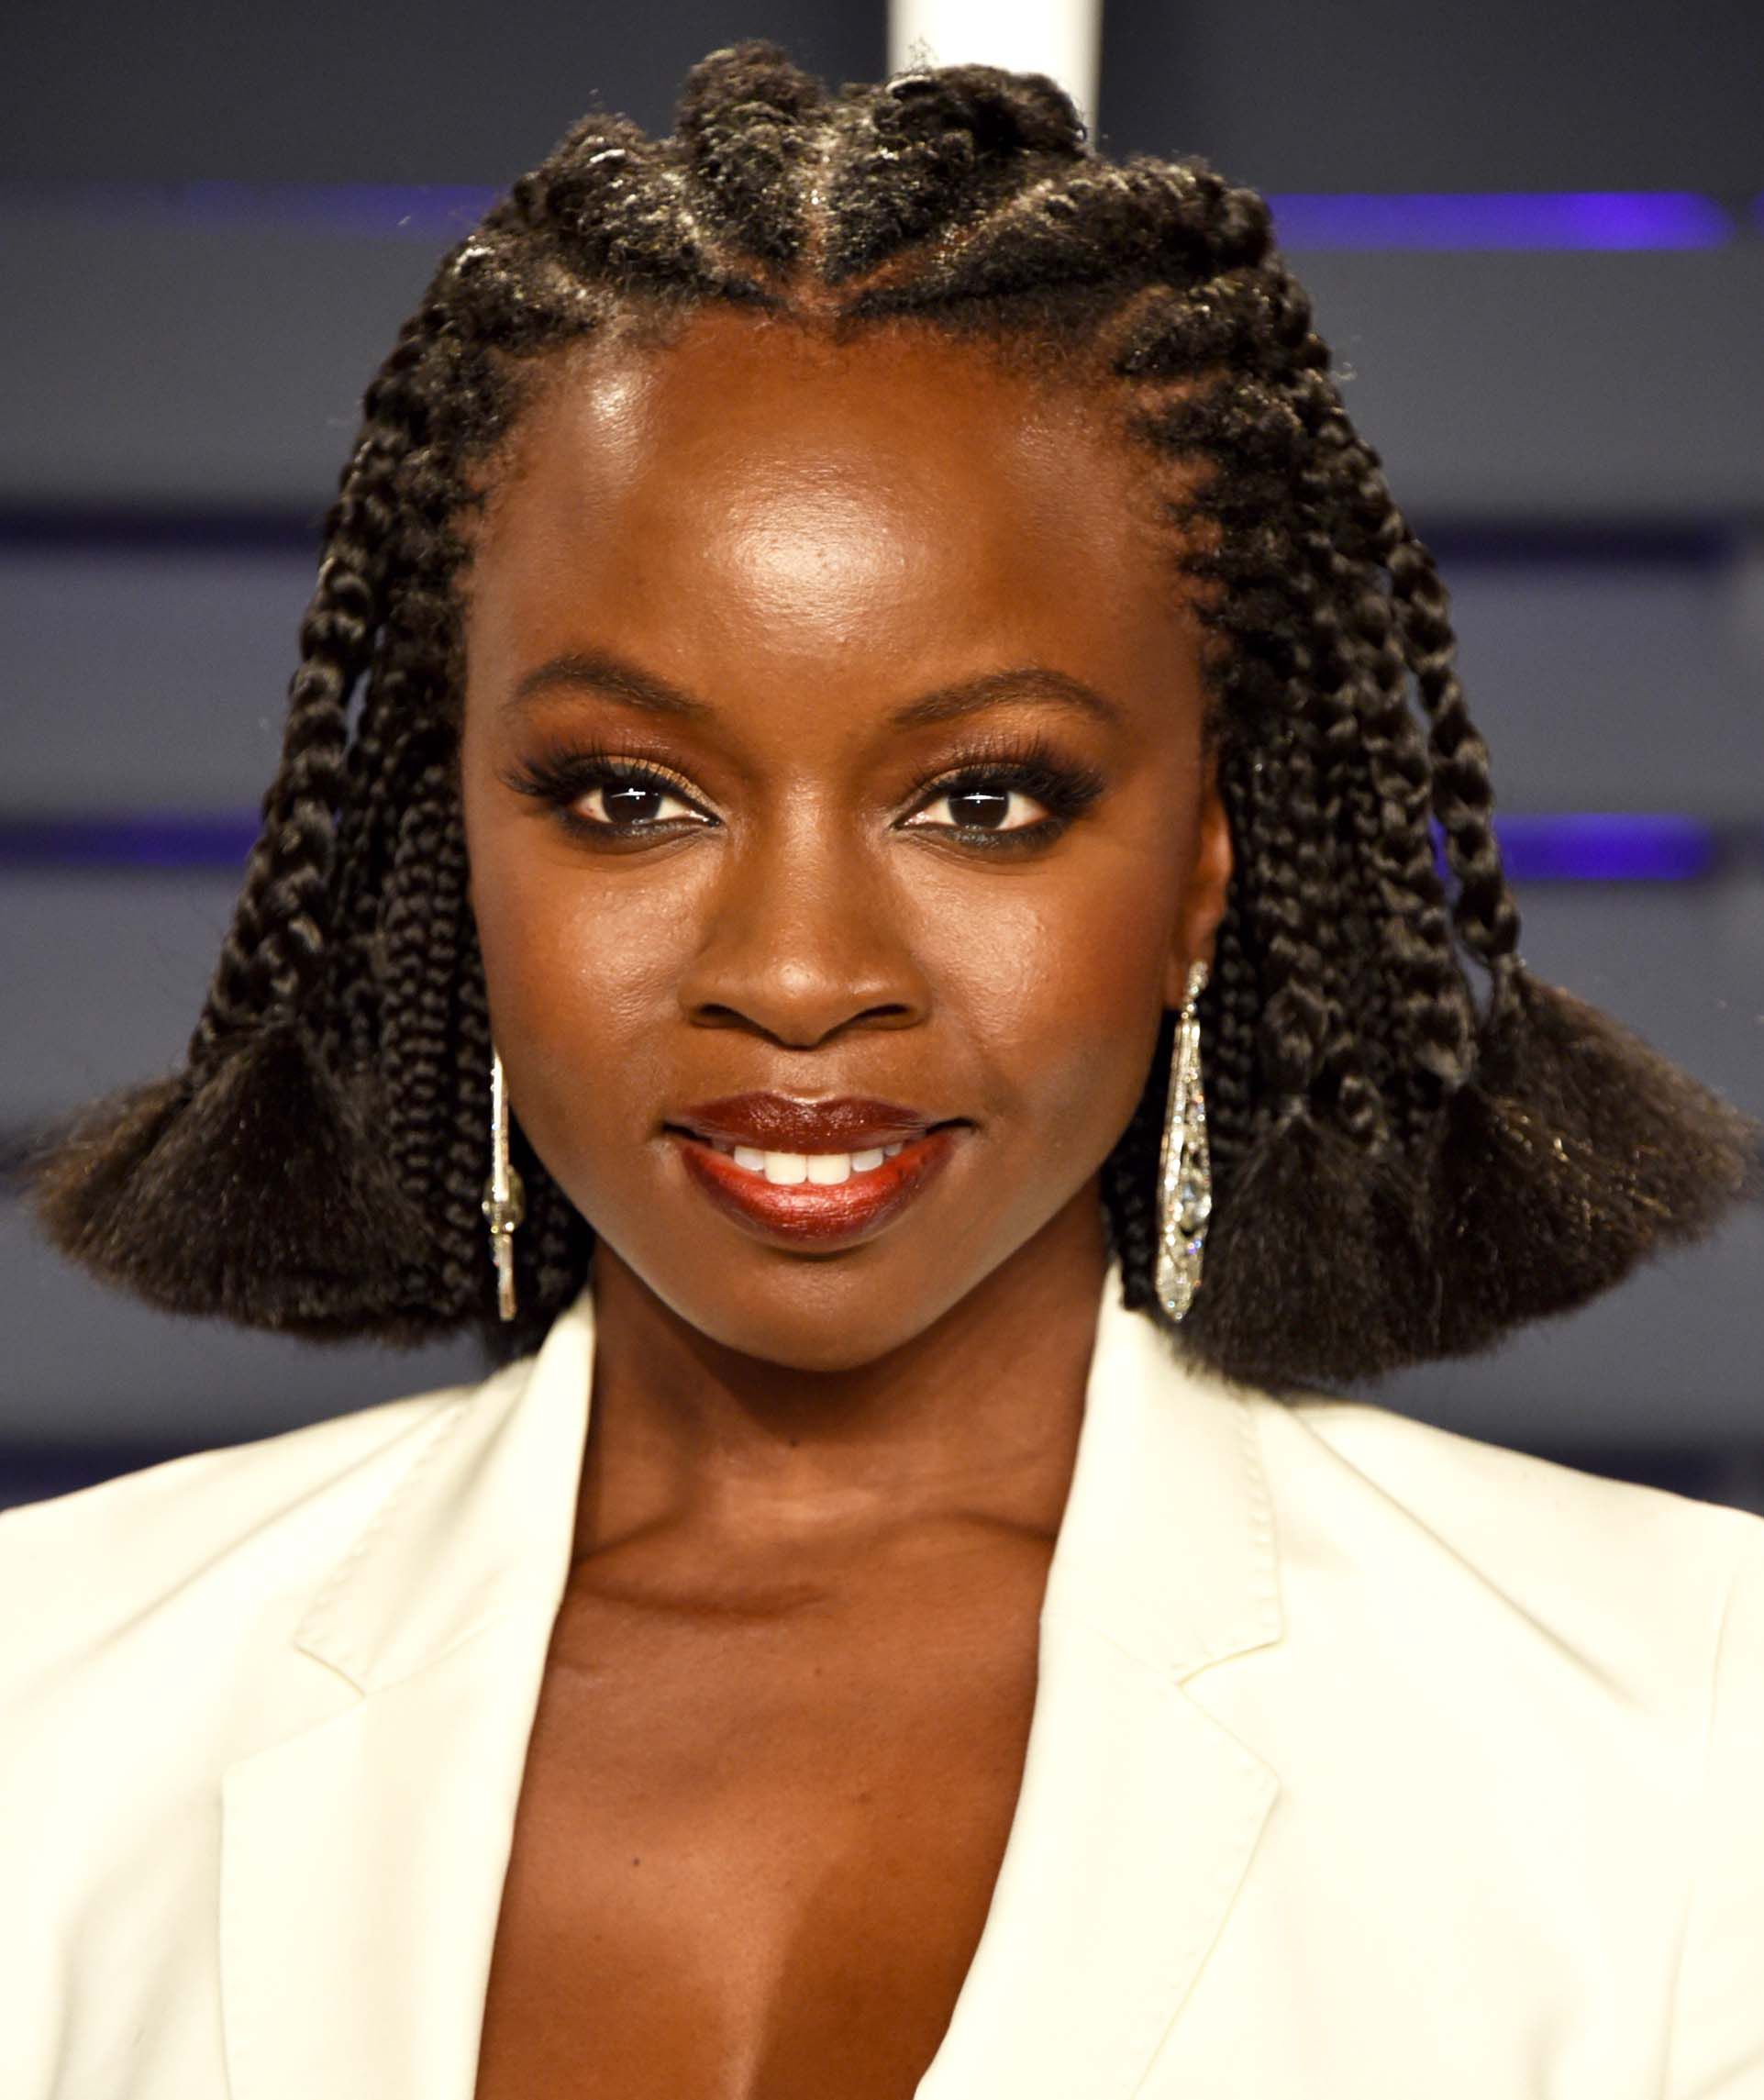
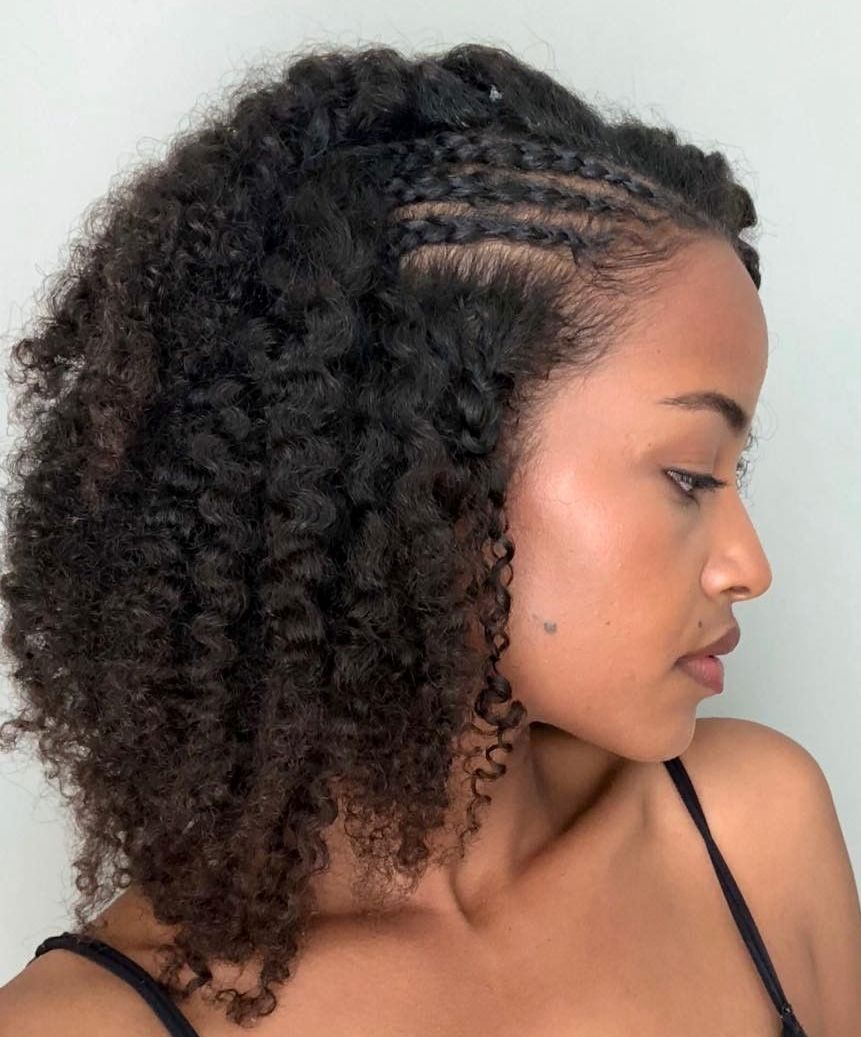
If you have long, wavy, or curly hair, you can wear it up in a French braid. This hairstyle can look sleek or textured and will last from one to two weeks, depending on how thick you want it. This style is easy to put on and takes about 45 minutes to an hour to complete, depending on your hair thickness.
Natural hair is an excellent choice for French braids because they are versatile and can be worn many ways. One option is a side part, which flatters almost every face shape and will soften your facial features. With this hairstyle, the front part will look open and show off the side part, which can be subtle or deep, depending on the style you want to achieve.
If you’re new to French braiding, you should make sure you wash and dry your hair before you begin. This helps keep the hair from getting tangled or matted. It also allows you to change your hairstyle easily. To begin your French braids, you should sit or stand in front of a mirror. Using a mirror will help you make sure that you have the proper position and tools to braid your hair properly.
French braids can be worn on short or long hair. They are similar to cornrows, but the key difference is that the French braiding style involves gathering the hair at the base and braiding it from there. Unlike cornrows, French braids do not require a ponytail holder at the base, which makes them a very versatile style. If you have natural or wavy hair, this hairstyle can be a great choice.
To make a French braid, you need to section your hair into three equal sections. The sections should be about three to four inches wide. For the initial braid, you should separate the three outer sections of your hair. Next, you should pull hair from the outer part of your hair, near the face.
Another way to make a French braid look more colorful is to use ombre colors. Ombre colors blend two colors to add depth and dimension. Unlike traditional foils, these colors also need less maintenance.
Protective and Easy-to-Follow Hairstyles For Natural Hair
Natural hairstyles are low-maintenance styles that are protective. Many of them can be created in the comfort of your own home. Some of them take less than 10 minutes to achieve. Here are a few tips for easy-to-follow natural hairstyles. You can find tips for Crocheting, Finger coils, Flat twists, and Nape-to-forehead braided updos.


Crocheting protects natural hair
Crocheting protects natural hair in a number of ways. For instance, it makes protective styles like box braids much more manageable and easy to install yourself. You can also create your own protective styles like rope twists and crochet twists. While you can hire a professional to create some of these styles, you can also do them yourself using basic tools.
Crocheting hair is very versatile and convenient to wear. It’s also faster to create than individual strand braids. You can also easily change the style whenever you want. For example, you can crochet a braid for curly tresses one day and a twist for locs the next day.
The length of the crochet style can vary from four to eight weeks, though four weeks is the standard length for protective styles. The beauty of crocheting your own hair is that it requires minimal maintenance. Crocheted styles are also fashionable and last a long time. They can last as long as eight weeks or longer if taken care of properly.
Crocheting braids don’t cause damage to your hair, but you should always follow the instructions. It’s also important to use a deep conditioner and shampoo regularly. Make sure to avoid leaving the braid in for more than six weeks, as this will cause it to matte. You can also wear a satin cap or scarf to keep your hair clean and prevent it from drying out. You can even wear a satin bonnet over your crochet braids to sleep in and protect them from damage.
Crocheting hair braids are a great protective style for all hair types. They can give you a real feel for natural hair. They are also cheap and easy to install. In addition, you will use less hair than a box braid. The process takes several hours and requires only a few packs of hair.
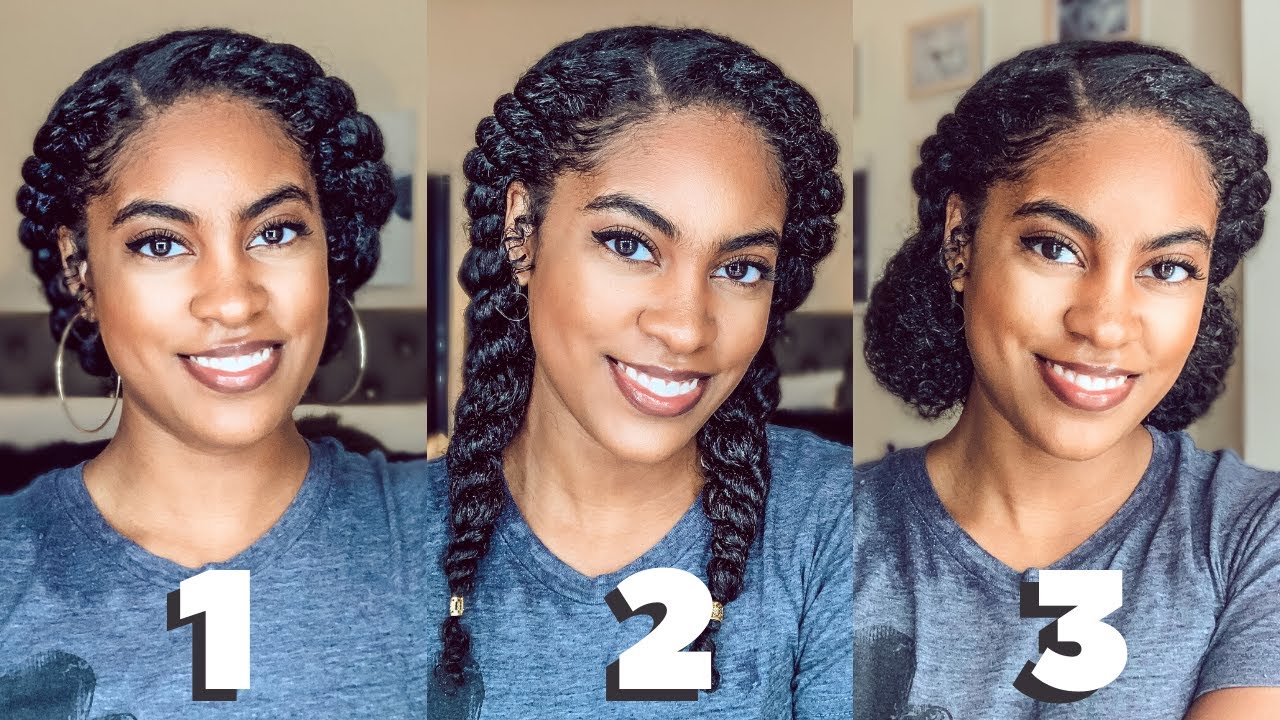
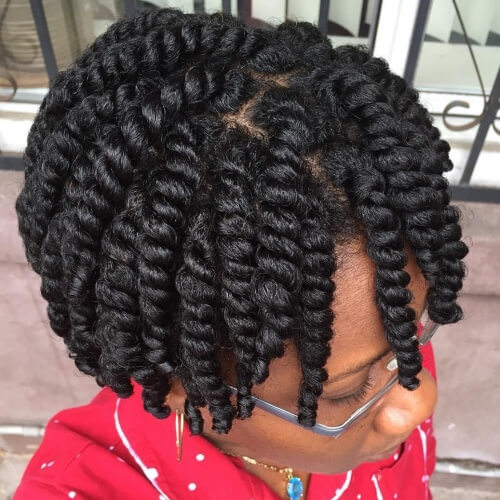
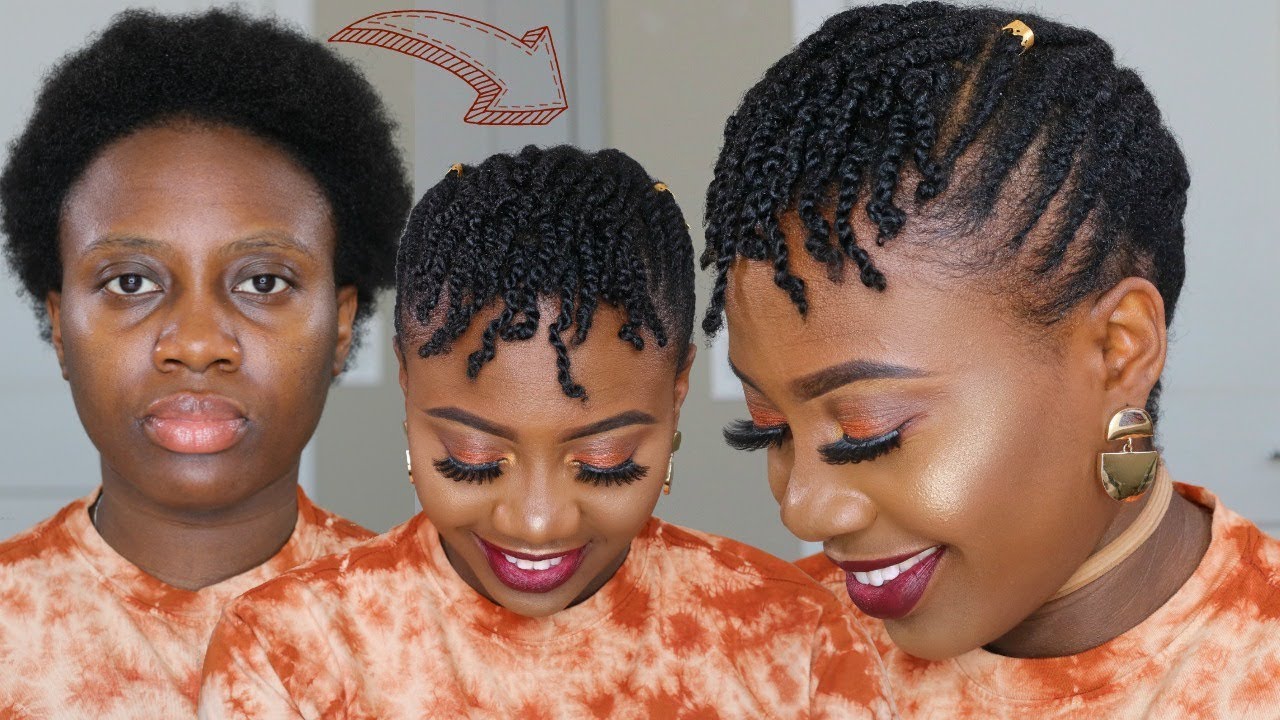
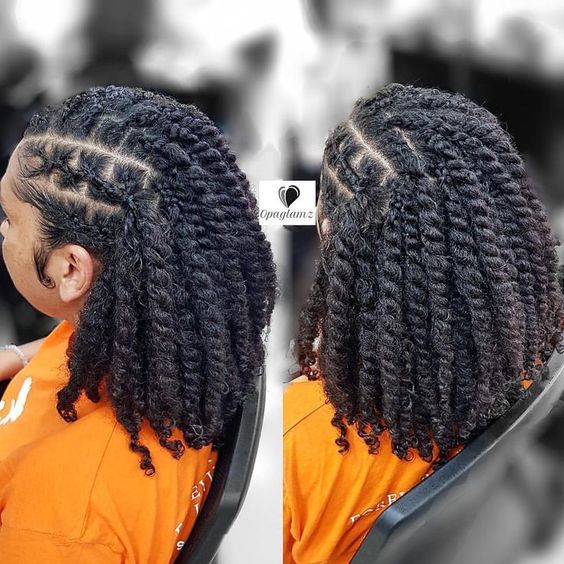
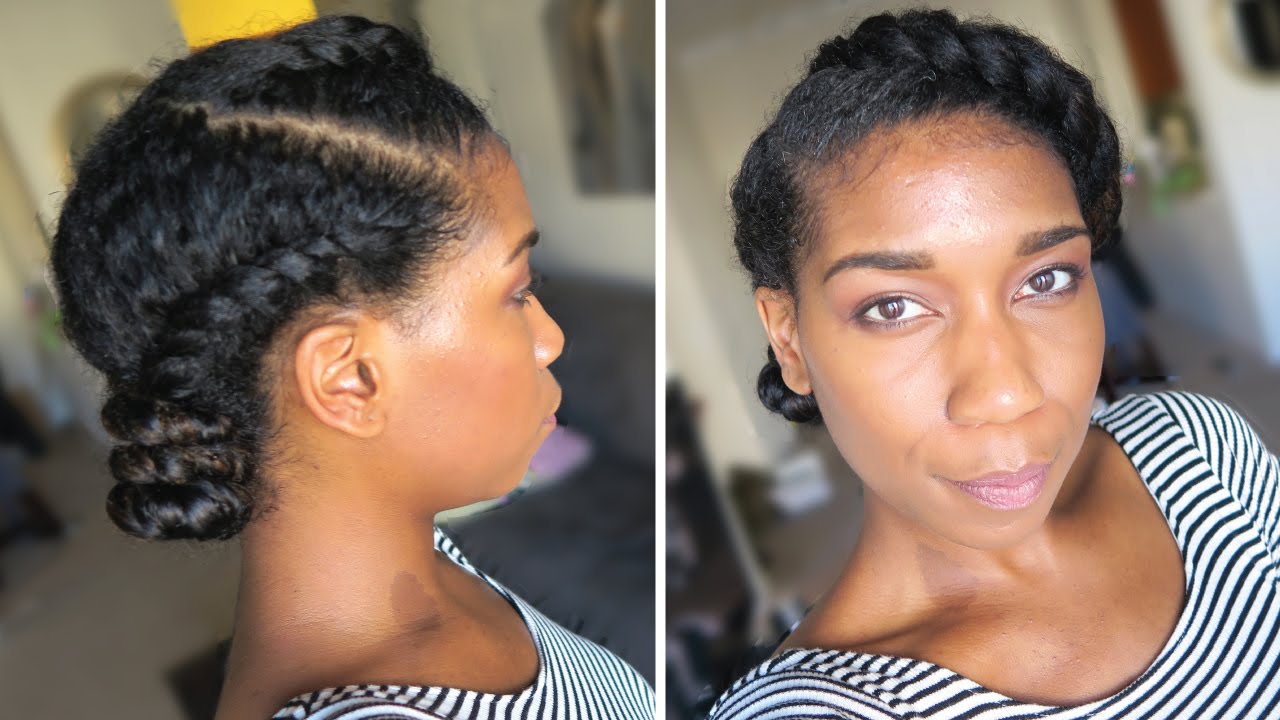
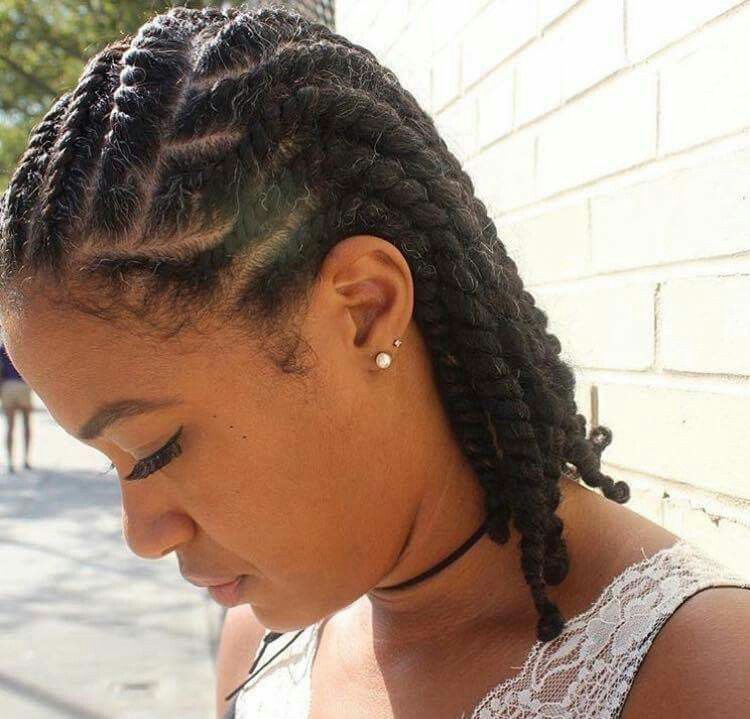
Flat twists are protective and low maintenance
Flat twists are protective and low-maintenance hairstyles perfect for beginners. These styles are flexible, and are great for long and short hair. You can customize the twists to create different looks. These styles can last for up to four weeks. If you want to make your twists stand out, try dyeing the ends of your hair a fun color or adding a strip of color for a striking look.
Flat twists are a low-maintenance, protective hairstyle that has simple lines and a stylish appeal. These hairstyles are made with angled sections of dark brown hair laid out in a geometric pattern. The delicately laid edges give this style a feminine flair. Inspired by Alicia Keys’s Fulani braids, this protective style is both low-maintenance and protective.
Flat twists are a low-maintenance protective style that can be created with or without hair extensions. They are low-maintenance and versatile and can give your natural hair a more uniform curl pattern. They can also help protect your hair from damage and are a great choice for beginners.
This protective hairstyle is ideal for people with thin or thinning hair. They help re-grow hair and prevent breakage. These protective hairstyles are versatile and can be worn all year round. Flat twists are a great choice for winter.
Flat twists are an excellent choice for beginners who want to avoid braids or weaves. They also hold just as well as braids and give you more versatility when styling. Flat twists are also easy to wear with or without accessories.
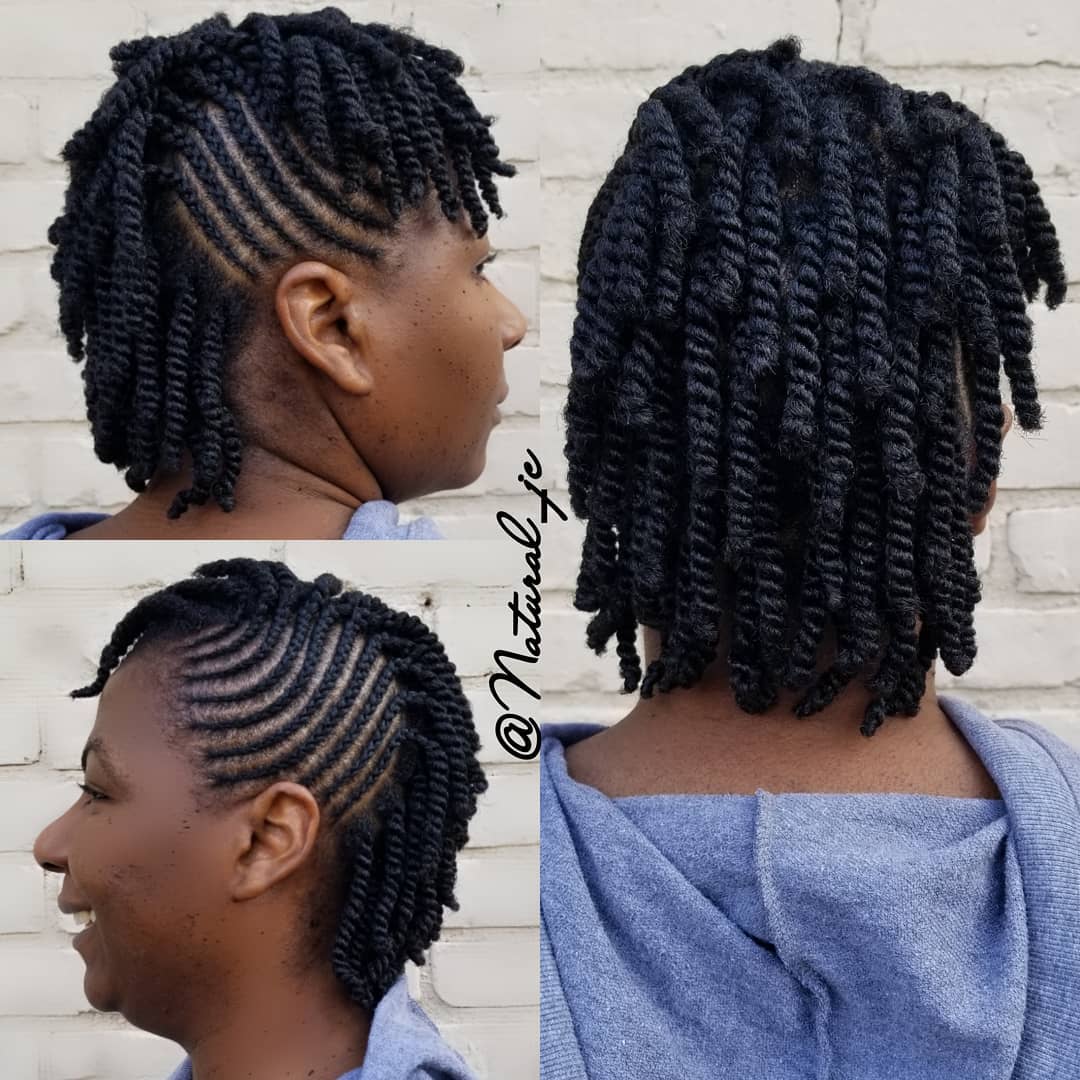
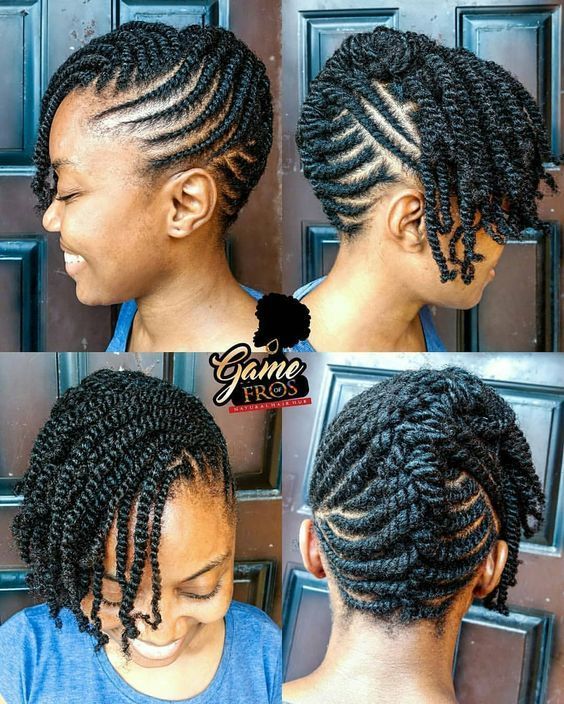
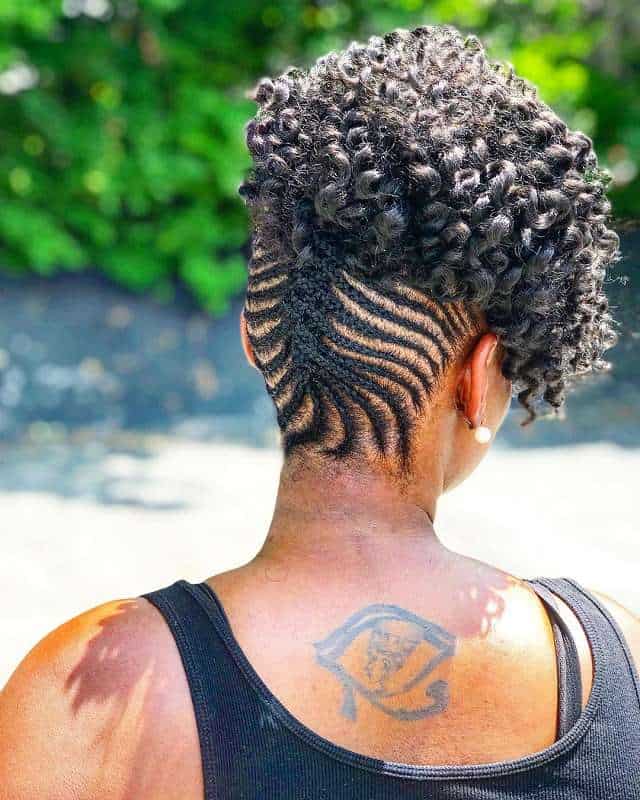
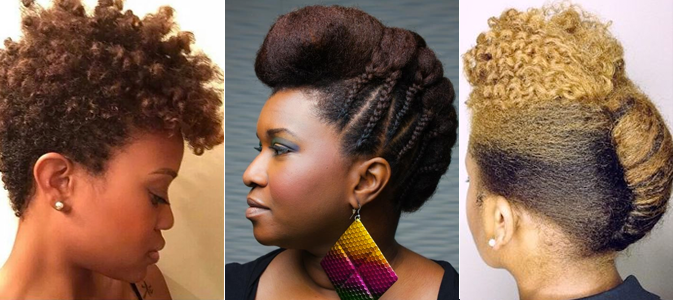
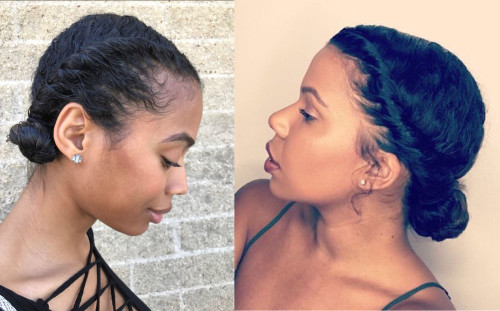
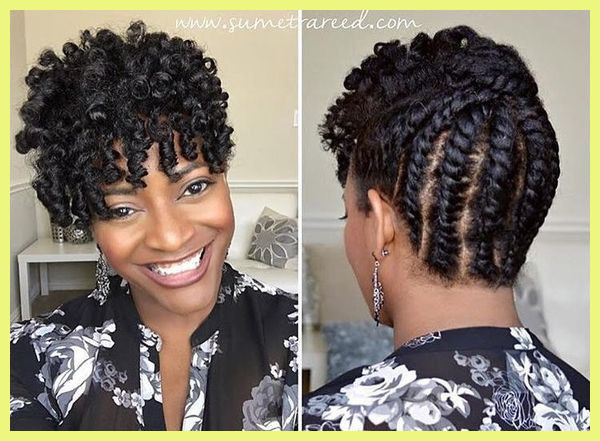
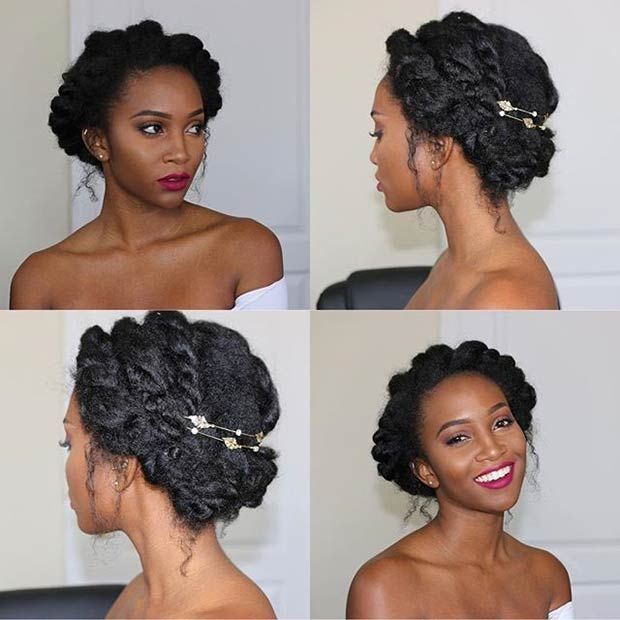
Nape-to-forehead braided updo
If you want a sophisticated, glamorous updo for your natural hair, opt for a braided updo. This hairstyle has several advantages over a more conventional bun updo, including the fact that it is easier to create and maintain. In addition, it is a simple choice that will work with a variety of styles and outfits.
This hairstyle protects the hair from the scalp and gives it a fresh, funky look. You can opt for a braided updo that features two braids on the nape area to add a boho vibe. The braided updo is a great choice for natural hair, as it will protect it from the elements and also provide it with a youthful and fresh look.
This protective style can be worn both ways around the head and is great for people with thin hair. It can last for weeks, and requires minimal maintenance. It can also be worn with shorter braids or layered twists. The front section can be left down and wild, while the back can be left up for a bit of height.
This protective hairstyle is the perfect choice for a day at the beach or at the pool. It keeps the hair protected and healthy, allowing it to rest and grow stronger. To create this protective style, smooth the hair before braiding and twisting it toward the nape of the neck. Then, create a low bun using the remaining hair. The style is youthful and beautiful, and is suitable for all ages.
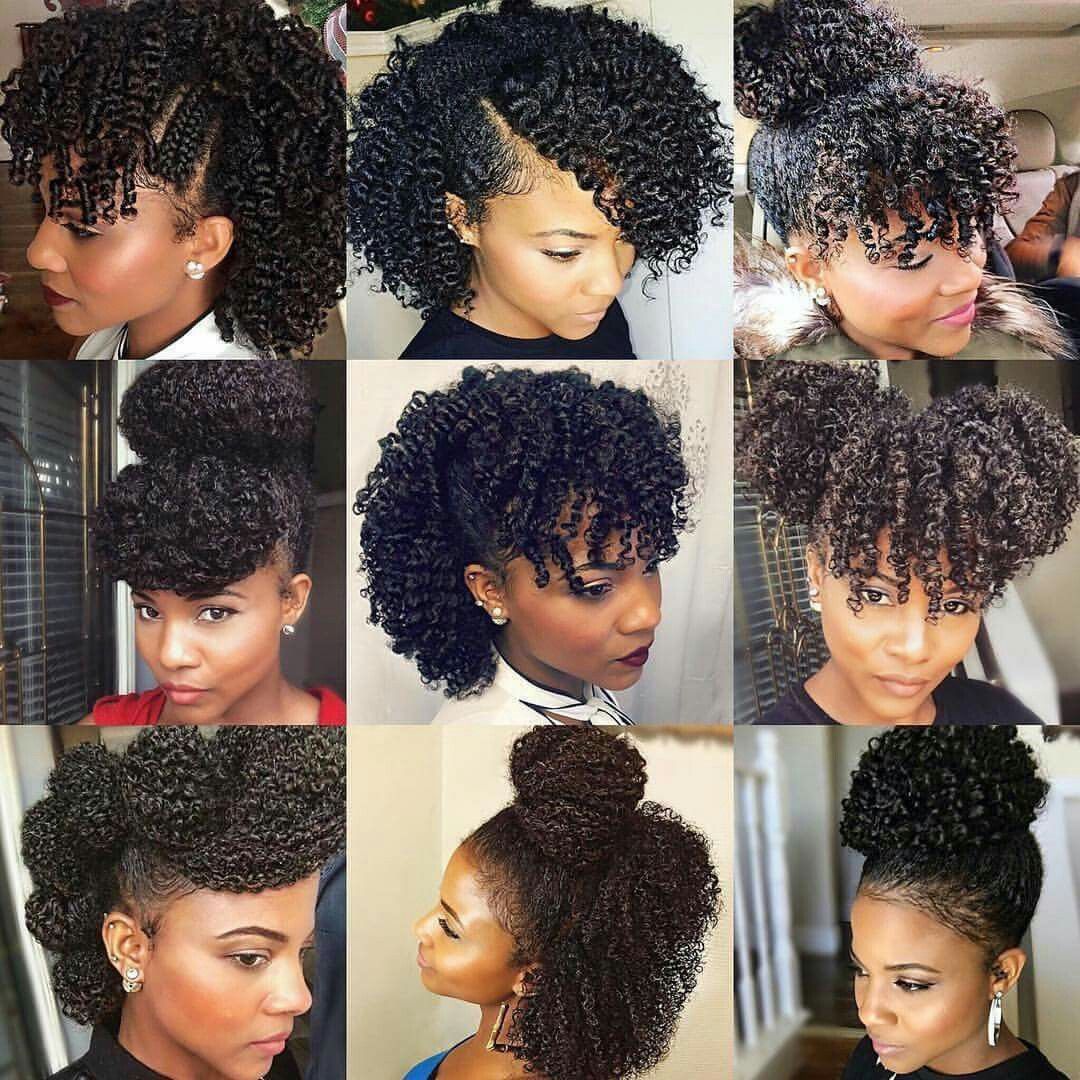
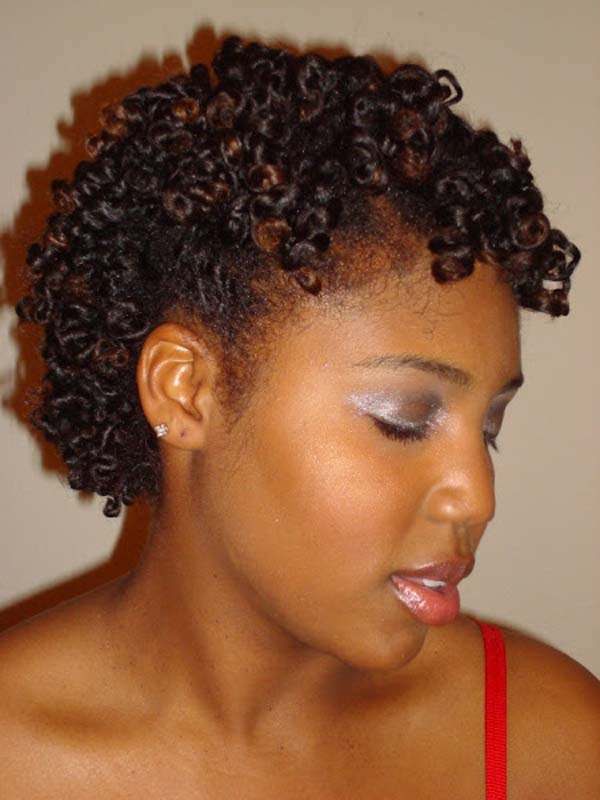
Finger coils
Finger coils are a fun natural hairstyle that can be done with thin or thick strands. To achieve this look, you should begin at the nape of the neck, and part the hair diagonally. Next, separate your hair into sections the length of a finger, and apply a curling product. Twirl tiny sections of hair around your finger, and continue until your entire head is coiled.
Finger coils are easy to apply, and they can last for several weeks if maintained properly. You’ll want to start with clean, moisturized hair and use the correct tools. The process can take a few hours, but it’s totally worth it. Finger coils work best on hair that has a tight curl pattern.
Unlike other natural hairstyles, finger coils require no chemicals or heat to apply. To achieve the look, you need a styling product that moisturizes and provides a bit of hold. Curling gel or curl cream are great options. Make sure to use a generous amount of product on your hair before you begin, as excess product can cause flaking and can make your hair take longer to dry. Then, start twirling your hair around your index finger, starting from the roots and moving down to the ends. Once you have created a spiral, repeat the process for your entire head.
Finger coils can be worn as-is, or you can separate them to create a higher volume. After applying finger coils, you should allow them to dry completely. Air-drying is fine, but you can also use a hooded dryer to speed up the process and help the curls set properly. After the finger coils have completely dried, you can use an oil-based product to separate them, which will make the process much easier.