Envelop and Embrace the Head
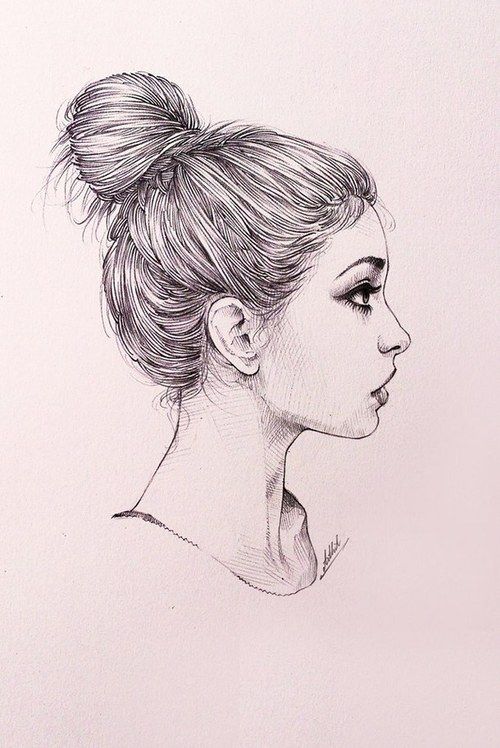
When drawing hair, remember that it should envelop and embrace the head instead of simply resting atop it. This is essential because its overall shape, flow, and movement will reveal much about a character’s persona.
Outline the Skull
Before beginning to sketch hair, create a loose outline of the skull to help prevent you from cutting off sections when drawing the individual strands. Also, draw the shape of the face and hairline, and draw contours to determine the amount of volume in your character.
Use Thin Strokes and Erase Pencil Marks
Use thin strokes with an HB pencil and a kneaded eraser when starting. Lightly textured sketch paper makes erasing pencil marks simpler for more realistic-looking hair sketches.
Pay Attention to Contour
Take your time when sketching hair to ensure proper flow and follow the contour of the head. Add more details with short, curved pencil strokes, and create clumped-together lines to add volume and Texture.
Incorporate Texture
Consider the different curves and sizes of the hair when sketching its lines and Texture. Start with larger shapes, then work on more minor details and subtler colors to achieve more natural-looking results. Use hatching and different pressure levels to add depth and dimension.
Practice and Observe
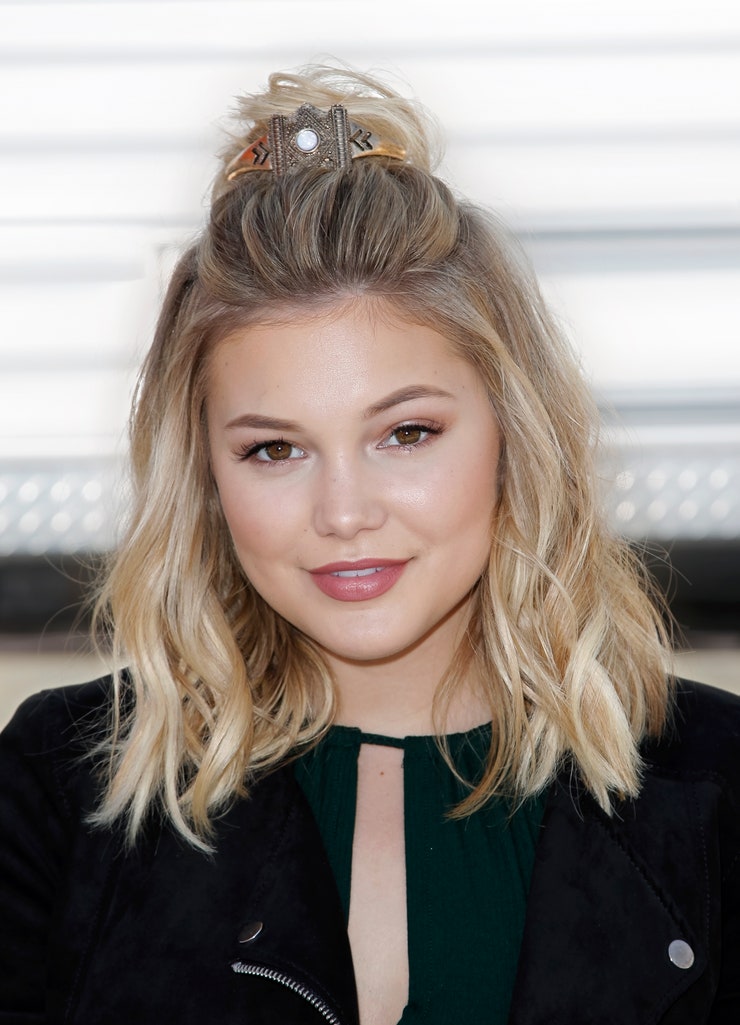
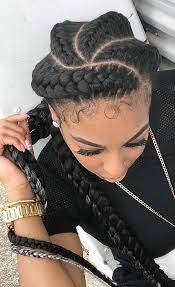
Observe natural hair from various angles to understand its shape, movement, and flow. Start with prominent figures and gradually add details. Use directional stroking to develop a range of values within darker bodies. Pencil strokes should be light. Practice with different hairstyles to improve your skills.
Enhance Shading
Use observation and consider factors like origin, gravity, and styling to draw realistic-looking hair. Start with large shapes and work towards details. Use light strokes and vary the pressure to create lighter and darker tones, adding depth and realism to your drawing.