A hair braid headband is a stylish way to wear your hair. There are several styles available. Some of the more popular ones include the French braid, the Fishtail braid, the Dutch braid, and the Front braid. Here are some simple instructions on how to make one. These styles can be worn all day long, and are a great addition to any outfit.
French braid
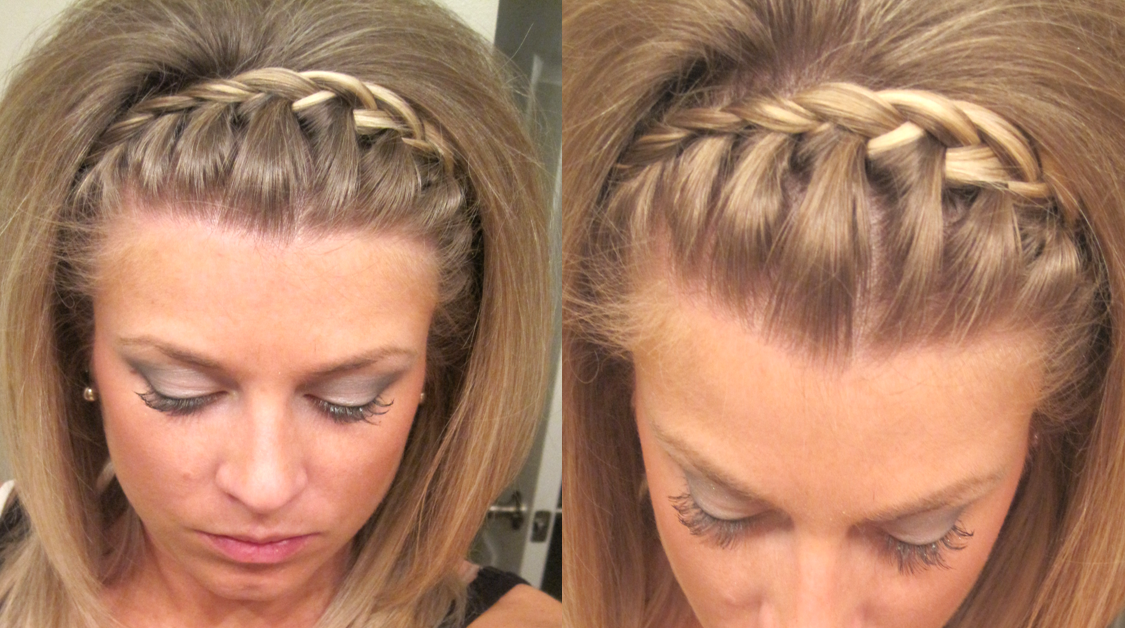
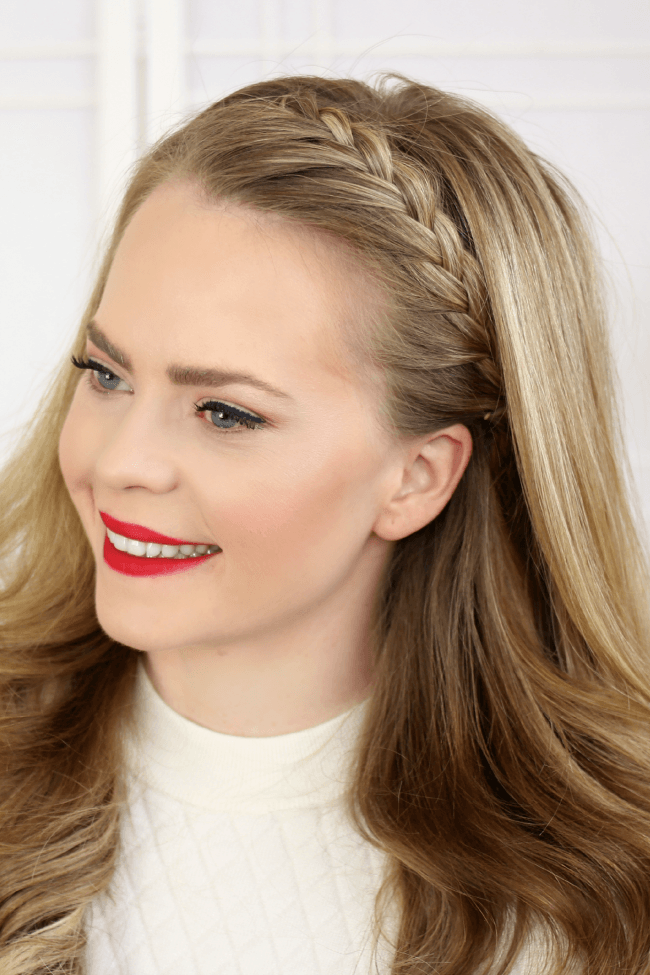
If you’re looking to make your hair look a little more sophisticated, try wearing a French braid headband. Whether you’re going to an upcoming prom or wearing a headband to a casual event, you can easily dress up your look with one of these headbands. The look is so versatile, and you can switch up the pattern of the braid for different looks.
A French braid headband is a simple way to keep your hair out of your face, and it looks just as cute on women as it does on men. To make one, simply detangle your Hair and get it wet. You can also use a leave-in conditioner or detangling spray to make your hair a little easier to braid.
A French braid hair braid headband is an easy Hair accessory that can be worn any day of the week. This type of hair band is adjustable and has a no-slip tab to ensure that it stays in place. If you have fine or wavy Hair, you can wear this band with your hair down in the back. It looks elegant and natural and is a great way to save time when styling your hair.
First, section a section of your hair from the side part that’s closest to your ear. Make the section between the front and back strands one to two inches wide. Then, separate your Hair into three equal sections. Then, use the tail comb to separate the sections. Make sure to keep your sections at a right angle and keep them from coming out too far. Once you’re finished, secure the braid with a few hair pins.
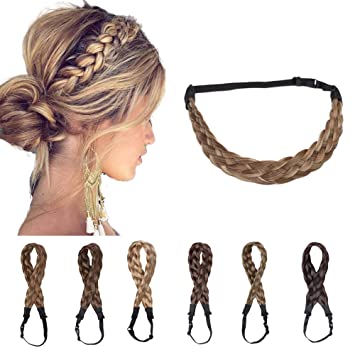
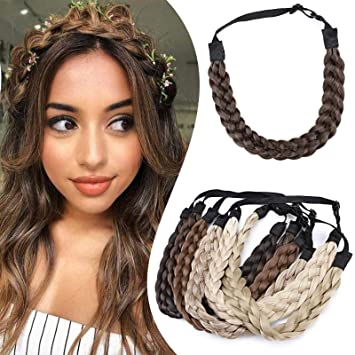
You can choose from many different colors for your French braid headband. Usually, hair comes in two or three colors, and darker hair often contains one. You’ll want to choose a headband that matches the upper part of your hair. You can always add additional colors, or even special shades, if you wish.
Fishtail braid
If you want to wear a fishtail braid with a little extra style, try making a Fishtail braid headband. This accessory can be made from super bulky yarn, and is easy to make. With the help of some cabling, the headband will resemble a rope made up of multiple strands. Once finished, the headband will be approximately three inches wide. Depending on your preference, you can make it longer or shorter.
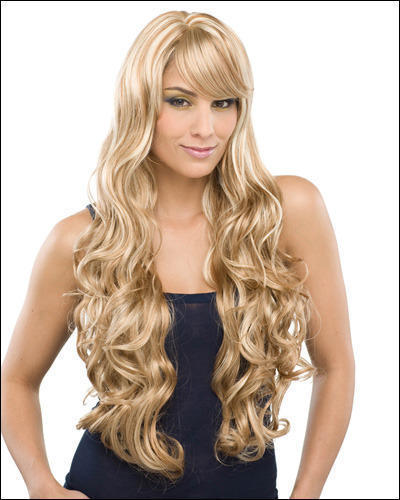
Whether you have natural hair or a wig, this simple style can change the look of your hair. Colors may appear slightly different from the pictures due to differences in monitor calibration. Colors are indicative and may not be true to the actual product. It is not a requirement to use the exact color of your hair if you are planning on wearing a fishtail braid headband.
Dutch braid
You can dress up your headband with a Dutch braid. This braid style is similar to a French braid, but instead of braiding your hair all the way through, you’ll braid only the front and the back strands. Then, you’ll tie the braid with a band or elastic band. The Dutch braid also looks great with a curling iron, which will add a little more curl.
The first step in making a Dutch braid headband is to braid a two-inch section of hair. It should be a small section of hair, but it’s important to make three sections of two inches long. Start by crossing your left strand over the middle. Once you’ve braided the first strand, cross the right strand over the middle, and continue braiding the remaining strands. As you go, bring new strands from the top and bottom to the next link.
When you’re finished braiding, you can change to a regular Dutch braid if you run out of hair. Once you’ve finished braiding, add a hairspray to secure the style and keep it in place. If you’re worried about bumps, hairspray will smooth out the hair and hold it in place all day.
Double Dutch braids can be done with a ponytail or an off-center part. Parting your hair in the middle allows you to braid three strands at a time, and then grab new hair from each side to finish the braid. Repeat this step until you reach the nape. If you’re braiding longer hair, you can also braid it in this fashion.
Before braiding your hair, you need to section your hair. Make sure that each section is about three inches wide. Then, make a small part that is about one or two inches wide. Take this small section from the deep side part of your hair, and continue braiding it to just behind your ear on the opposite side. Make two more sections that are about one or two inches wide. Then, cross the right and left sections of hair, making sure that they are overlapping each other.
Front braid
A front braid headband can add a touch of style to a simple updo. It works best with a high bun because it shows off the intricacy of the braid. If you have pale hair, a braid headband might get lost. To draw attention to the braid, consider a thin, sparkly headband.
First, section your hair. Start at a side part, about 3 inches wide, and finish behind the ear on the opposite side. Next, divide the section into three sections. Make sure each section is 1-2 inches wide, and then cross them over the middle section. Once each section is in place, secure it with hair pins.
Once you’ve done that, begin braiding your hair. You’ll need about three pieces of hair. One piece on each side crosses over the other piece on the right side. Repeat until your braid is the desired length. Add more hair as you go. Ultimately, you’ll have an adorable braid headband that fits every head.
Another option is to braid your hair in a dutch style. This style of braid is a little more challenging, but is extremely pretty. Make sure the braided hairstyle is firm, but not too tight. A dutch braid headband is a great way to add some volume to your hair, while keeping it out of your face.
Half-up braid
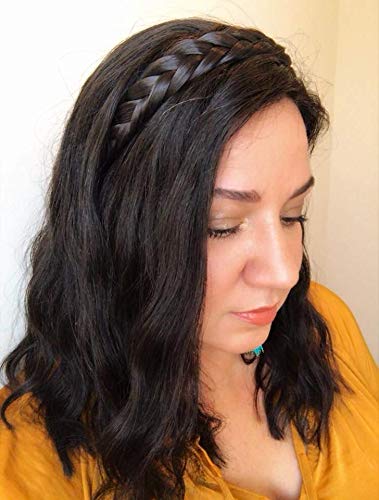
A half-up braid headband can be a versatile addition to any Hairstyle. Its adjustable elastic strap allows you to tie the headband to fit almost any head shape or size. This style is great for both formal and everyday wear. And unlike a ponytail, a half-up braid headband looks great with both thick and thin manes.
To create a half-up braid headband, first section your hair. Start from a deep side part on one side and end at the back of the other side, just behind the ear. Next, make three small sections about one-to-two inches wide and cross the middle one over the left and right sections of your hair.
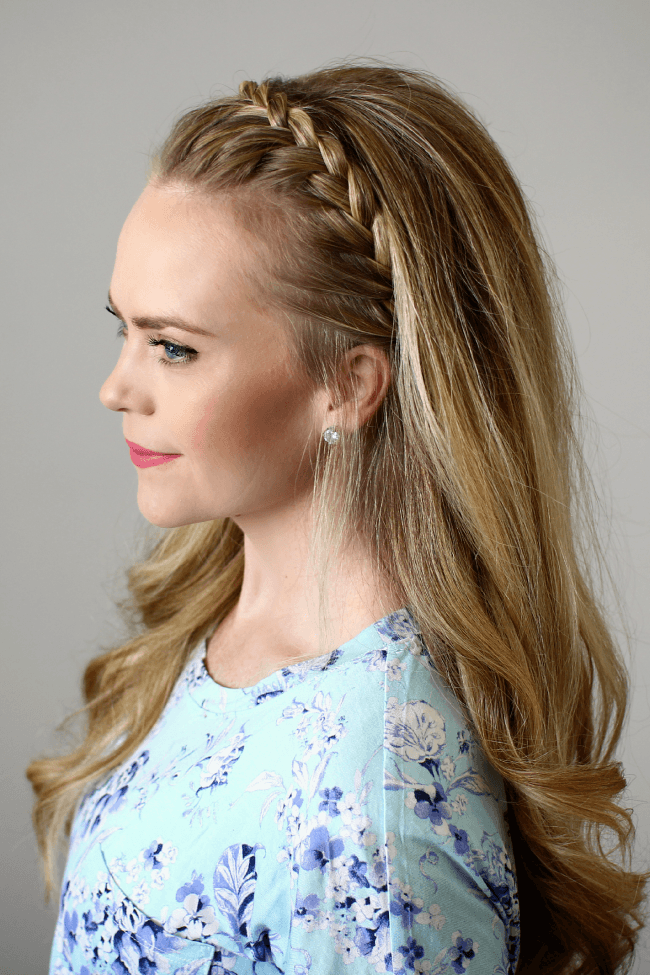
This style is perfect for girls who love playing with textures in their hair. A side French headband braid looks ravishing with soft waves. The hairstyle is a simple and easy one to achieve. It only takes a few minutes to complete, and bobby pins are necessary to hold the braid in place. For extra hold, you can use a strong-hold gel or pomade to hold the hair in place.
To make this hairstyle look its best, begin with a middle part. If you prefer a more casual style, use a smaller part depending on the thickness of the braid headband. To keep your hair looking smooth and sleek, always point the ends of the braid upward. This will prevent any bumps from forming when laying it across your head. You can even use a fishtail braid instead of the traditional three-strand braid.