As your hair matures, its ends may begin to get frayed. A quick DIY trim can keep your look current while eliminating unsightly stray hairs from coming through the surface.
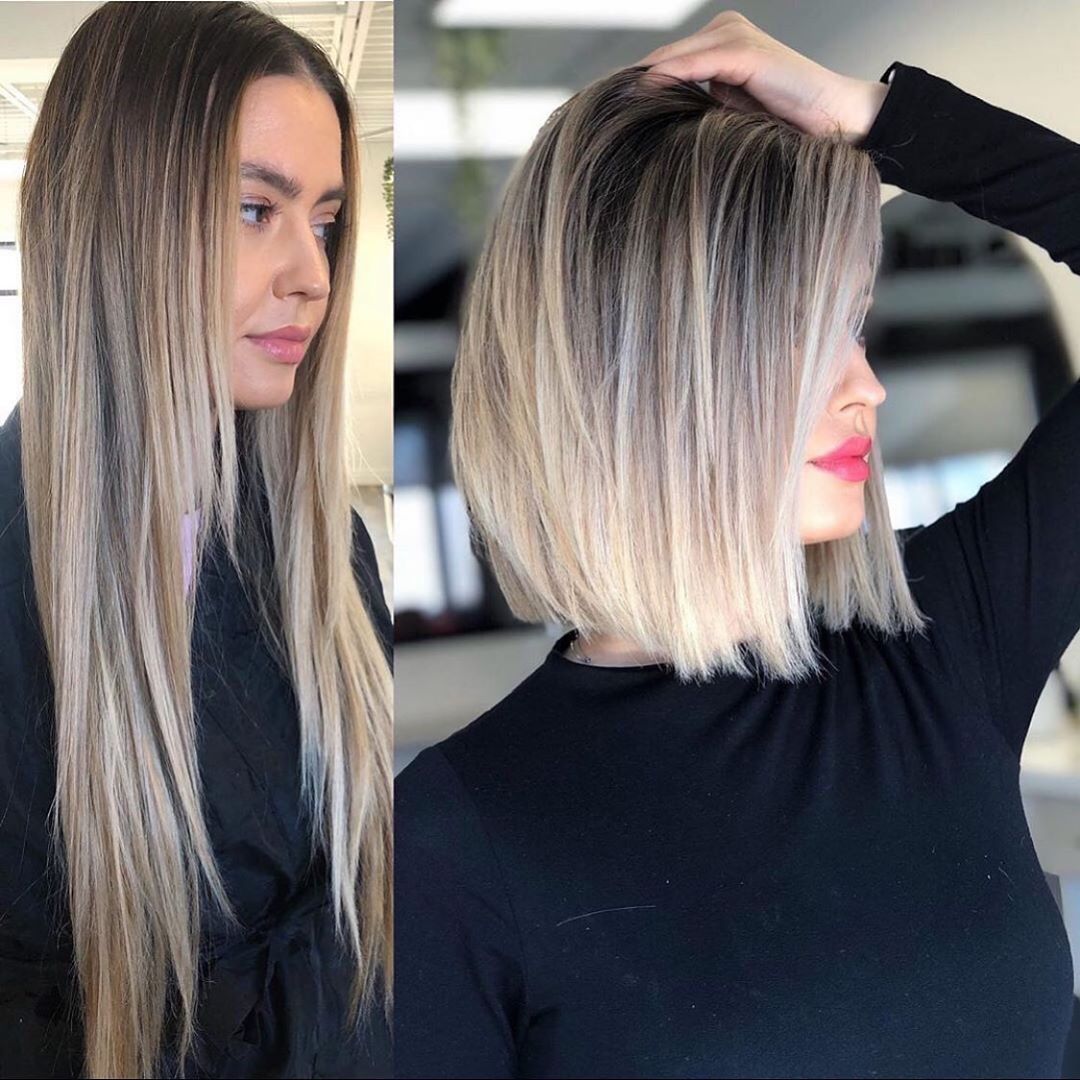
Knowing the appropriate length that best complements your face can take time and effort. John Frieda created the 2.25 Inch Rule as an easy way to determine your ideal hair length at home. Place a pencil horizontally under your chin and keep one vertical under each ear. Record where they intersect, and this will be your goal length. This test works exceptionally well with wavy hair but may be less accurate with kinky textures.
To cut your hair evenly, it can help to divide it into four sections or more. Create more precise sectioning by combing through your hair, using your eyebrow arch as a guide, and marking a rectangle in the middle of your head with chalk or pencil. This enables you to create more flattering face-framing layers. Wet each section thoroughly before cutting it with a butterfly clip or scrunchie.
To properly cut your hair, it’s essential to hold the scissors correctly to avoid injuries. Hold both thumbs through smaller holes on both hands and index and middle fingers through larger ones, ensuring the blades are held tightly with no accidental opening. How you have the scissors depends on the cut you want to achieve. Be cautious not to walk around while holding scissors, which can result in accidental cuts or injuries.
Start by using a small piece that lies parallel to your first section cut as a guide. Continue this method until all edges are straight and even. For bangs, you can create a wispy effect using the same technique. Make sure your charges are debris-free to avoid cutting off more than intended.