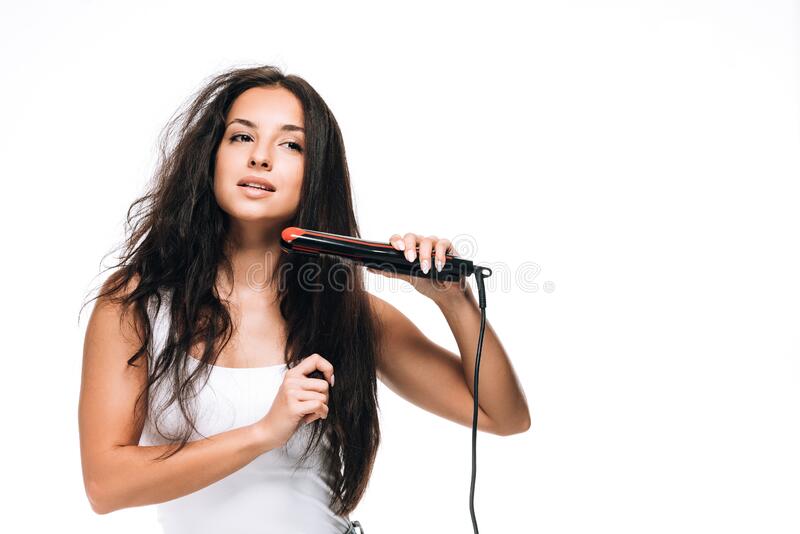
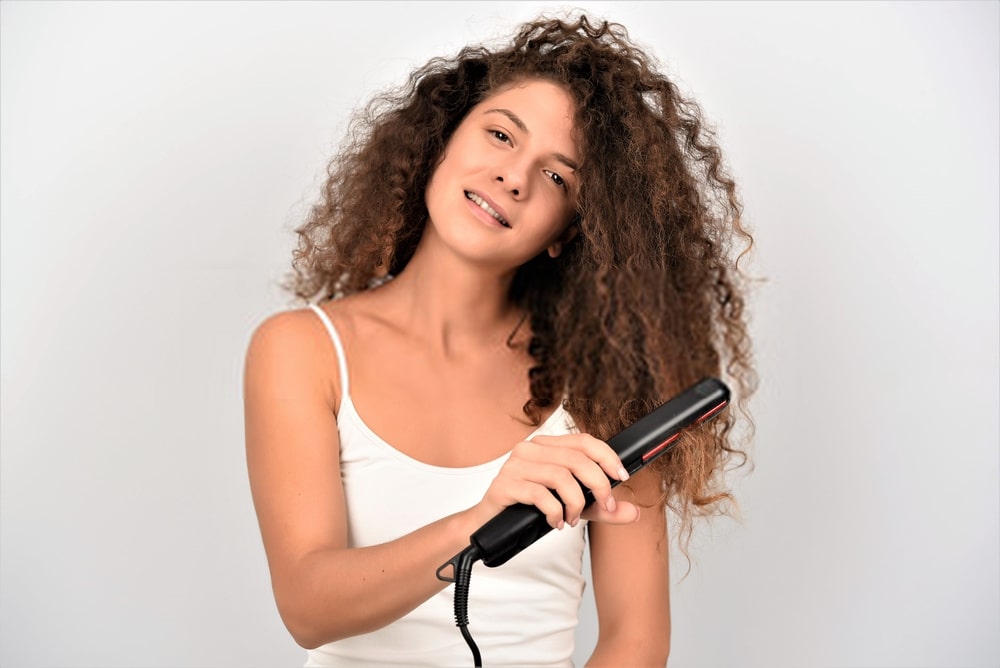
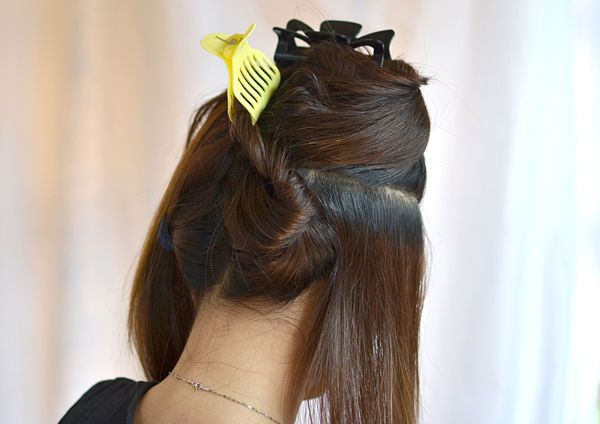
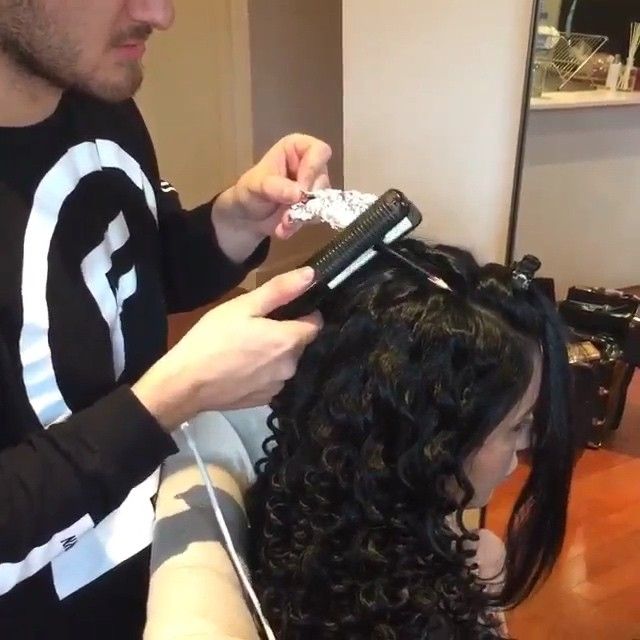
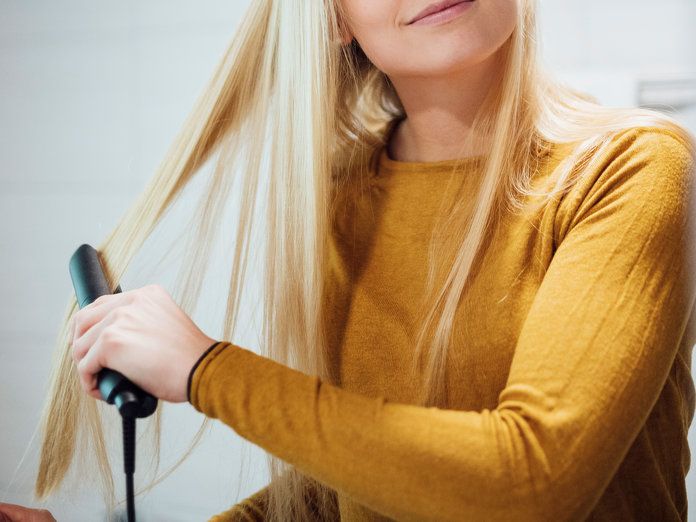
Before you curl your hair with a flat iron, you should always use a heat protectant. This can prevent the hair from becoming damaged from exposure to heat. Also, before using a flat iron, make sure the hair is completely dry. Also, make sure to start from the bottom part of the head and work your way up to the crown. By doing this, you’ll avoid disrupting the wave pattern.
Preparation for curling hair with a flat iron
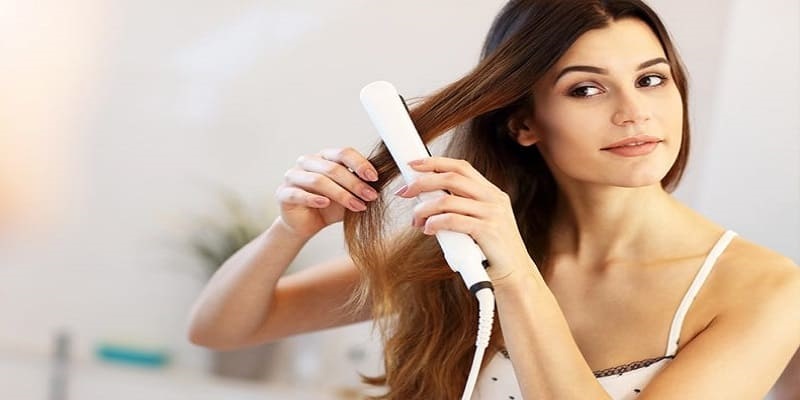
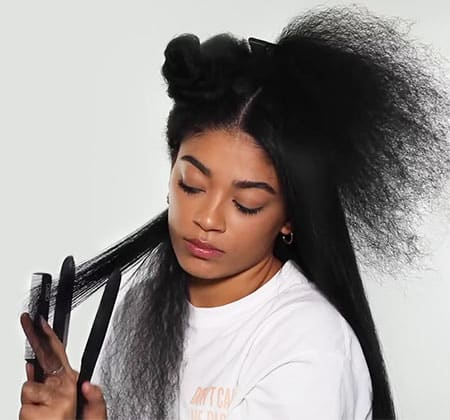
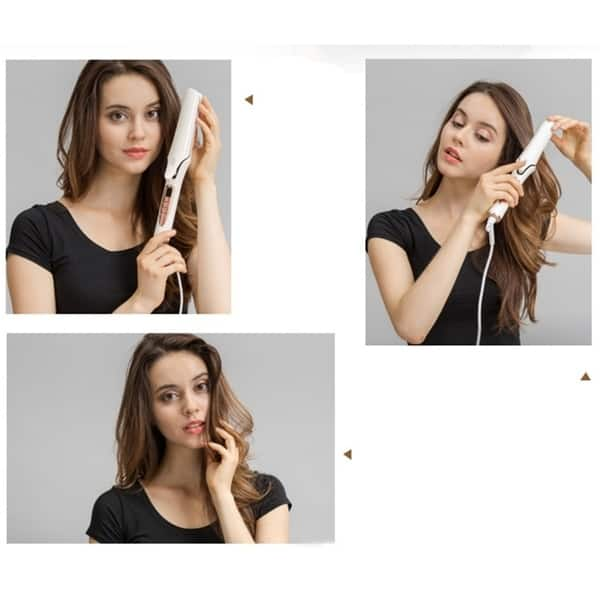
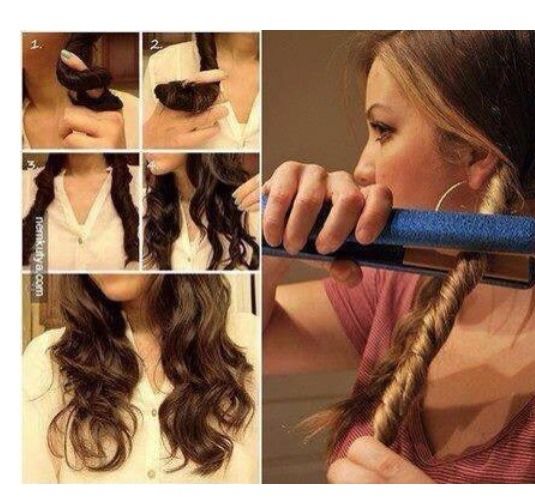
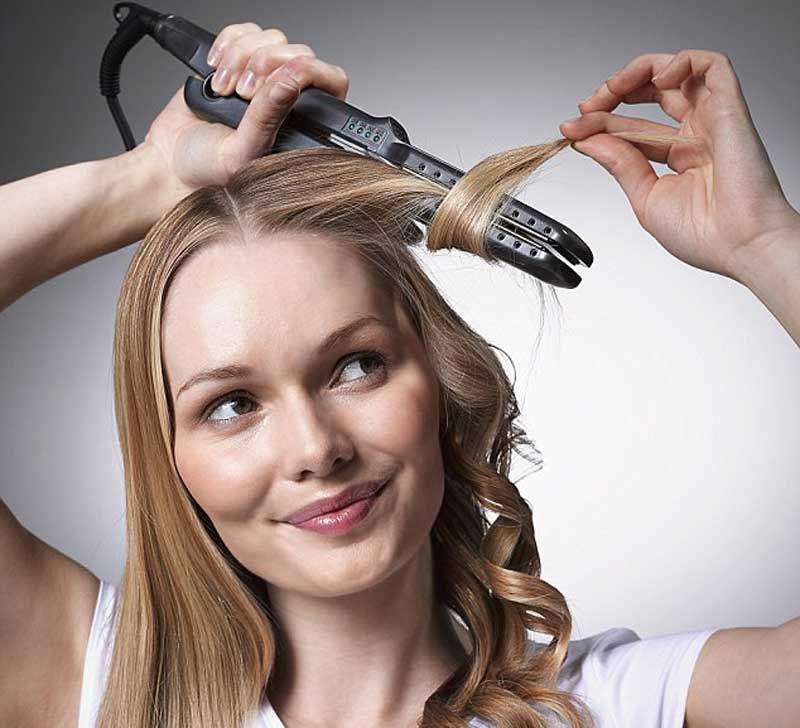
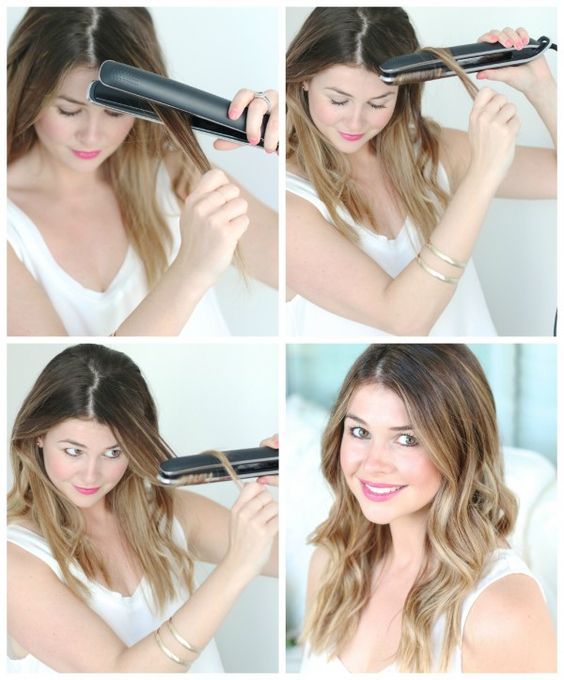
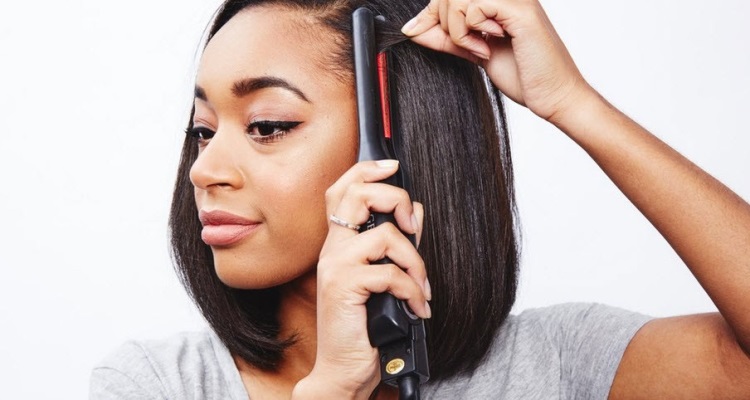
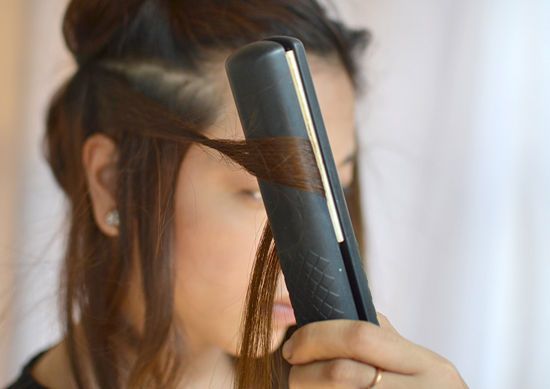
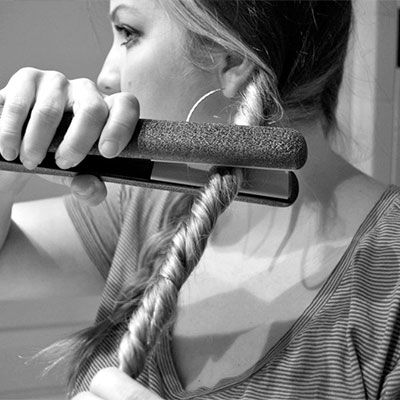
The first step in curling your hair with a flat iron is to prepare your Hair. This can be done in several different ways. First, separate the hair into small sections. Then, hold each section flat between the plates of the iron for at least 15 seconds. Small sections will result in tighter curls while larger sections will create looser curls. Then, you can experiment with the size of each section to find the best curling method for your hair.
Another step in preparing for curling Hair with a flat iron is to make sure your hair is clean. This will help prevent the curls from sticking to your Hair. Clean hair also helps your curls form better and last longer. Using a volumizing hair prep product beforehand can also help achieve voluminous curls.
It is also important to check the temperature of your flat iron. If it is too hot, your hair will not curl properly. Make sure that the iron is hot enough to create the desired curl. Once you have achieved the desired temperature, you can use a Hair spray to finish your curls.
You should also protect your hair from damage caused by the heat by applying a heat protectant. This protectant will protect your hair from the heat of the iron and prevent your curls from coming out too quickly. Apply the heat protectant from the root to the tip of your hair.
Another way to prolong your curls is to use a hold product. This can be a heat protectant, a hair spray, or a dry texture spray. Heat protectant is like a primer for your hair. Dry texture spray helps to create a barrier between your hair and the iron. This way, your curls will be more durable and last longer.
Lowest setting
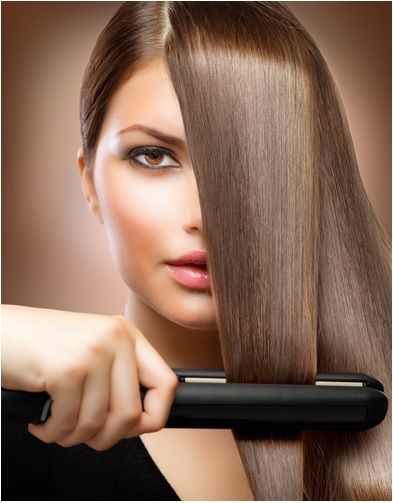
The temperature setting on a flat iron is one of the most important factors when curling hair. When you want to avoid damaging your hair, you should use the lowest setting. The recommended temperature for straight and fine hair is between 200 and 300 degrees. When using a flat iron, you should avoid overheating it, since this could cause your hair to become damaged or even brittle.
It is also important to know that higher heat levels can damage your hair, so always start with the lowest heat setting. You should also avoid using the highest heat setting on fine or highlighted hair. The highest temperature setting is only safe for coarse or damaged hair. A low temperature setting of 180 to 280 degrees Fahrenheit is recommended for color-treated and highlighted hair.
The temperature range on a flat iron varies depending on the type of hair you have and your desired curl style. The lowest setting is for fine or chemically treated hair that is not too thick and needs little heat to style. The middle setting is for medium-textured hair that is relatively easy to style. A higher temperature can damage color-treated hair, which is why the lowest setting is the best option for this type of hair.

If you’re curling your hair, you should start with a low setting on the iron and gradually increase it as you progress. This will help you smooth out the cuticle and prevent flyaways. The low temperature is a good choice if you have straight hair, but make sure you follow the instructions carefully to avoid damage.
Heat protectant
A good heat protectant spray will help prevent damage to your hair from flat irons. The most effective heat protectants will lock moisture into the hair and form a shield to prevent excessive heat from damaging it. However, the choice of heat protectant depends on your hair type. For example, curly hair may require higher heat to straighten it.
Heat protectants are usually made up of a blend of different ingredients. Protective oils can be used as a substitute but will not offer the same level of protection. To use a heat protectant, separate sections of hair and spritz each with the product. Allow the hair to absorb the product for 5 minutes.
One of the best heat protectants available is a lightweight formula that seals hair cuticles and locks in moisture. It also contains marshmallow extract to help promote hair growth. These lightweight formulas prevent product buildup, making them perfect for curling without sacrificing moisture. Thermal protection sprays are also great for dry hair. Many of these products can also be used with a flat iron. If you have fine hair, try the Redken Iron Shape 11 Finishing Thermal Spray. This product has a light, touchable hold and works well with flat irons. Biolage’s Thermal Active Protectant Spray is another option that works well as a heat protectant. This product also contains blue agave nectar, which strengthens and conditions your hair.

A good heat protectant for curling hair with a flat iron is essential to protect your hair against damage from heat. It should be applied on damp hair and then combed through to distribute it evenly throughout the hair. This product is designed to protect hair against heat up to 450 degrees.
Adding flicks to curls
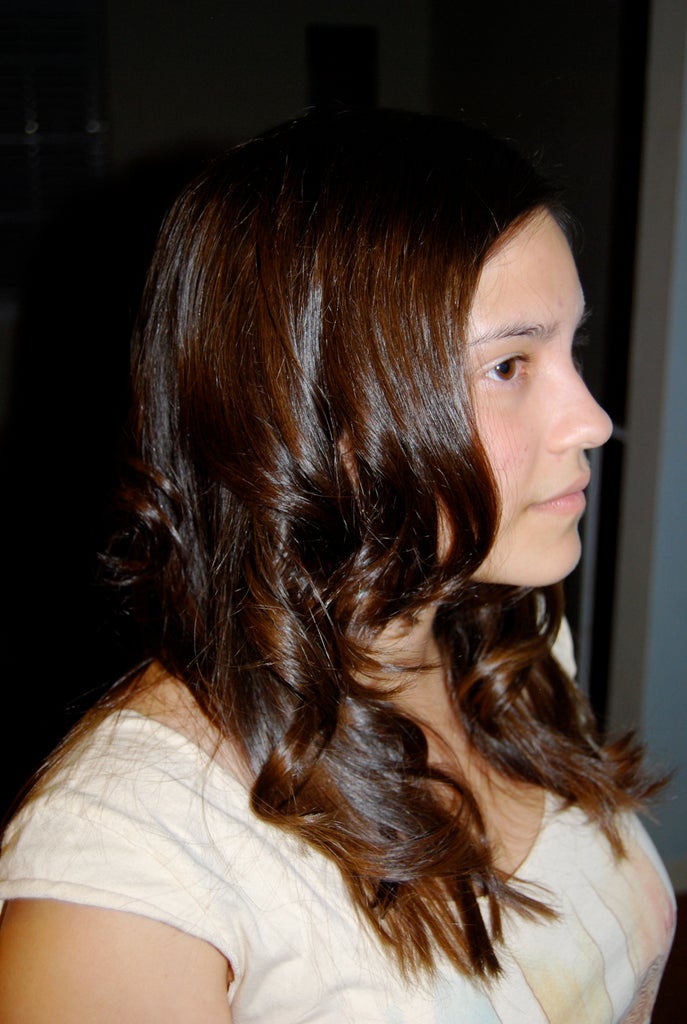
Adding flicks to curls is a great way to give your hair some extra structure and interest. To create them, start by clamping the iron halfway down a section of hair. Then, move the iron on this section while keeping the rest of the hair straight. You should also use a hair spray for added control.
A flat iron with a medium-sized round tip works best for creating soft waves or flicks. When using this method, be sure to leave your curls for at least an hour. If you can, do this before going to bed. This will help your hair maintain the waves throughout the day. If you’re using a curling iron to create flicks, you can use bobby pins to secure the curl. Duckbill clips are also useful for holding your curls while you apply makeup.
Another method for adding flicks to curls is to use the “twirl and pull” method. It is similar to the “ringlet” technique, but the curls are tighter and more defined. You can also add some flexible hold hairspray to give your curls extra hold.
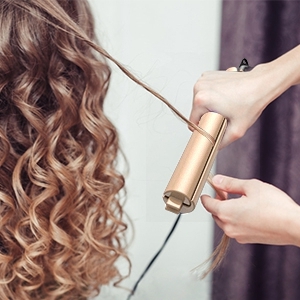
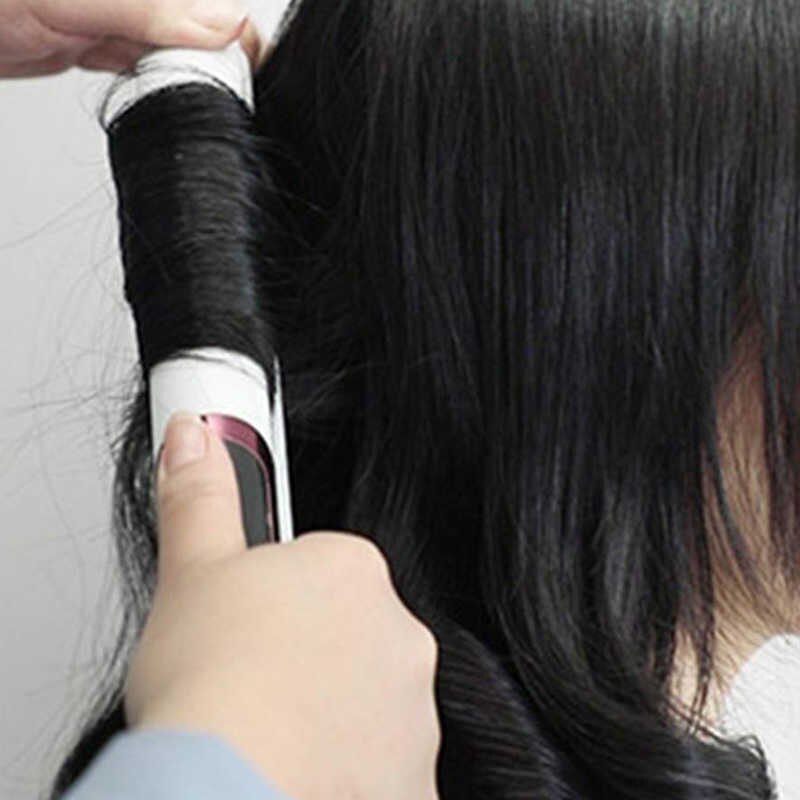
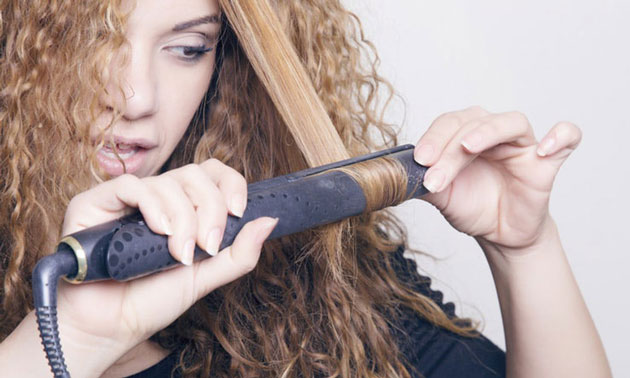
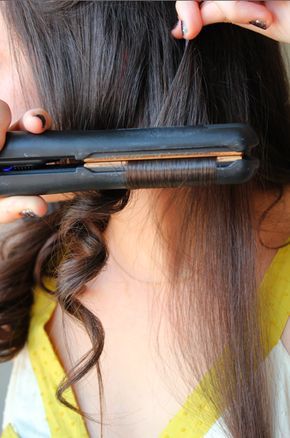
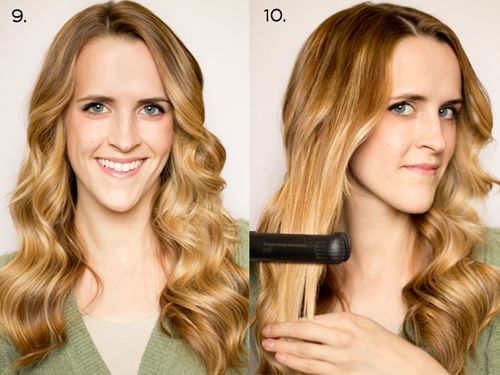
A flat iron can also be used to create full curls, but be sure to start at the bottom and work your way up. Typically, two to three sections are needed to achieve a tight curl. When using a flat iron, hold the flat iron near the scalp. Wrap the hair between the prongs and move downward, while rotating the iron occasionally. The tighter the wrapping, the tighter your curls will be. Conversely, if you want looser curls, wrap your hair in the opposite direction.
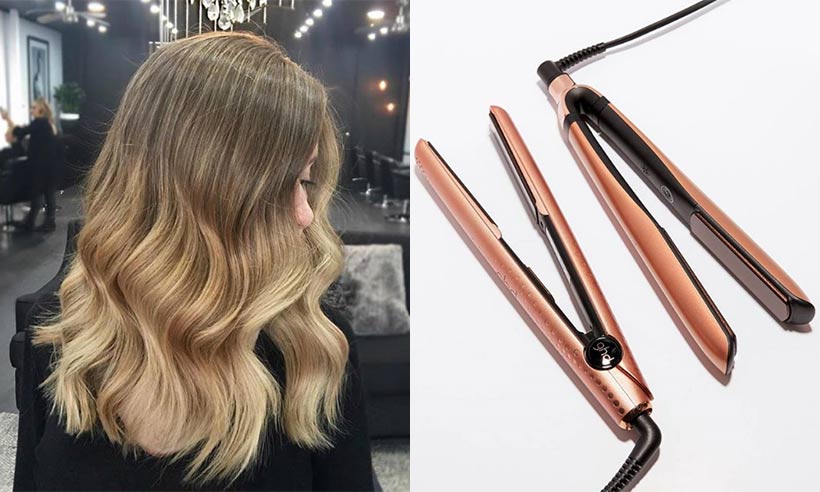
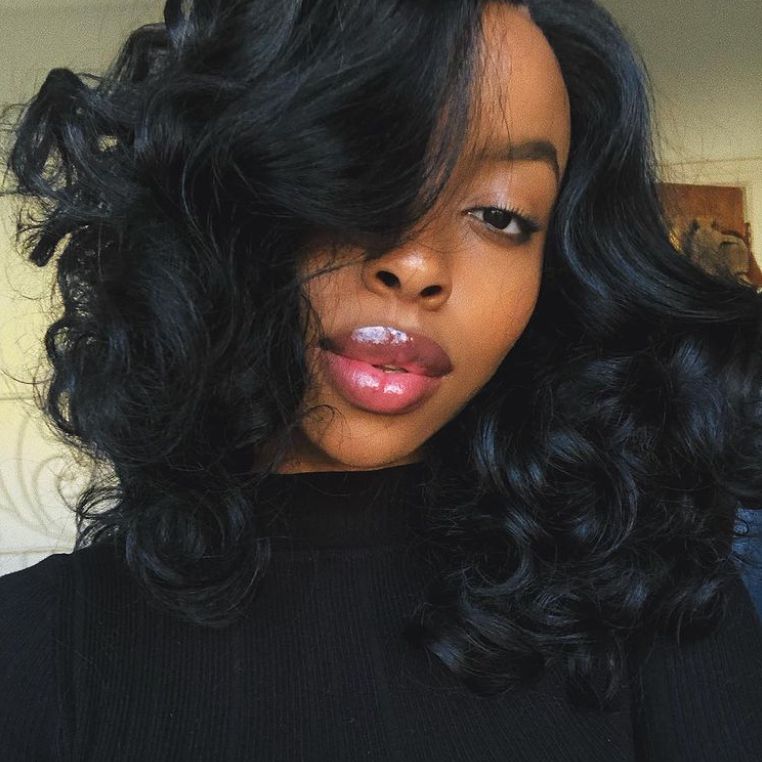
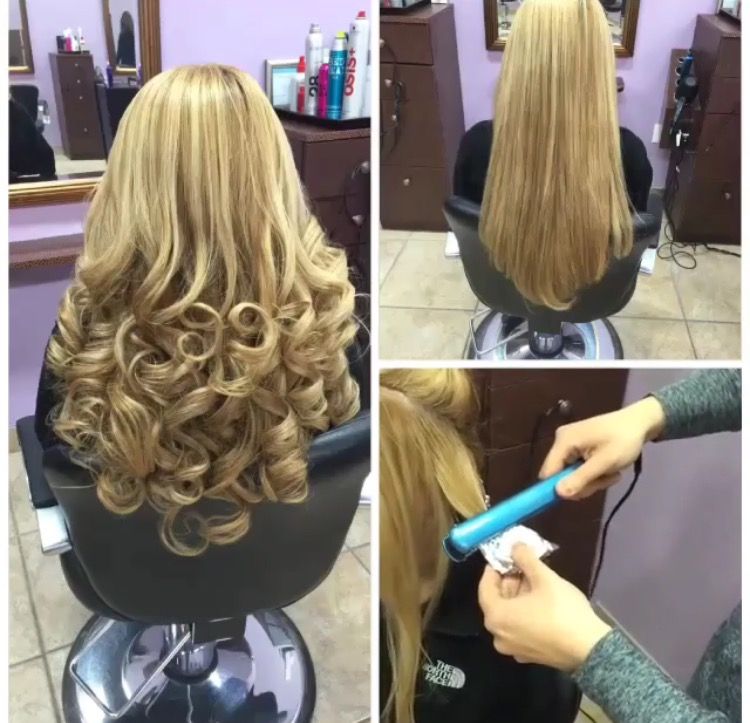
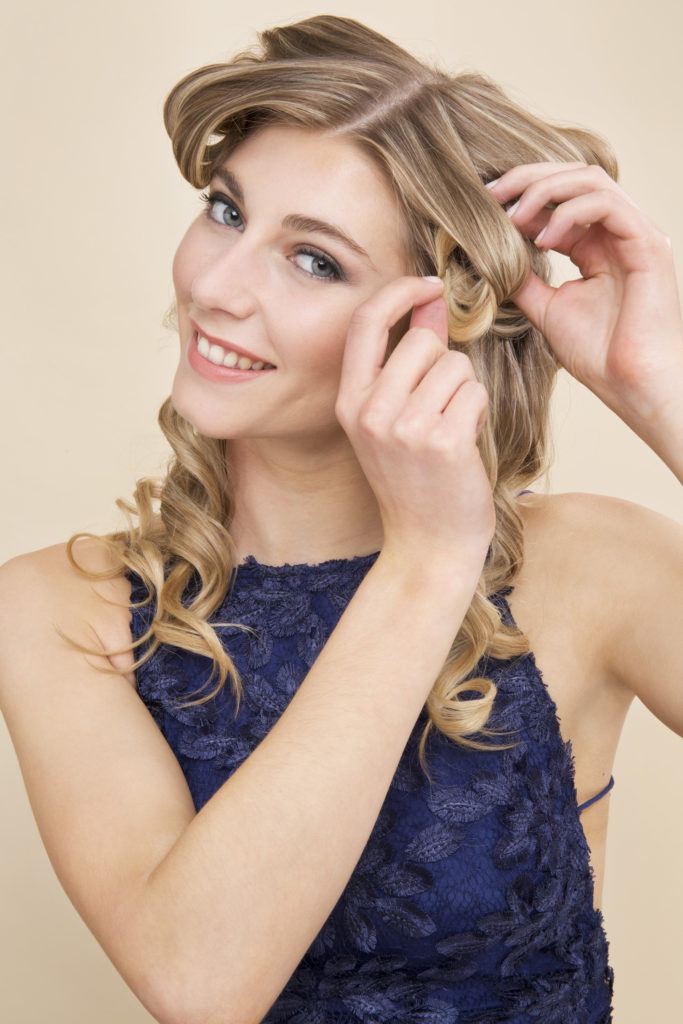
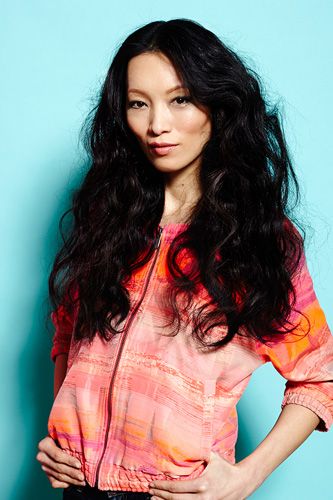
Getting big bouncy curls
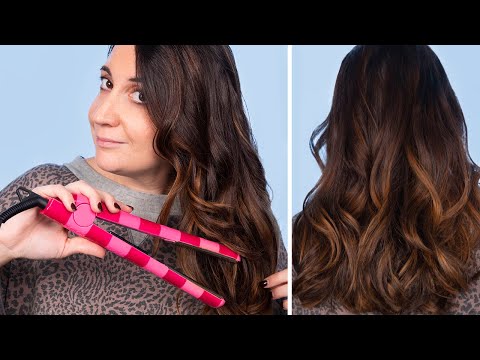
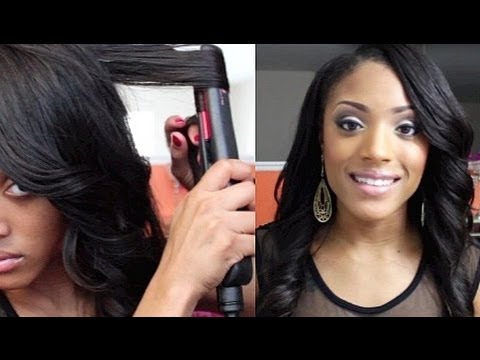
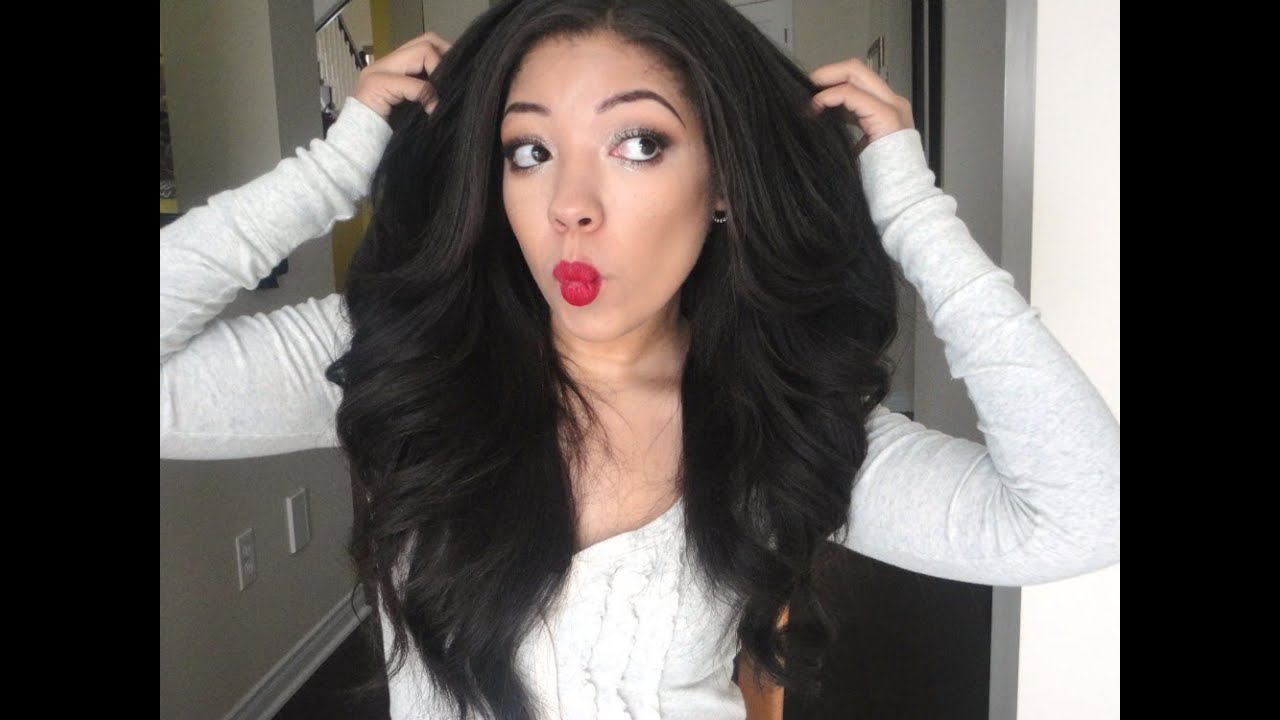
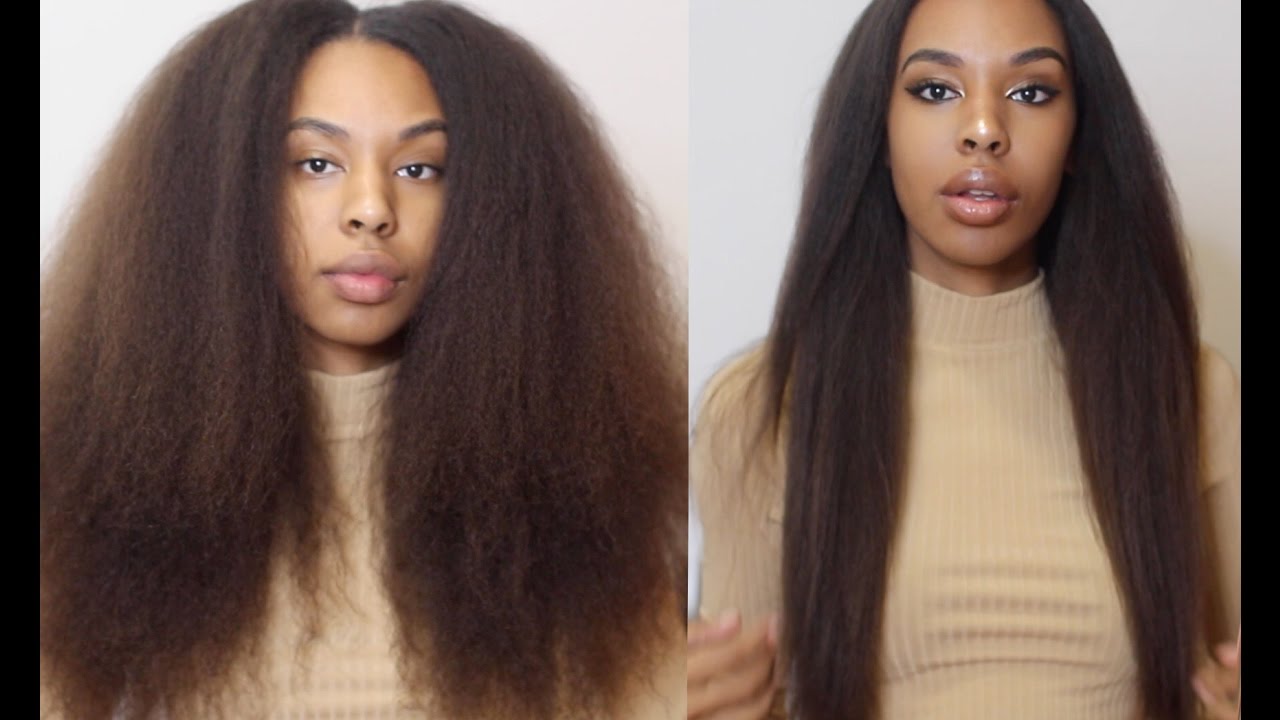
Getting big bouncy curls with a flat iron is easy as long as you follow a few simple steps. First, make sure your hair is blow-dried and conditioned. Then, apply a leave-in conditioner or a volumizing spray. Once you’ve done that, use a styling spray to keep your hair from getting stiff. After all, big bouncy curls will add volume and life to your hair!

Next, take your flat iron and start curling your hair. Begin by working on the inner side of the hair first. This will create loose, bouncy curls. Then, move your hair away from your face so that the waves are more visible. You can also use a wide tooth comb to smooth out the curls.
To get the best results with a flat iron, hair must be clean and dry. The oils that are found on unwashed hair prevent curls from sticking to hair. Clean, dry hair also helps form the curls more easily and for longer. You can also use a volumising hair prep product to achieve voluminous curls.
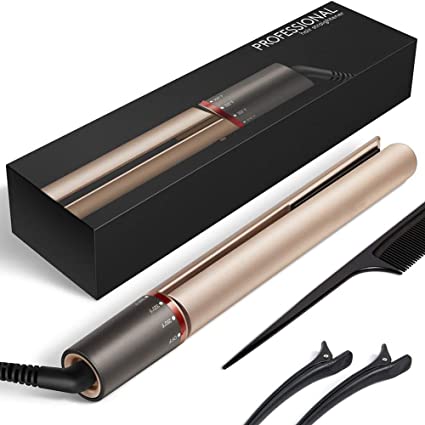
Using a flat iron for curling your hair is easy and convenient. You can use it to create big, bouncy curls and sleek straight locks. There are many flat iron options available on the market, and each has its own unique benefits. Check out Sephora’s selection to find the best one for you.
How to Curl Hair With Flat Iron
If you’re looking to create an amazing hairstyle using your flat iron, there are a few tips you should follow. The hair near your hairline isn’t as thick as the rest of your hair, making it easy to curl. You can also use an alternating “C” shape to create tighter waves.

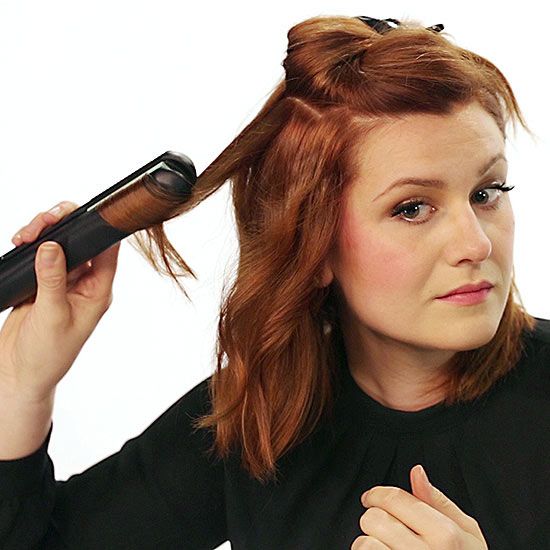
Create alternating “C” shapes for tighter waves
To create tighter waves with your flat iron, Villa recommends creating alternating “C” shapes. To create the first one, pinch the hair between your fingers and twist it upwards. Next, place a clip near the center of the “C” and twist the other side of the hair.
The next step is to clip the hair, then move it down the section with the iron. Then, heat up the iron. Once the hair is hot, flip it over and repeat the process. This technique gives you both tight and loose waves. To achieve these styles, you should mist your hair with heat protectant spray before using the flat iron.

Another way to get alternating “C” shapes is to bend the iron in different directions. A simple iron has a long cord, while a professional-grade iron has shorter back pieces. You can bend these to create ‘C’ shapes and beach waves.
Alternating “C” shapes can give your hair an even more edgy, modern look. A standard shaped flat iron can produce a more natural look if it has a curved plate. Similarly, a curved flat iron can create “S” waves.
Creating beachy waves is not difficult if you know how to use your flat iron. The trick is to section your hair and twist in opposite directions. This will give you loose beachy waves that are not only fun to look at but also beautiful. Aside from the curling iron, a flat iron also makes it easy to manage beachy waves with ease.

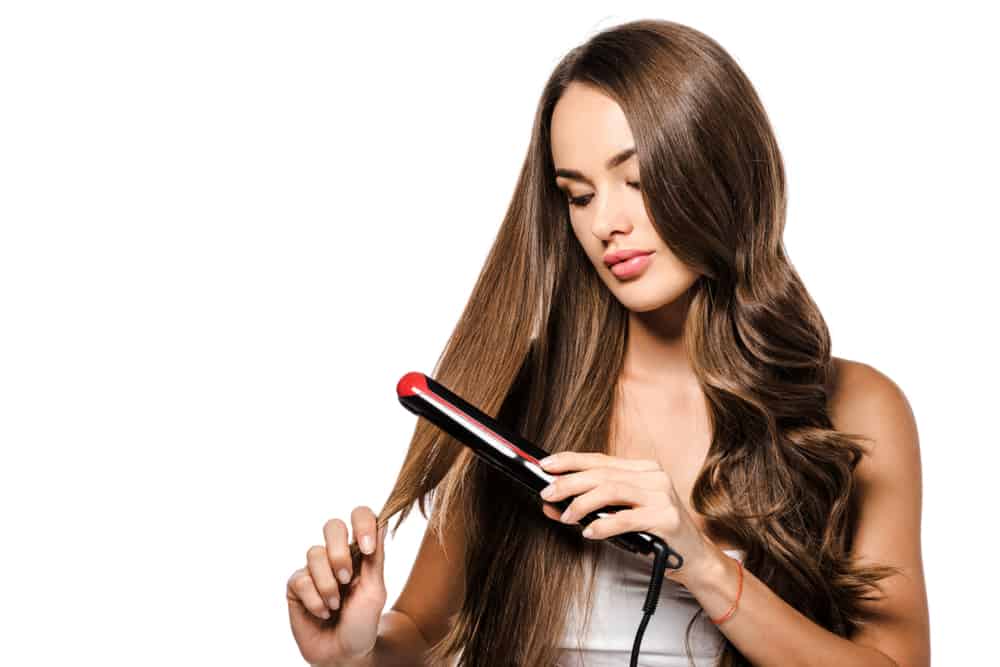
Create big and bouncy curls
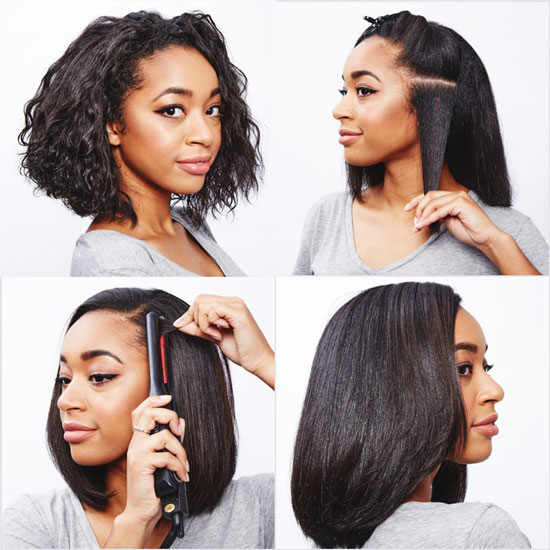
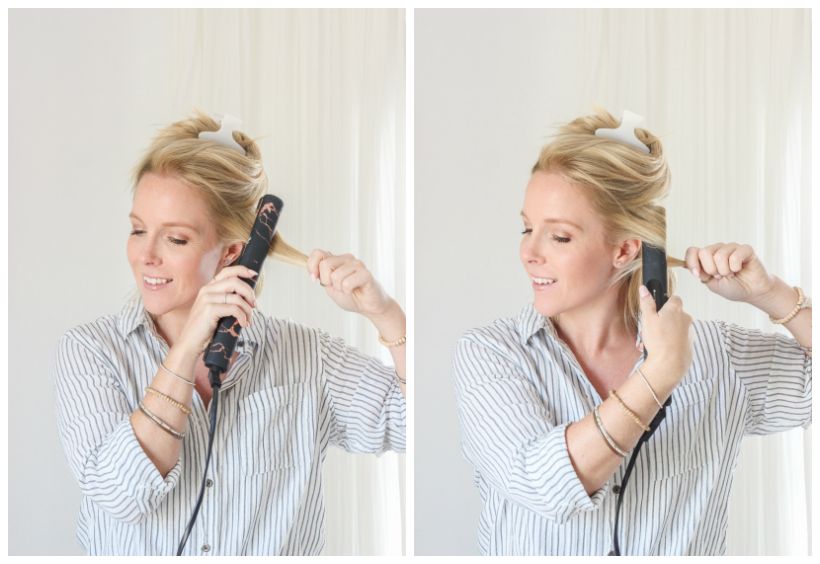
Before you use your flat iron to create big and bouncy curls, make sure your hair is clean and dry. This will help your curls form better and stay in place longer. For extra volume, try a volumising hair prep product. Then, work on a small section of hair at a time.

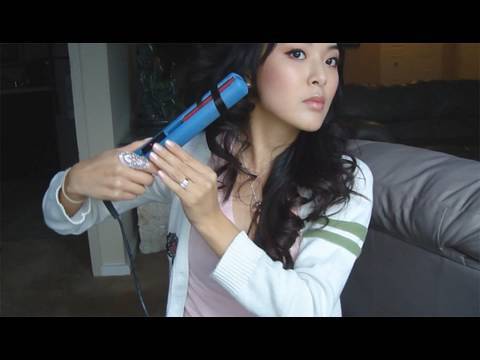
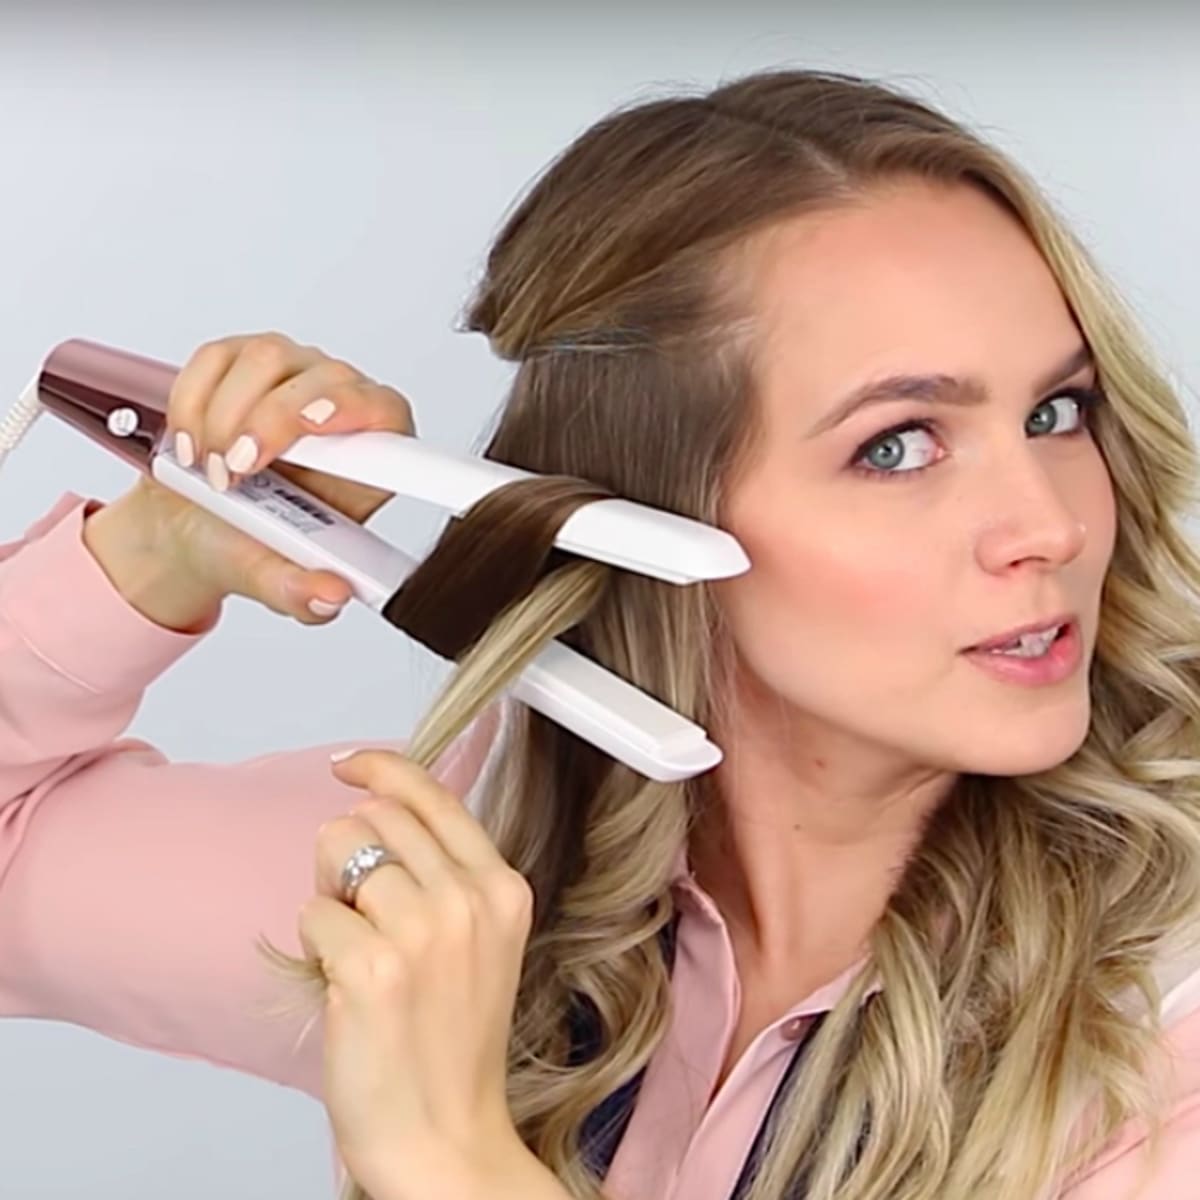
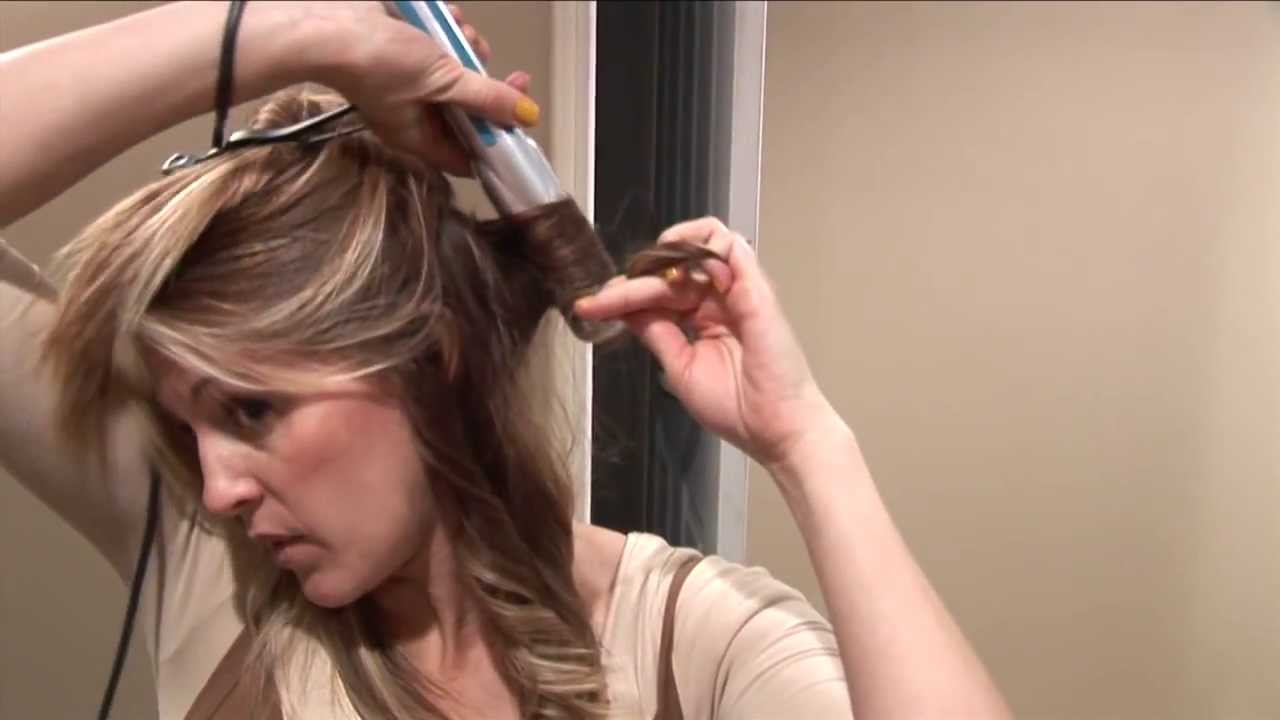
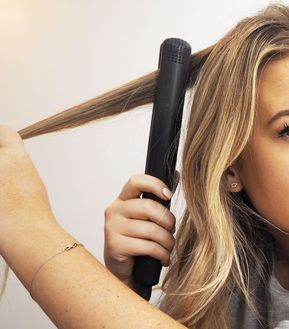
Hold the flat iron vertically, about two to three inches from the roots of your hair. You can then twist the hair while gliding the flat iron downward. This will create a big curl that will look polished and glam. Alternatively, you can hold the flat iron horizontally for a softer result.
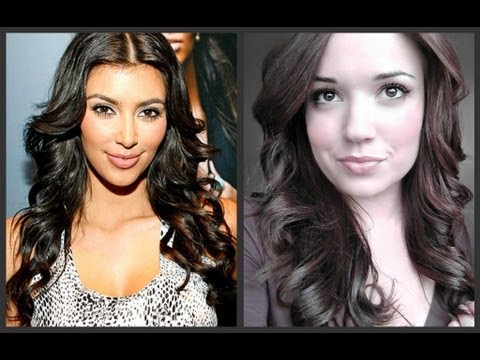
Big, romantic curls are a glamorous hairstyle that celebrities like Kimberley Walsh and Cheryl Cole wear regularly. Unlike curling wands, you can also achieve the same look with your hair straightener. According to Asgar Saboo, celebrity hair stylist and Style Director at the Daniel Galvin salon in London, the key is to use a light tension while curling your hair.
You can also use your flat iron to create S-waves, which look very chic. While S-waves are easy to create, you must pay attention to the technique. Make sure to separate the section depending on the thickness of the hair. You may need to use bobby pins to hold the section of hair so that it stays in place.
You can also use your flat iron to create finger waves or a retro style. If you want to create tighter waves, try alternating the “C” shapes on one side of your head. Begin by pinching the hair and pushing up towards the roots. Next, tap the iron on the “C” shape. After you’re done, secure a clip in the center of the “C” shape. Similarly, you can repeat by twisting the backward “C” shape.
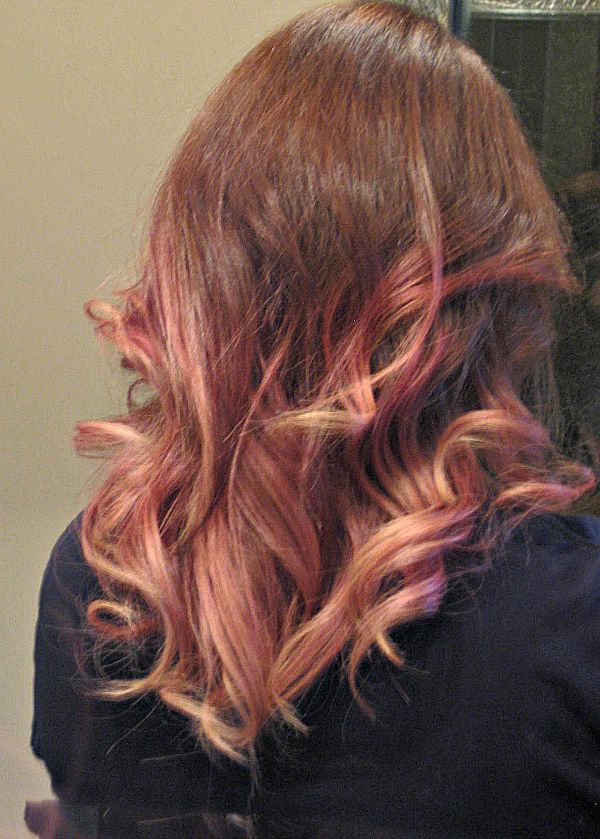
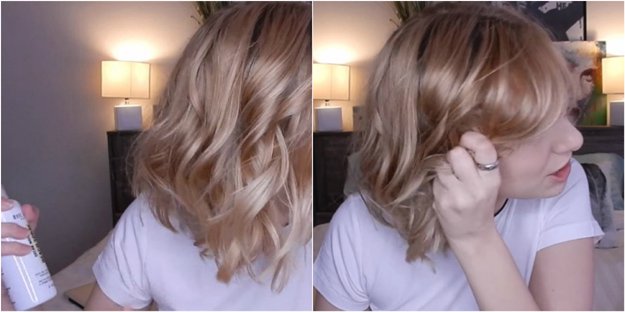
Create soft waves
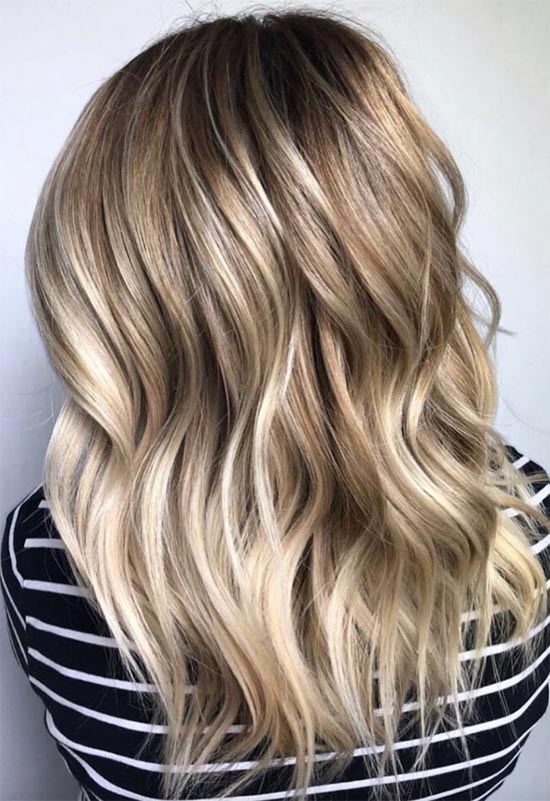
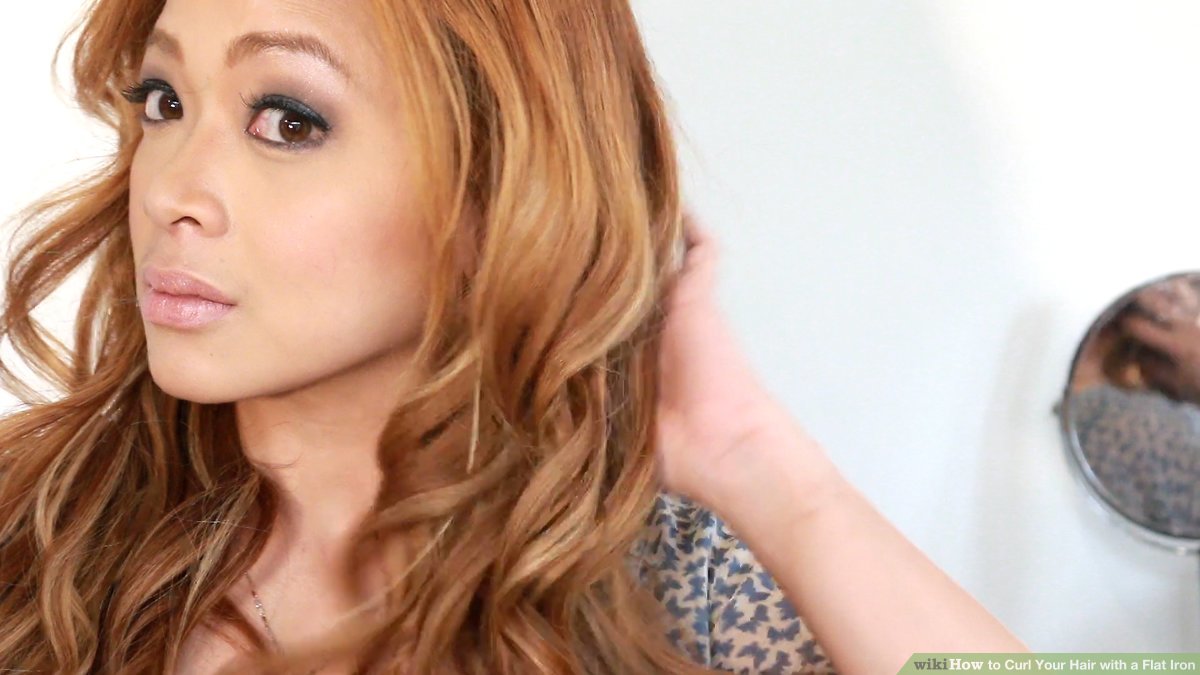
Adding soft waves to your hair can create a glamorous, effortless look. Whether you have short or long hair, soft waves can give your look a polished look. You don’t need any special styling tools to achieve this look, and you can create it easily at home with a flat iron and styling product.
One of the easiest ways to create soft waves with a flat iron is to create S-waves. These waves are similar to regular waves, but require a different technique. For S-waves, section your hair into multiple sections depending on the thickness and fineness of your hair. Then, curl each section until it has the desired volume.
Aim for a beachy look by creating curls that are rounded and wider at the ends. For this look, you can use a flat iron or curling iron that is angled outward and inward. These waves will create a natural, tousled look. This look is ideal for summertime.
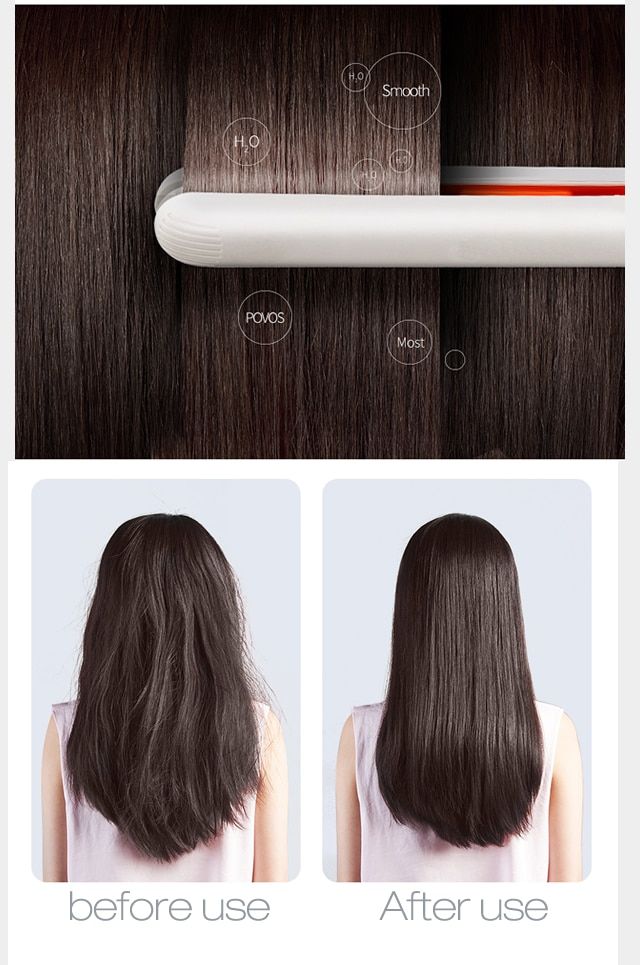
Smooth flat irons will create waves without the sharp edges of curling irons. The waves that flat irons create will have a visible pattern change and layered dimension. Smooth flat irons will not have sharp edges, and you’ll want your waves to look as natural as possible. In a few minutes, you’ll have gorgeous hair with soft waves.
Create crimped Hairstyle
For a ’90s-inspired hairstyle, try using a flat iron and a crimper. Then, dry your hair and apply a heat protectant throughout. Afterward, apply Pureology Style + Protect Weightless Volume Mousse from the mid-lengths to ends. You can create a larger crimped hairstyle by separating the strands in the middle and at the ends.
Another heat-free option for crimped waves is to braid the hair overnight. When you wake up the next day, you can simply braid your hair and it will take on a crimped look. Alternatively, crimp Hairstyles can be achieved by creating zig-zag braids.
A crimped hairstyle is perfect for long straight hair, as it has no natural curl pattern. To get a waterfall effect, crimp the top section of your hair. Alternatively, you can tease the ends to give more volume. You can even use extra-strong hold hairspray for added hold.
This easy-to-make hairstyle can be achieved at home using a straightening iron or a flat iron. First, you need to prepare your hair for the heat. Next, you need to guide the flat iron down each section of hair. You can also use a crimping iron to make mermaid waves. Just remember that using a flat iron with a crimping attachment can damage your hair, so use a protective spray before applying heat to your hair.
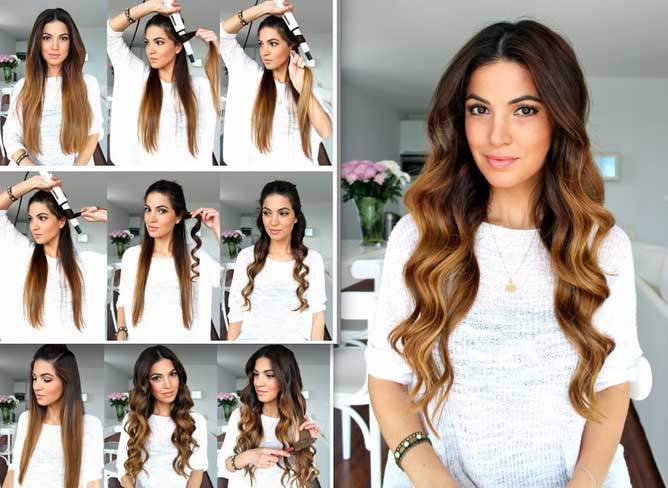
After applying a protective spray, rake your hair gently. You can also use light-hold hair spray and hair serum to add shine to your hair. You should also alternate the direction of curling to create more depth. If you have excess cord, you can wrap it around your arm to make your curling iron one with your hand. This will help prevent spillage.
This flat iron technique is simple, yet requires practice. Using a 1.25-inch-wide iron is ideal for longer hair. You should carefully section your hair. Once you have the desired section, wrap it around the flat iron, using a fluid motion. If you don’t have long hair, you can also try using a smaller section. Using a small section will make your hair more wavy, while a larger section will make it more crimped.